Gigadiffusion Advances: A Poster in 15 minutes
Gigadiffusion consistently achieved realism at the size of a sheet of paper, 8.5” x 11”. Advances enable realism at 4x the size, a poster, in just 15 minutes. That’s down from 2 hours a month ago, and a small fraction of the 10 hours it takes Ultimate SD Upscale.


A month ago, I shared Gigadiffusion, a Stable Diffusion Web UI plugin for creating reality-scale images.
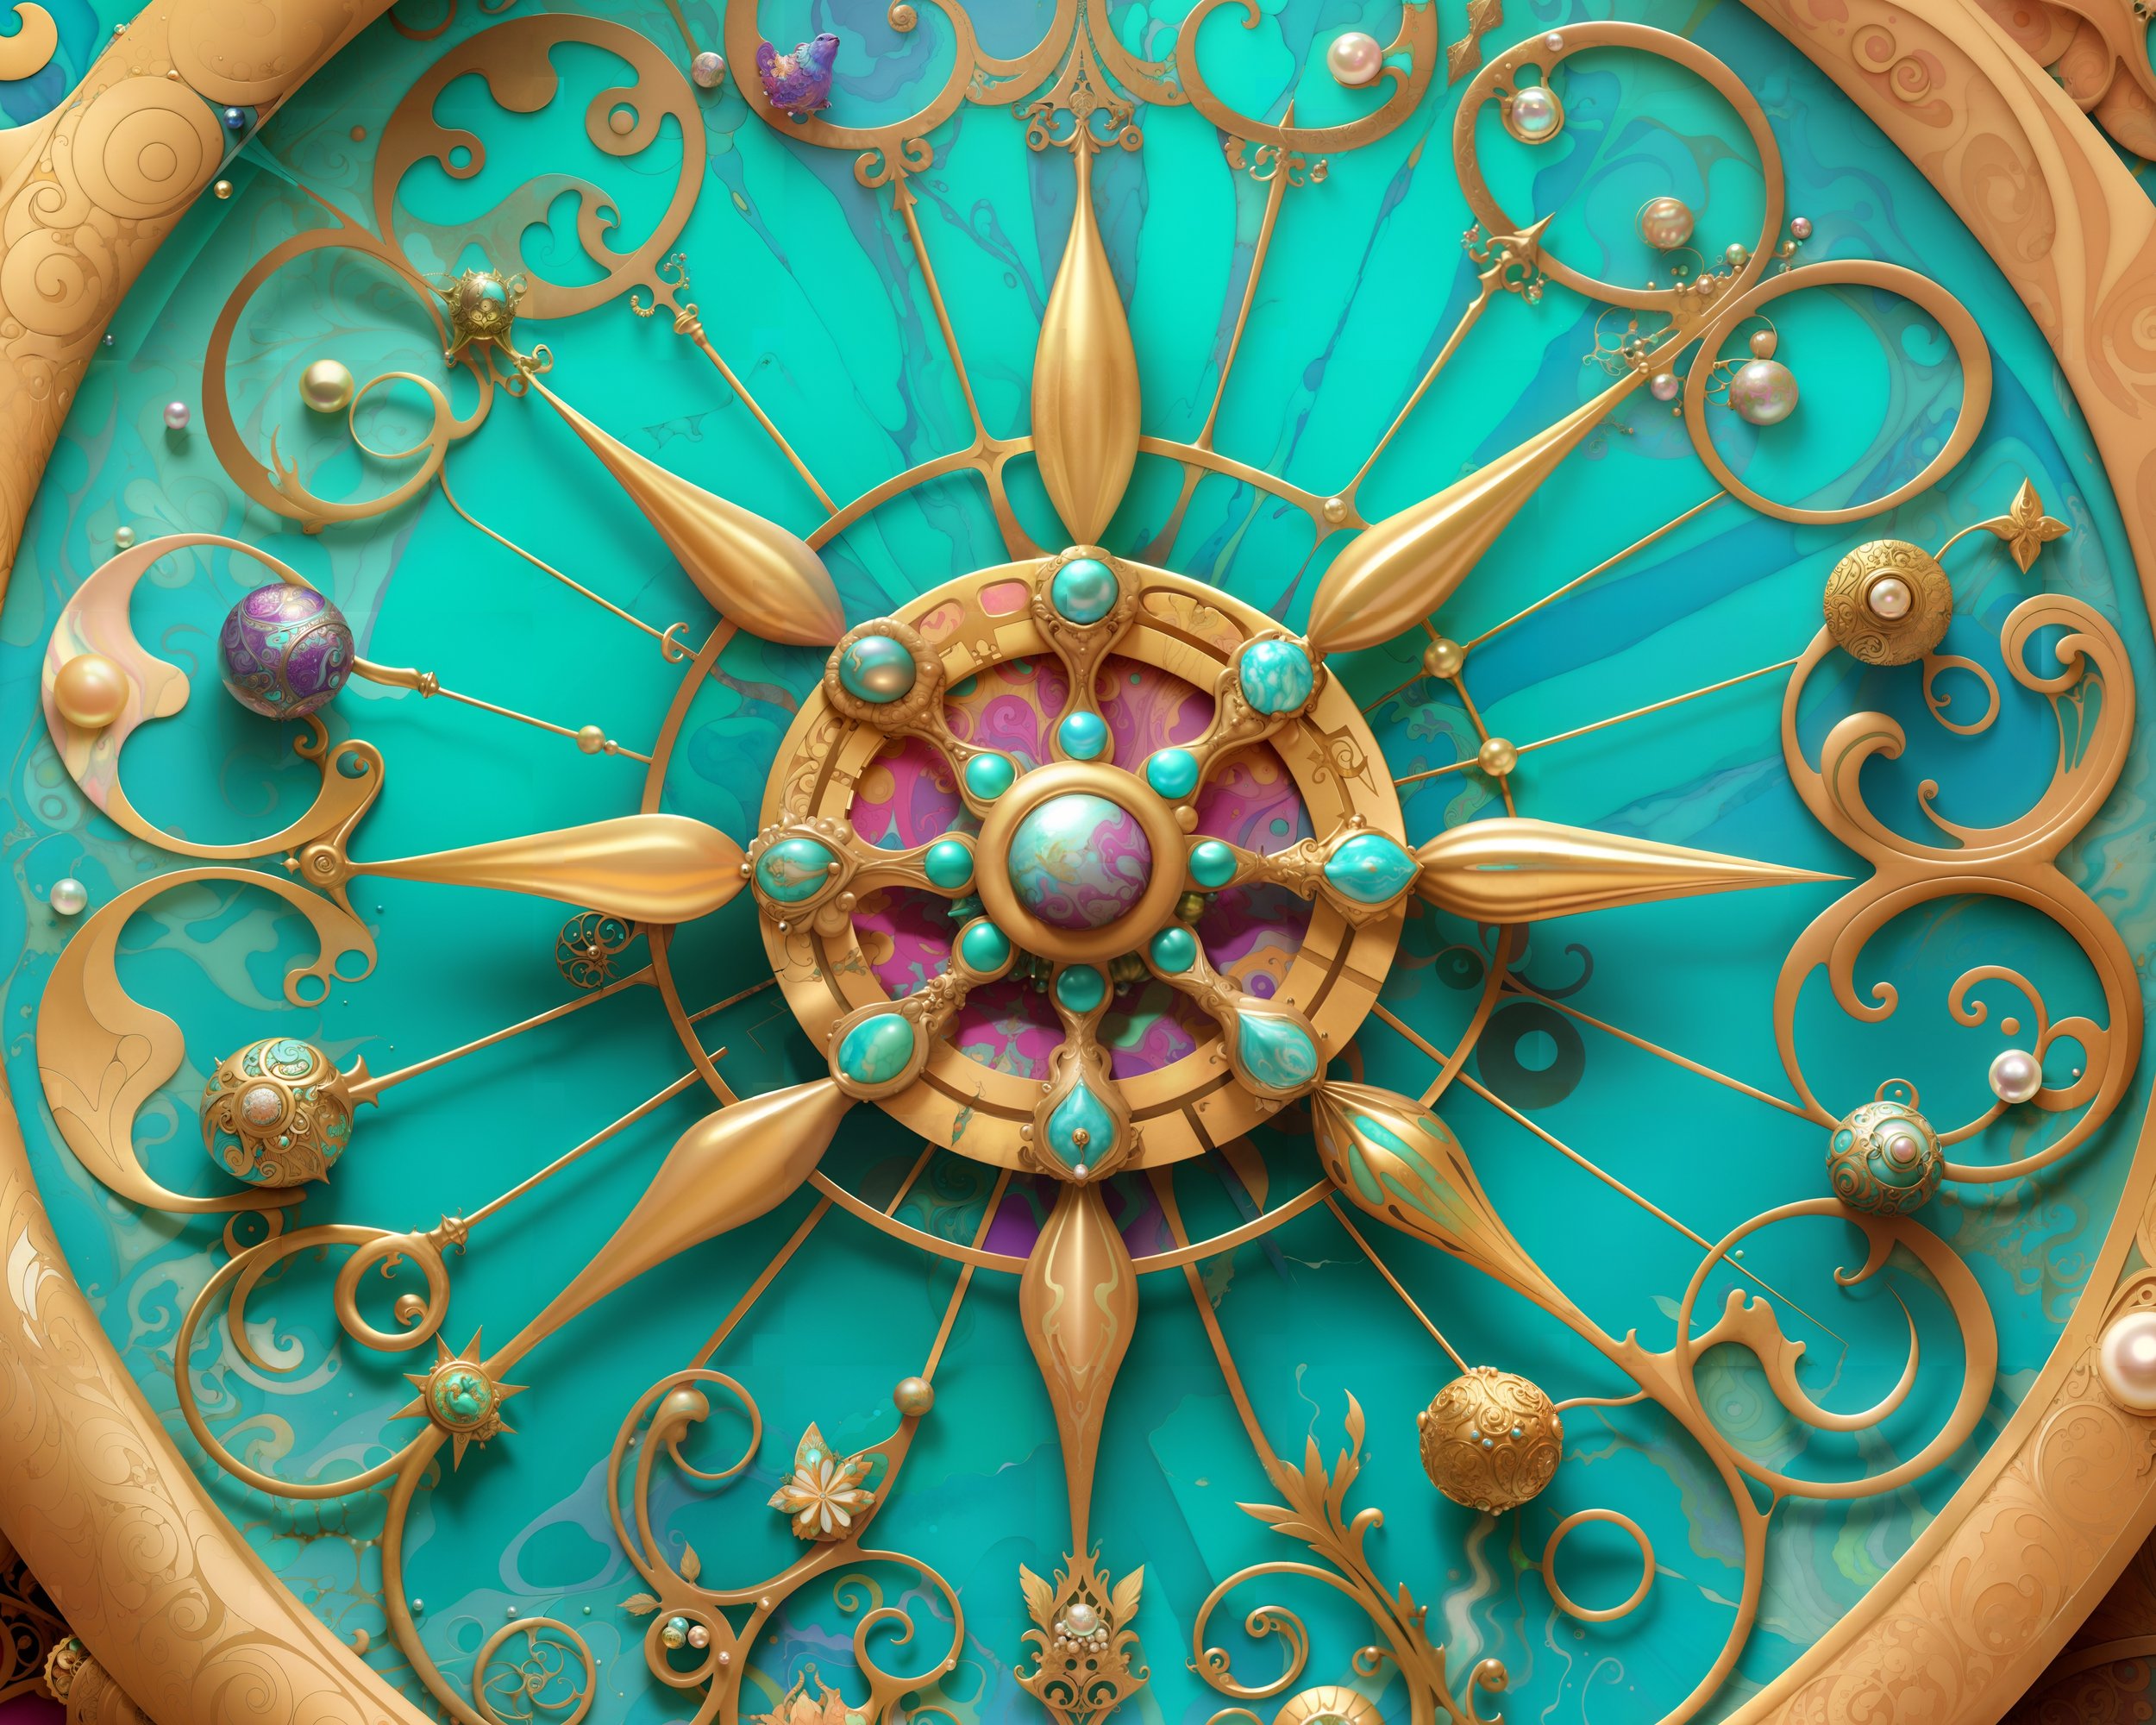
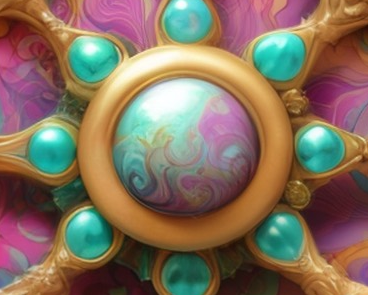
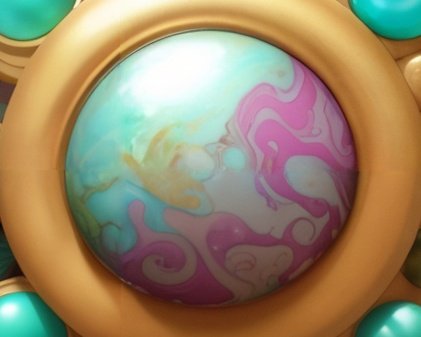
It worked consistently well at the size of a sheet of paper, 8.5” x 11”. Advances now enable consistent realism at the 4x the size, a poster, 17”x22”. The examples a thumbnail-sized portion of a poster.
This takes 15 minutes, down from 2 hours a month ago. Ultimate SD Upscale takes 10 hours.
(tested on RTX 3090, Xformers enabled)
How was that achieved? Updates to Gigadiffusion’s Web UI plugin, a new Gigadiffusion LoRA, and using the new Illuminati Diffusion model.
Gigadiffusion SD Web UI: optimized masking significantly improves quality at borders, and enables more parallelization.
Gigadiffusion LoRA: Gigadiffusion now has a LoRA! It was trained on gigapixel scans of famous artwork and optimizes diffusion’s focus on stunning, true to life, detail and texture.
Illuminati Diffusion: based on SD 2.1 768, it is a massive step forward. However, it has challenges upscaling. When combined with the LoRA and an extreme negative prompt, the results are outstanding.
Combining these increased quality, permitting removing steps of the workflow. Those steps add up to an 8x theoratical speedup on paper, matching the data.
Let’s look at the new workflow.
After that, we’ll wrap up with a brief intro to LoRAs and details on how Gigadiffusion’s was trained.
Workflow
To create a realistic 17”x22” print using Gigadiffusion:
Create base image using Illuminati Diffusion and appropriate settings.
I prefer Steps: 20, Sampler: DPM++ SDE Karras, CFG scale: 5-7.
Positive prompt: any, consider a prefix like step 5.
Negative prompt: (double vision, twins, portrait, people, human, female, person, face, head, mouth, ears, nose, skeleton:1.6) (blurry, smooth:1.0)
Even with the extremely heavy negative prompt, ~50% of images will have twins and people.
Don’t use the Gigadiffusion LoRA. Fine detail in the base image is 8x as large in the final image.
Don’t use nfixer, nartfixer, or nrealfixer. They draw large pure black chunks and add elements.
Send to img2img and set it up. Denoise: 0.4, Steps: 20. Sampler: DPM++ SDE Karras, CFG scale: 5-7
Choose Gigadiffusion from Scripts and set it up. Seams Fix: None, Redraw: Chess, Tile Size: 768, Blur: 0, Upscale: 2. Upscaler: R-ESRGAN General WDN 4xV3 (or Lanzcos, depending on GPU RAM)
Set up Gigadiffusion LoRA with a weight of 0.35. [SD Web UI manual]
Add a prefix to your prompt like this one: “gigapixel closeup of painting, extremely hyperdetailed, texture, canvas, high resolution 5400 dpi scan”.
gigapixel closeup: all LoRA training images used this as a caption prefix.
high resolution 5400 dpi scan: adds detail when in the prompt for any Stable Diffusion model
Repeat 3 times, resulting in a 8192 x 11264 image.
Evaluate quality & consider:
Gigadiffusion Seams Fix: Gigadiffusion supports runs that only seams fix. Disable redraw, set a scale factor of 1.
Gigadiffusion Redraw: A redraw pass with a scale factor of 1 will add detail.
2x’ing to 16K hurts quality. You may find differently, that’s unintuitive and inexplicable.
Sharpen and Grain: Use any image editor, Photopea is free. I use Topaz Sharpen AI or Pixelmator.
Topaz Sharpen AI pairs very well with the LoRA, it recognizes fine-grained details and adds even more.
Topaz Gigapixel AI isn’t helpful. This saves time and makes things much easier for getting to print. Sharpened 16K is large enough to introduce instability everywhere from image editors to printers. working with images this large is very rare.
Add Texture Layer: free, easy, and just as impactful as Topaz.
Find a paper texture, ex. Adobe or via search. Open the Gigadiffusion in an image editor, add the texture image as a layer above it, with a Blend Mode of Multiply, and play with opacity levels.
I tend to 50-60% opacity, then adjust brightness/contrast/exposure/etc. of both layers.
What is obvious on screen can be imperceptible in print, I do a small print before doing a 17”x22”.
If the texture layer lowers the perception of high resolution, upscale the texture.
LoRAs & Training Notes
LoRA stands for Low Rank Adaptation, a technique developed by Microsoft researchers to enable fast fine-tuning of LLMs. [HuggingFace blog]. Kohya-SS built a LoRA trainer for Stable Diffusion, and SD Web UI integrated LoRAs. The output is a small file that you use in addition to a model. [SD Web UI manual]
The Gigadiffusion LoRA was trained on gigapixel scans of famous artwork from Google’s Arts & Culture team.
Given a link, Ophir Lojkine’s dezoomify-rs downloads all of the the image tiles forming the gigapixel scan.
Use --tile-cache to have it cache the tiles, use --compression 0 to avoid unnecessary compression.
I tried training multiple times, the keys to success ended up being:
Train a 512 x 512 model using 768 x 768 images. Upscale tiles, or manually merge them and downscale.
Use multiple pieces of art; pick a wide variety of colors and textures from the tiles.
Prefer a low # of images iterated multiple times. I used 50 images, 30 steps / image / epoch, 3 epochs. Even 50 is high, guides generally suggest 20-30.
Don’t use regularization images: they’re needed for a specific concept, ex. a person, that distorts a general concept, people. It harmed initial attempts and was unnecessary, a detailed painting is a concept that applies to all paintings.
There may be low-hanging fruit left on the LoRA tree: the printed results of my first working LoRA were significant enough to pause and share, I haven’t iterated.

Gigadiffusion: Digital Art at Reality Scale
Gigadiffusion, a Stable Diffusion extension, provides size, quality, and speed advancements that enable digital imagery as high resolution as reality.
Gigadiffusion, a Stable Diffusion extension, provides size, quality, and speed advancements that enable digital imagery as high resolution as reality.


The Albright Knox Gallery in Buffalo, NY, has massive Ryan McGinness and Jackson Pollock works. As tall as the ceiling, and twice as wide. Their expanse pulls you in like a magnet, and once you’re close enough, its infinite, enveloping you in a new world.


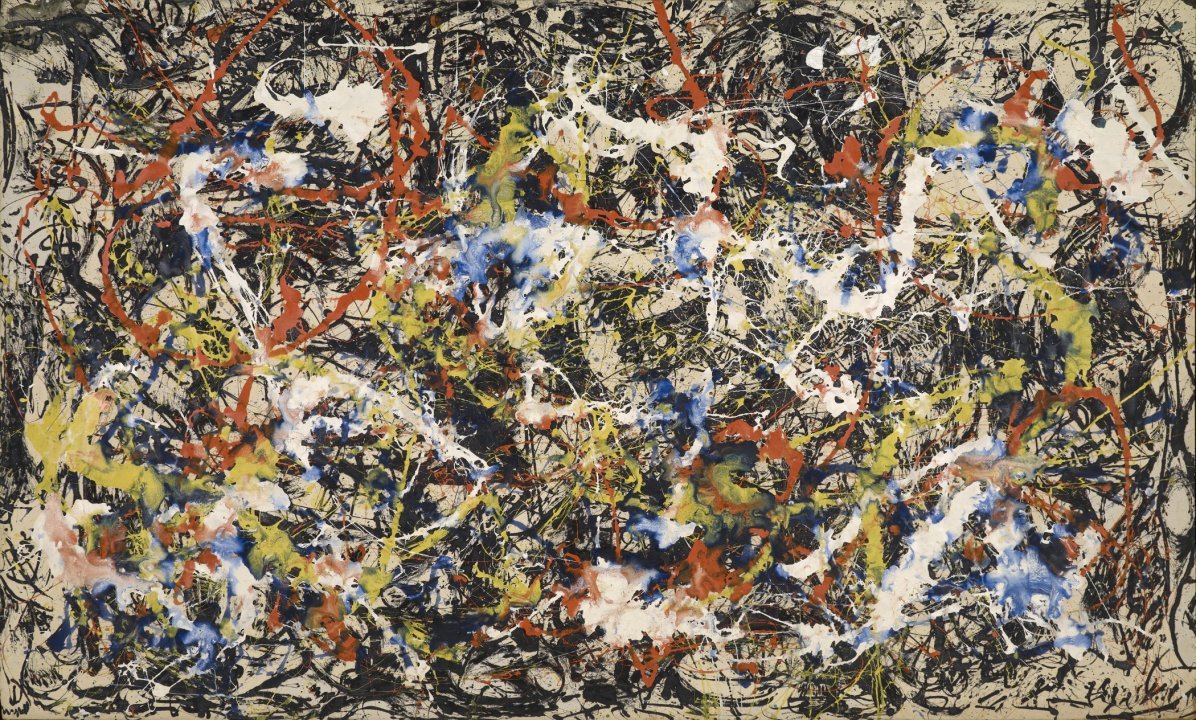

Art confined to a screen has little to do with the physical experience of art. These images are nothing like the paintings they represent, at 9’ by 9’ and 13’ x 8’. Paintings are alive — civilizations unto themselves. Every inch has dozens of brushstrokes, and every brushstroke, a story.
Everyday art in 2023 is usually a print from a digital image. When you get up close, you see blur and square pixels. When making digital art, it's important to consider its size in pixels. A rule of thumb in UI design is ~320 pixels per inch, viewed from 2’ away, looks "real."
How big does a digital image need to be in order to be indistinguishable from real at every distance?
Generally? ~1000 pixels per inch.
A sheet of paper? 8192x10240, 83 megapixels.
How do you calculate that?
We need at least 60 pixels per degree of viewing angle. [source]
We can use this PPD calculator, typically used for screens, to calculate the number of pixels required
13" "screen size" (hypotenuse of 8.5" x 11" sheet)
1" distance
Start with an initial size of 640 by 512 pixels. (8.5”x11” at standard AI art 512 px).
Multiply size dimensions by 2 until the answer is above 60, at 8192 x 10240.
A sheet of paper, 8.5 x 11”, needs 8192 x 10240? That’s a little less than 1000 pixels.
AI art’s scale is 512px. We’d need 1024 images from the original image! That is possible. A well-known technique slices the image into tiles, scales them up, then redraws, doing ~50% of the normal diffusion on the scaled up version.
Ultimate Stable Diffusion Upscale (USDU), an automatic111 Stable Diffusion UI extension, perfects that. Its advancements enable quality and coherence. However, it takes an hour for a RTX 3090 to generate a sheet of paper, and sizes above 17”x22” are impossible even with 40 GB of video RAM on an A100, a $15,000 GPU. The goal is an expanse, an 8 foot tall print, 16x that size.
Gigadiffusion makes this possible, by optimizing aggressively in a fork of USDU.
A paper sized print takes 15 minute. An 8 foot tall print is now viable.
It is an automatic111 extension, GPL, & available here: https://github.com/jpohhhh/gigadiffusion.
What drove improvements?
Remove dependencies on image size
Paste tiles into one result image, instead of copying the result image for each tile.
The tile starting image is cropped to the area visible to AI, instead of the entire image
Add support for processing multiple tiles at once
Tested on RTX 3090, supports 16, A100, 48.
By default, automatic111 has a max batch size of 8. Use Inspect Element to change the slider max.
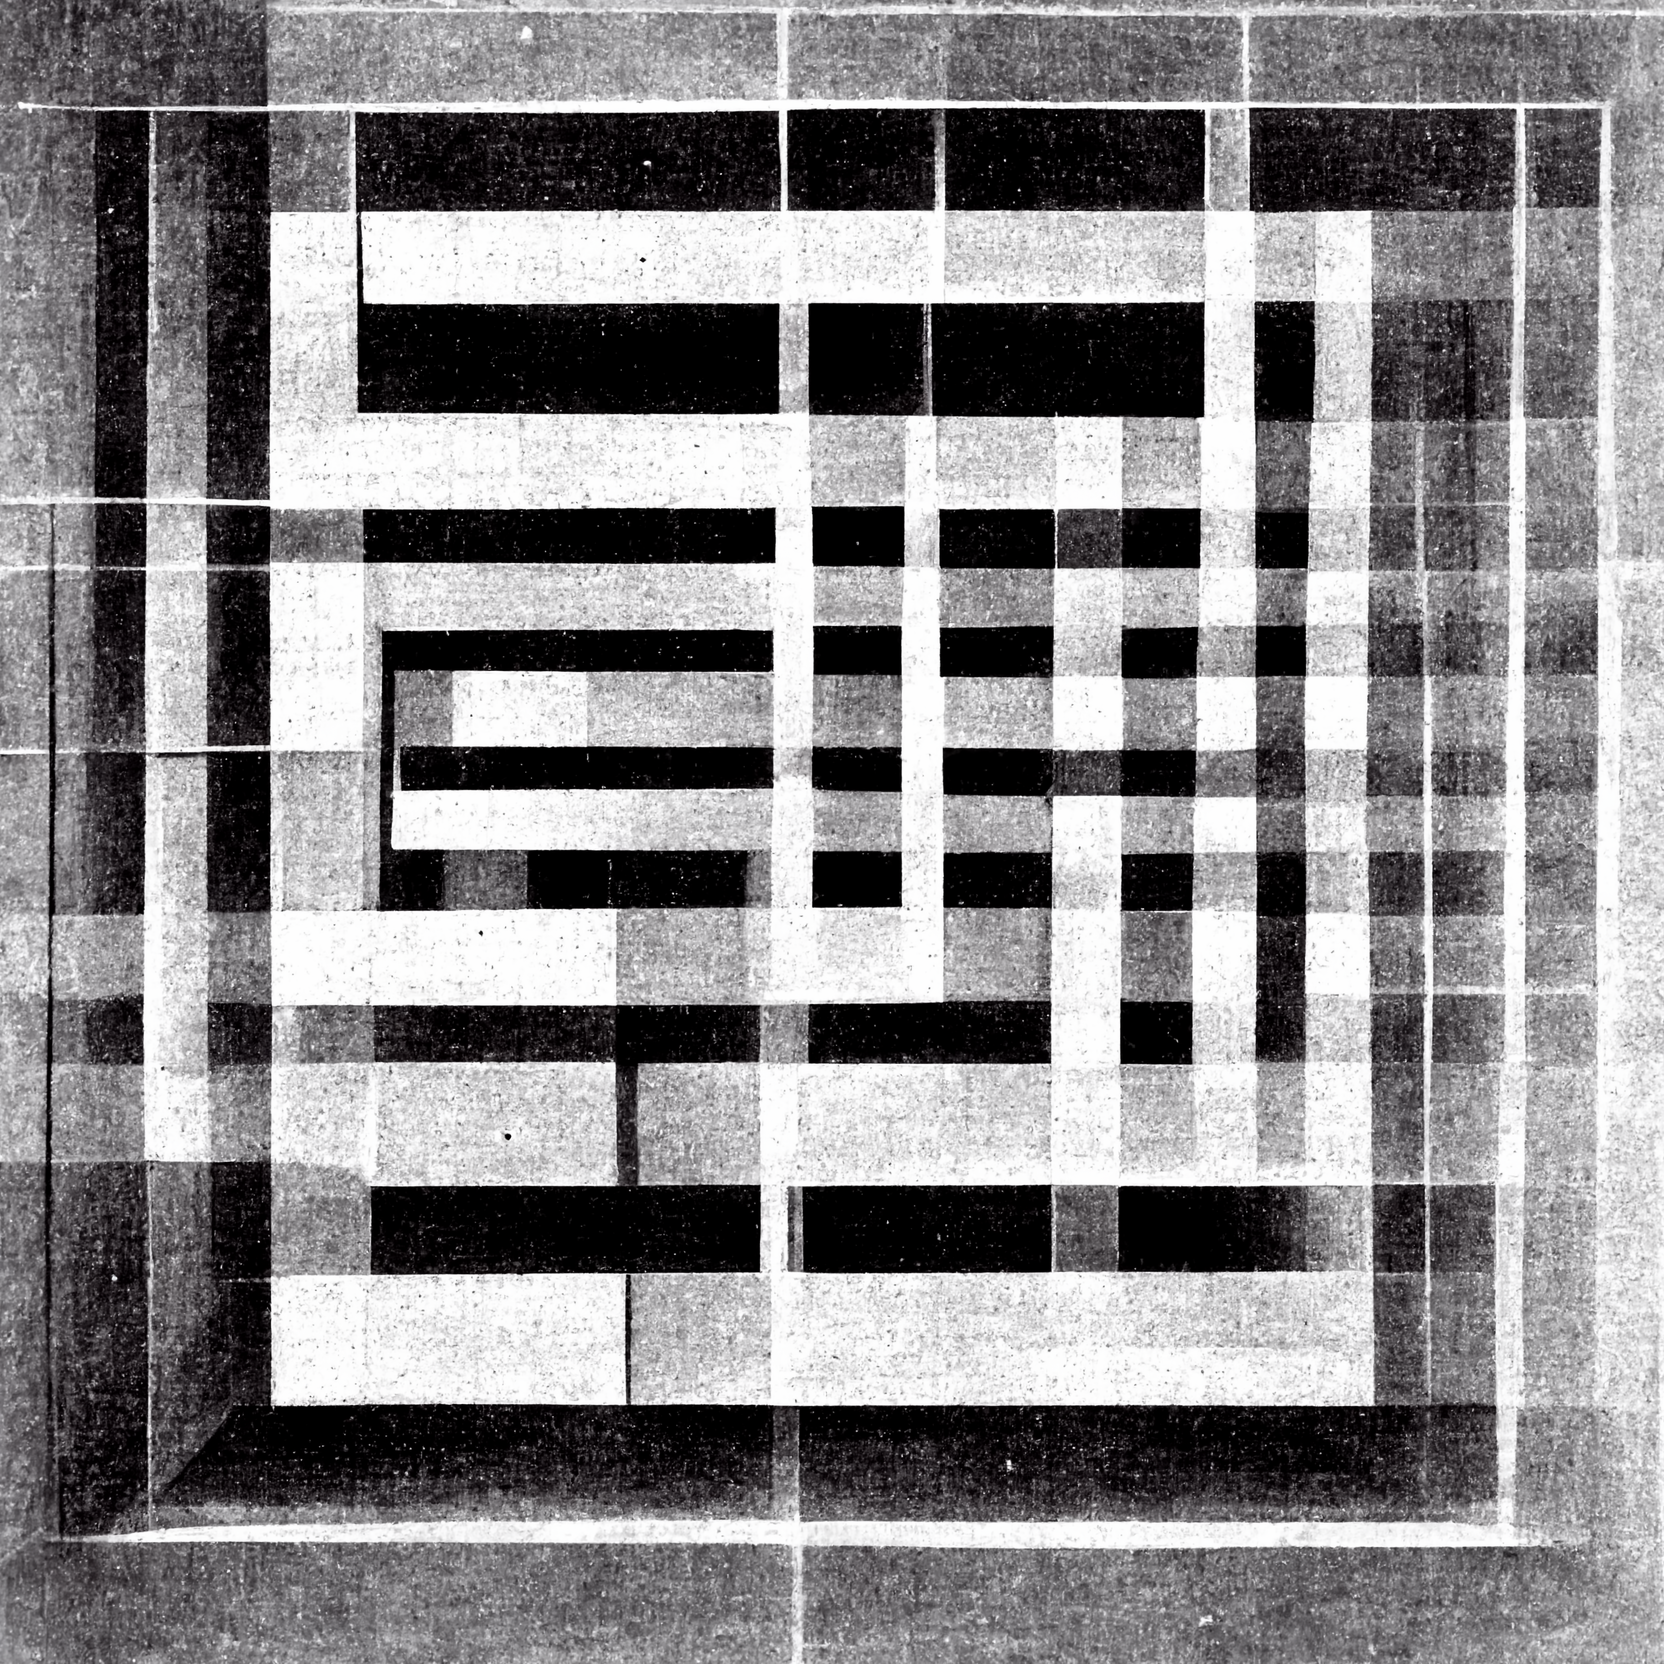
Chess redraw only and seams, linear redraw would lead to poor results.

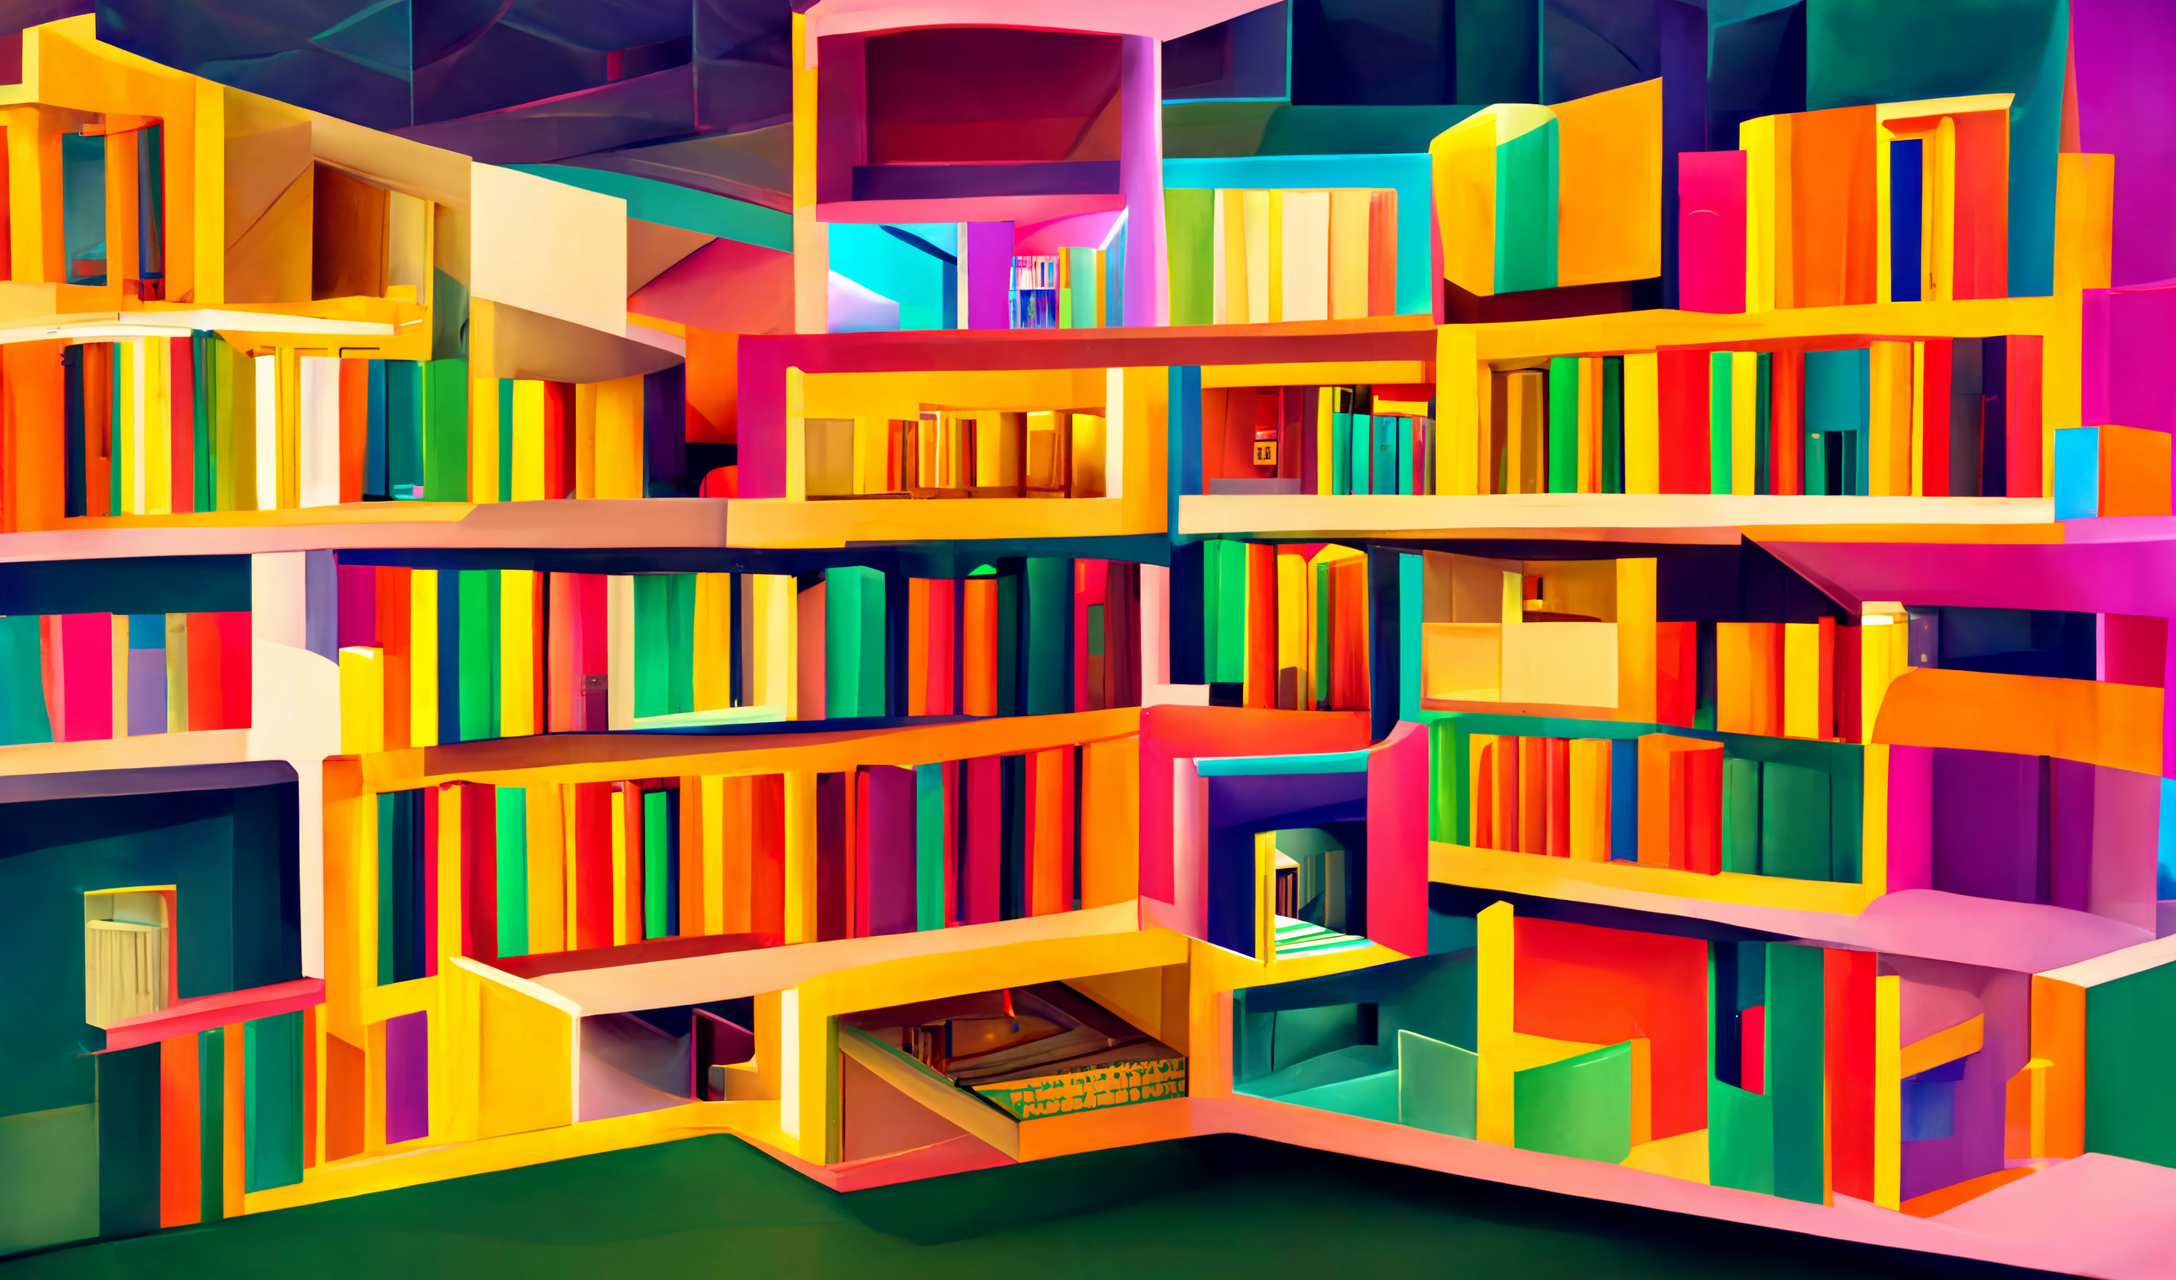
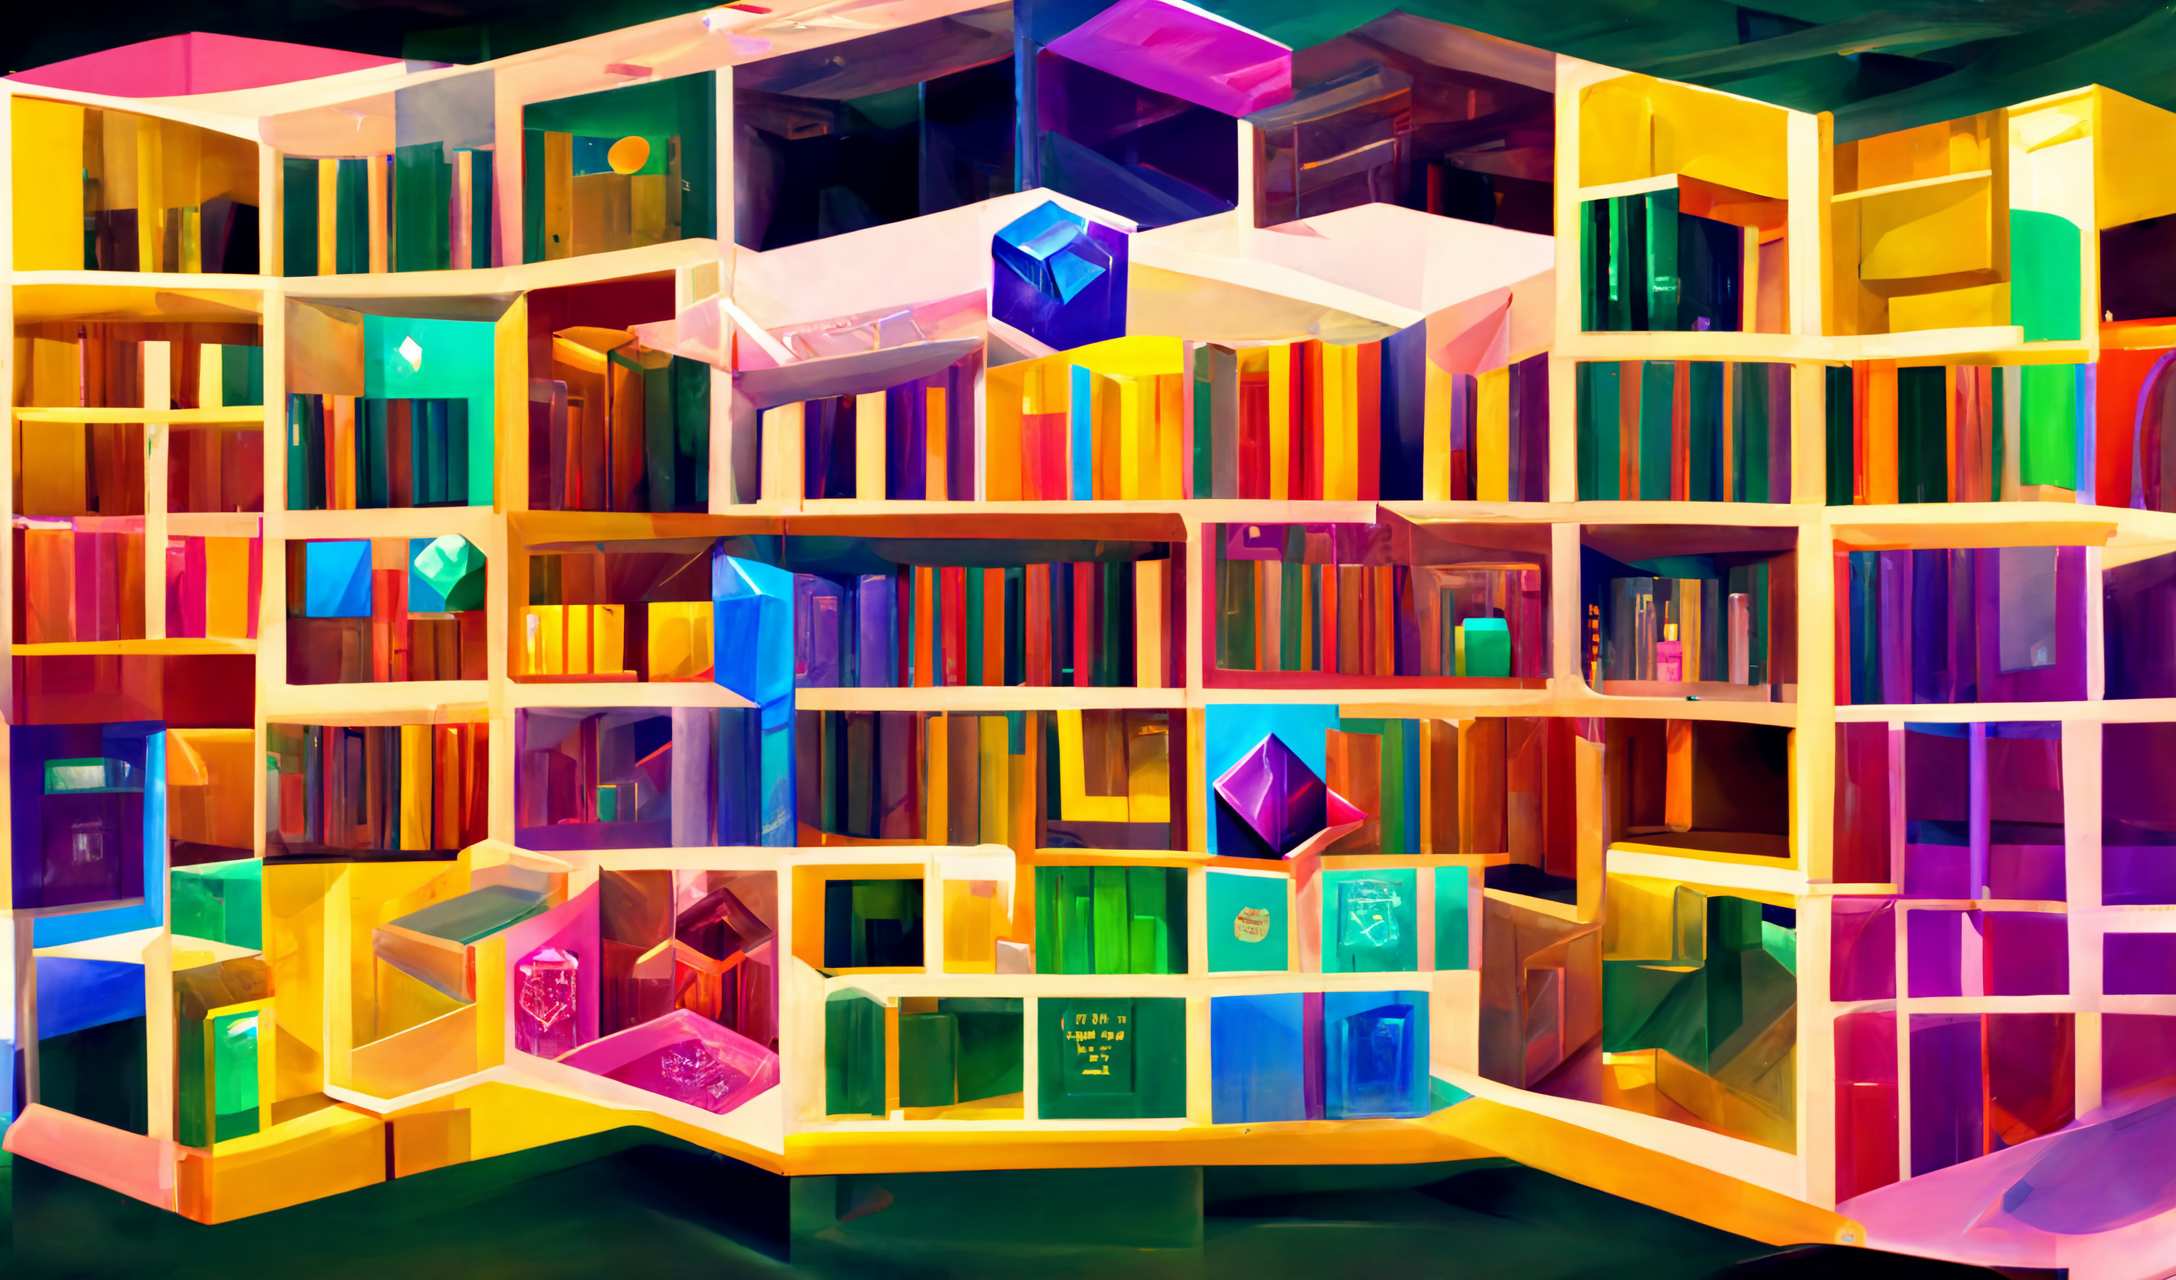
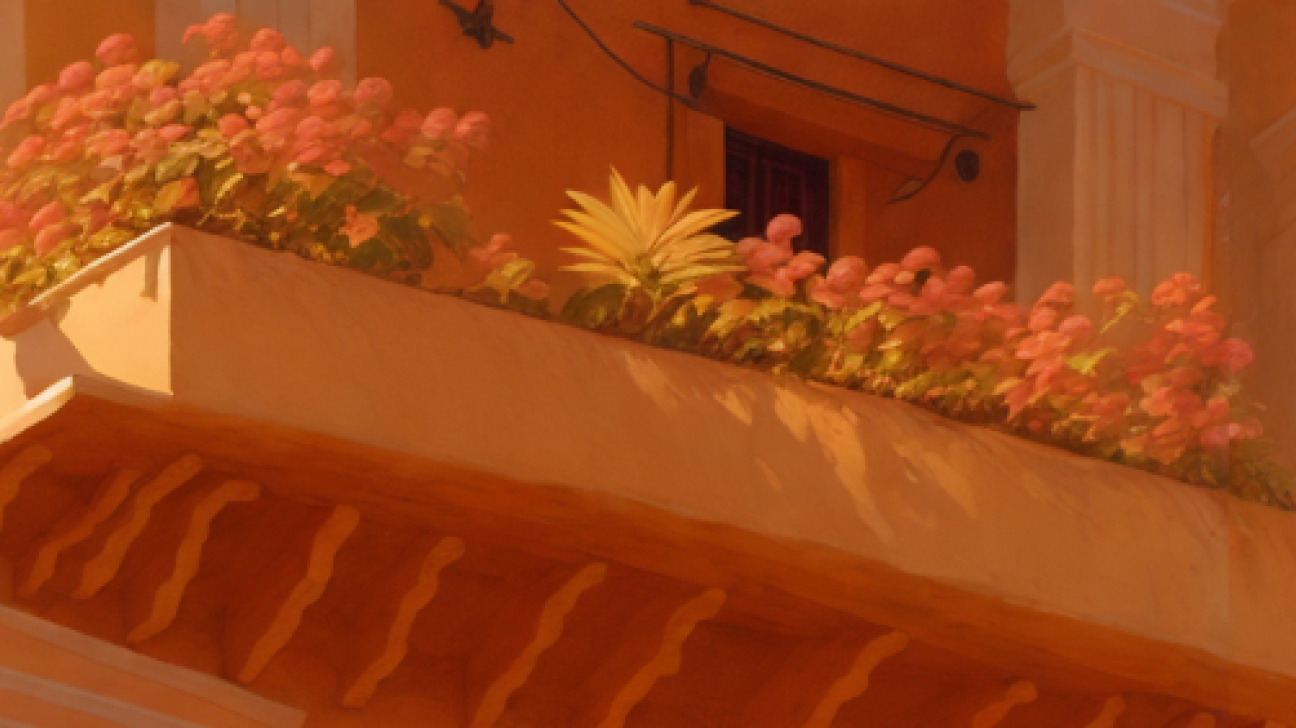
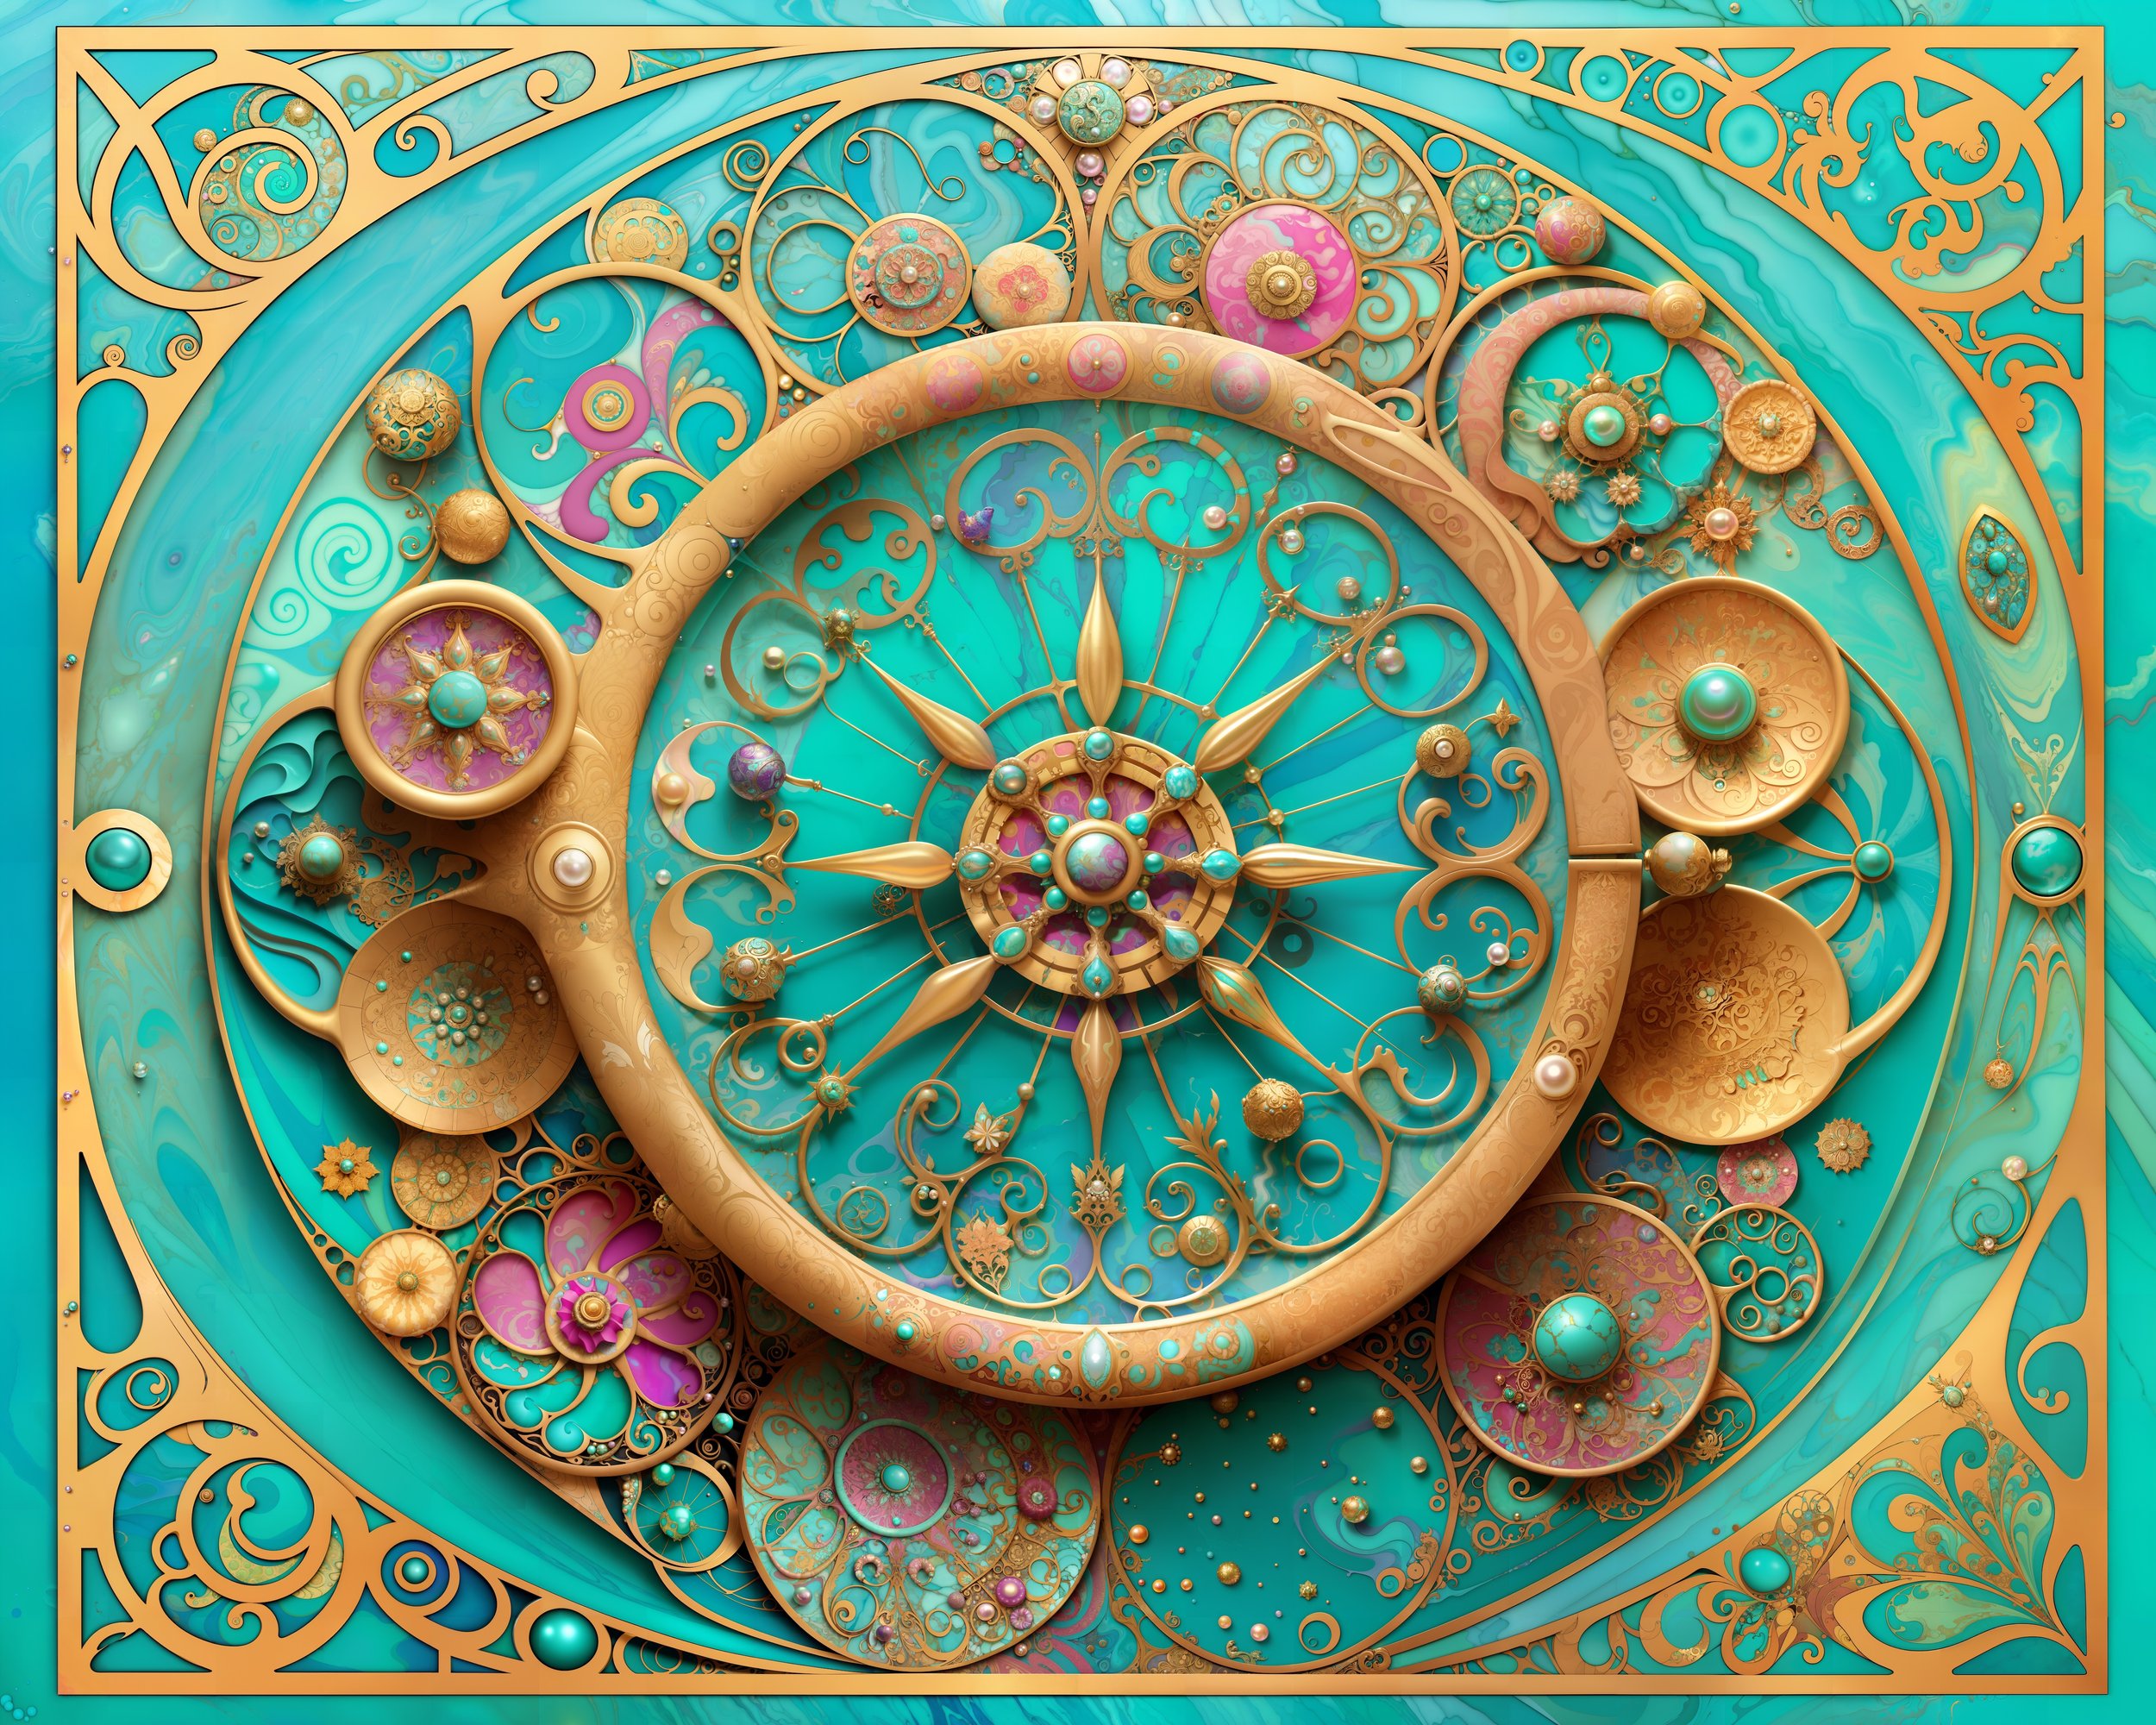
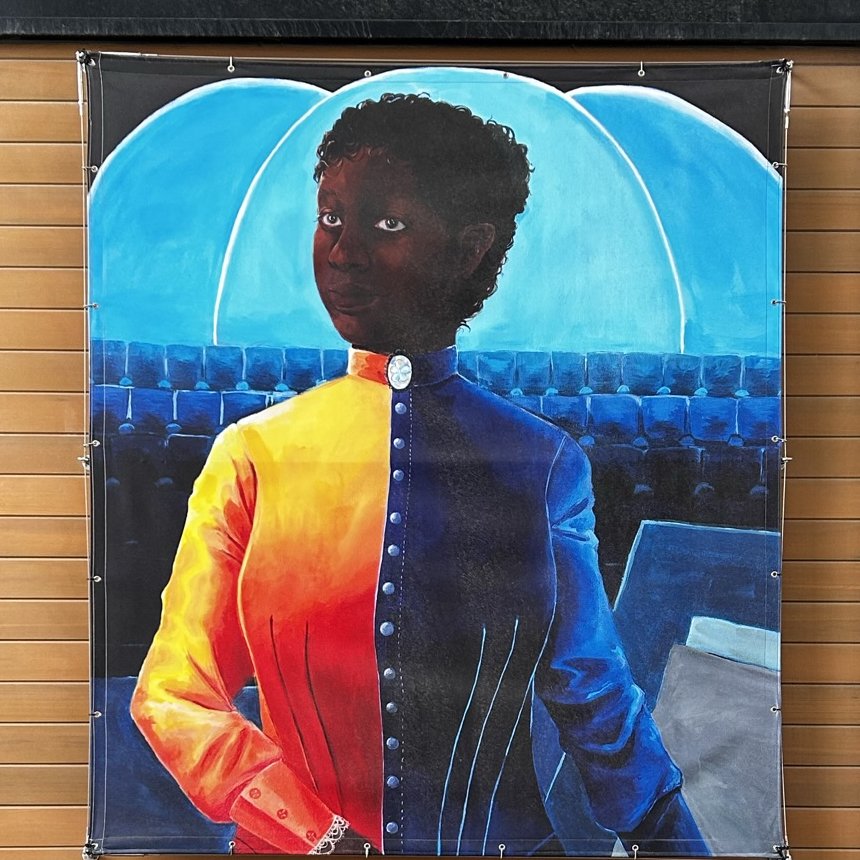
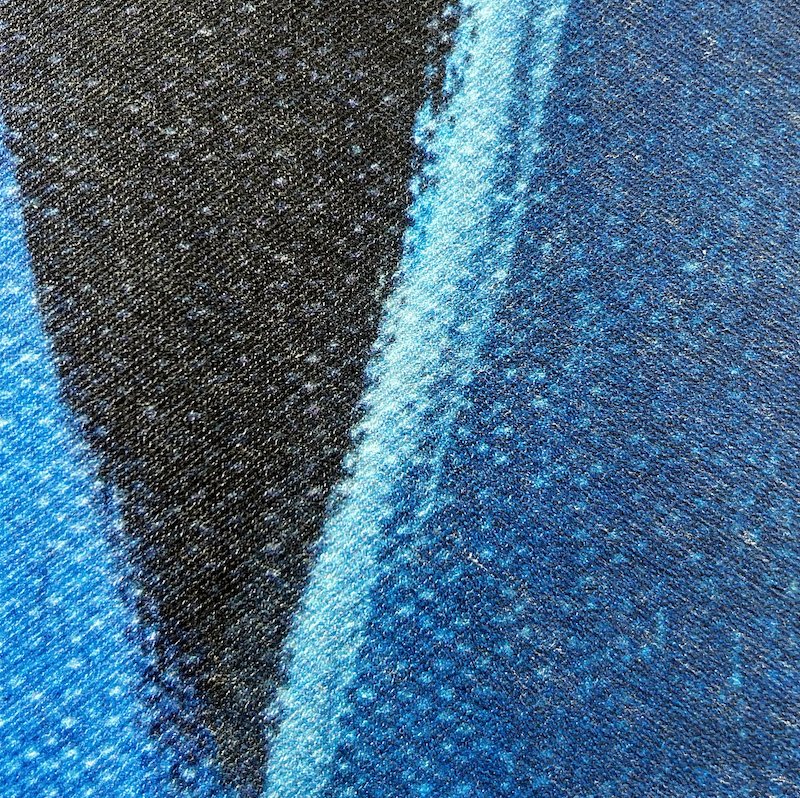
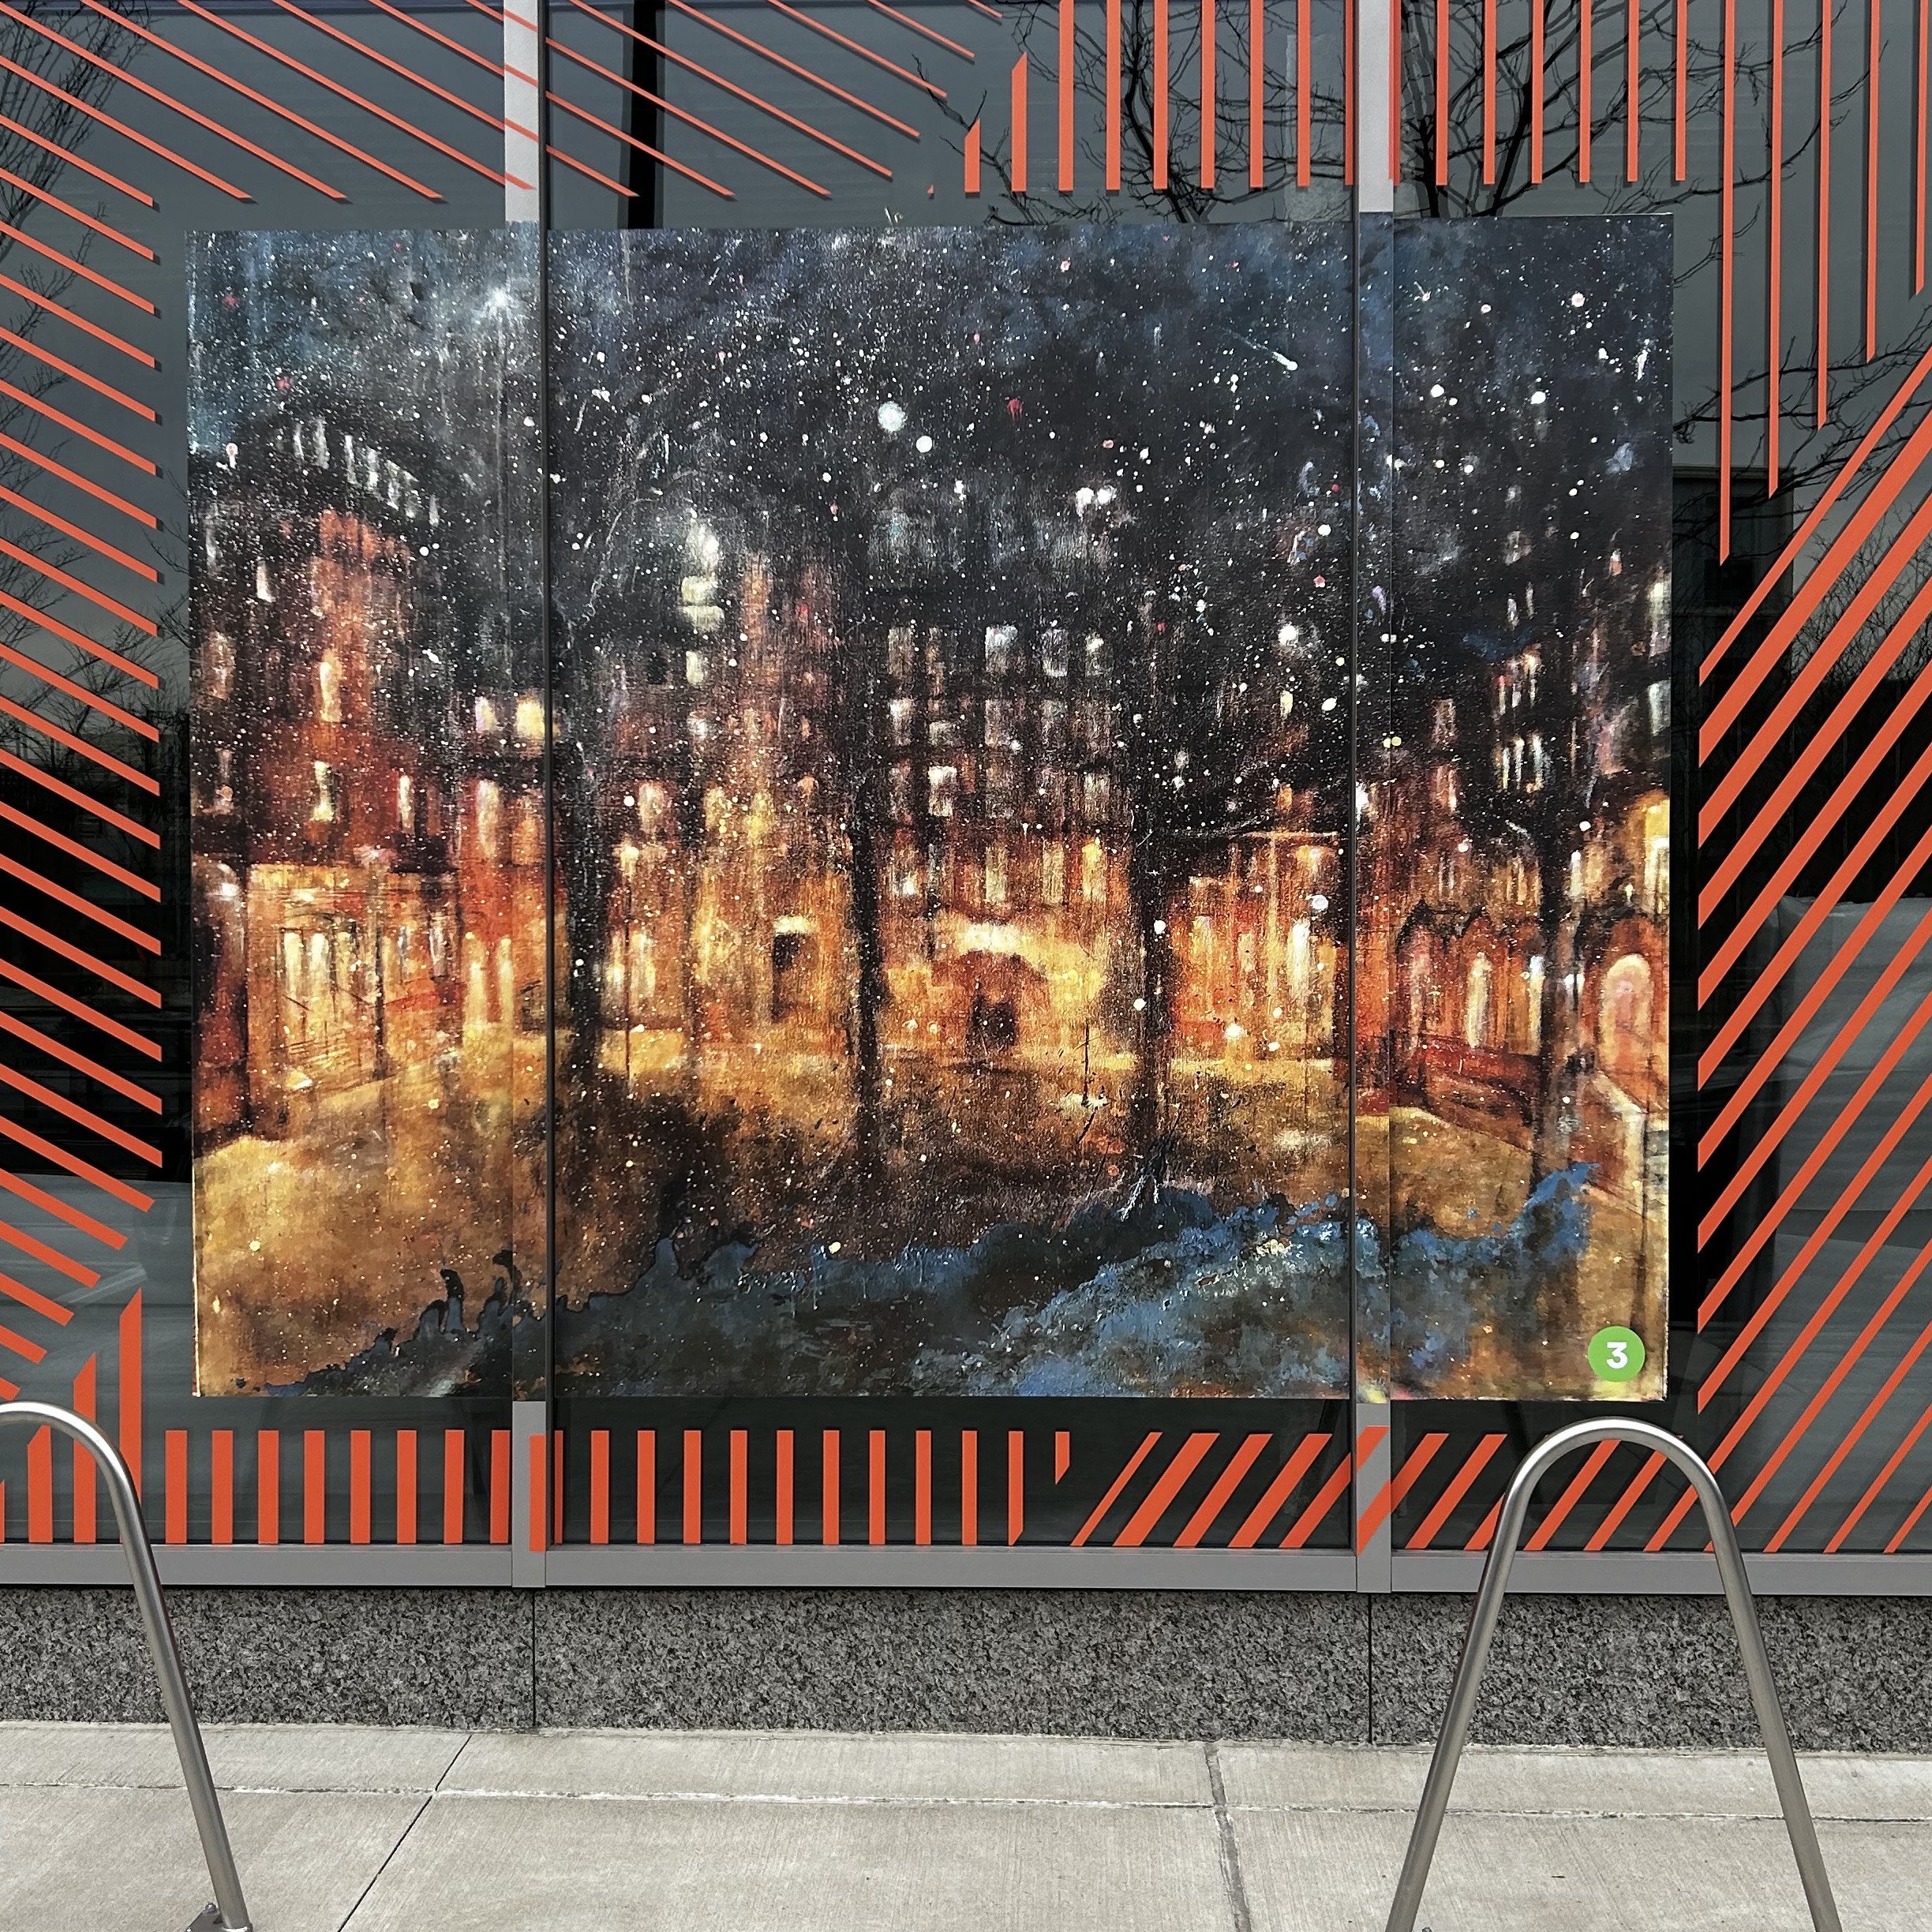
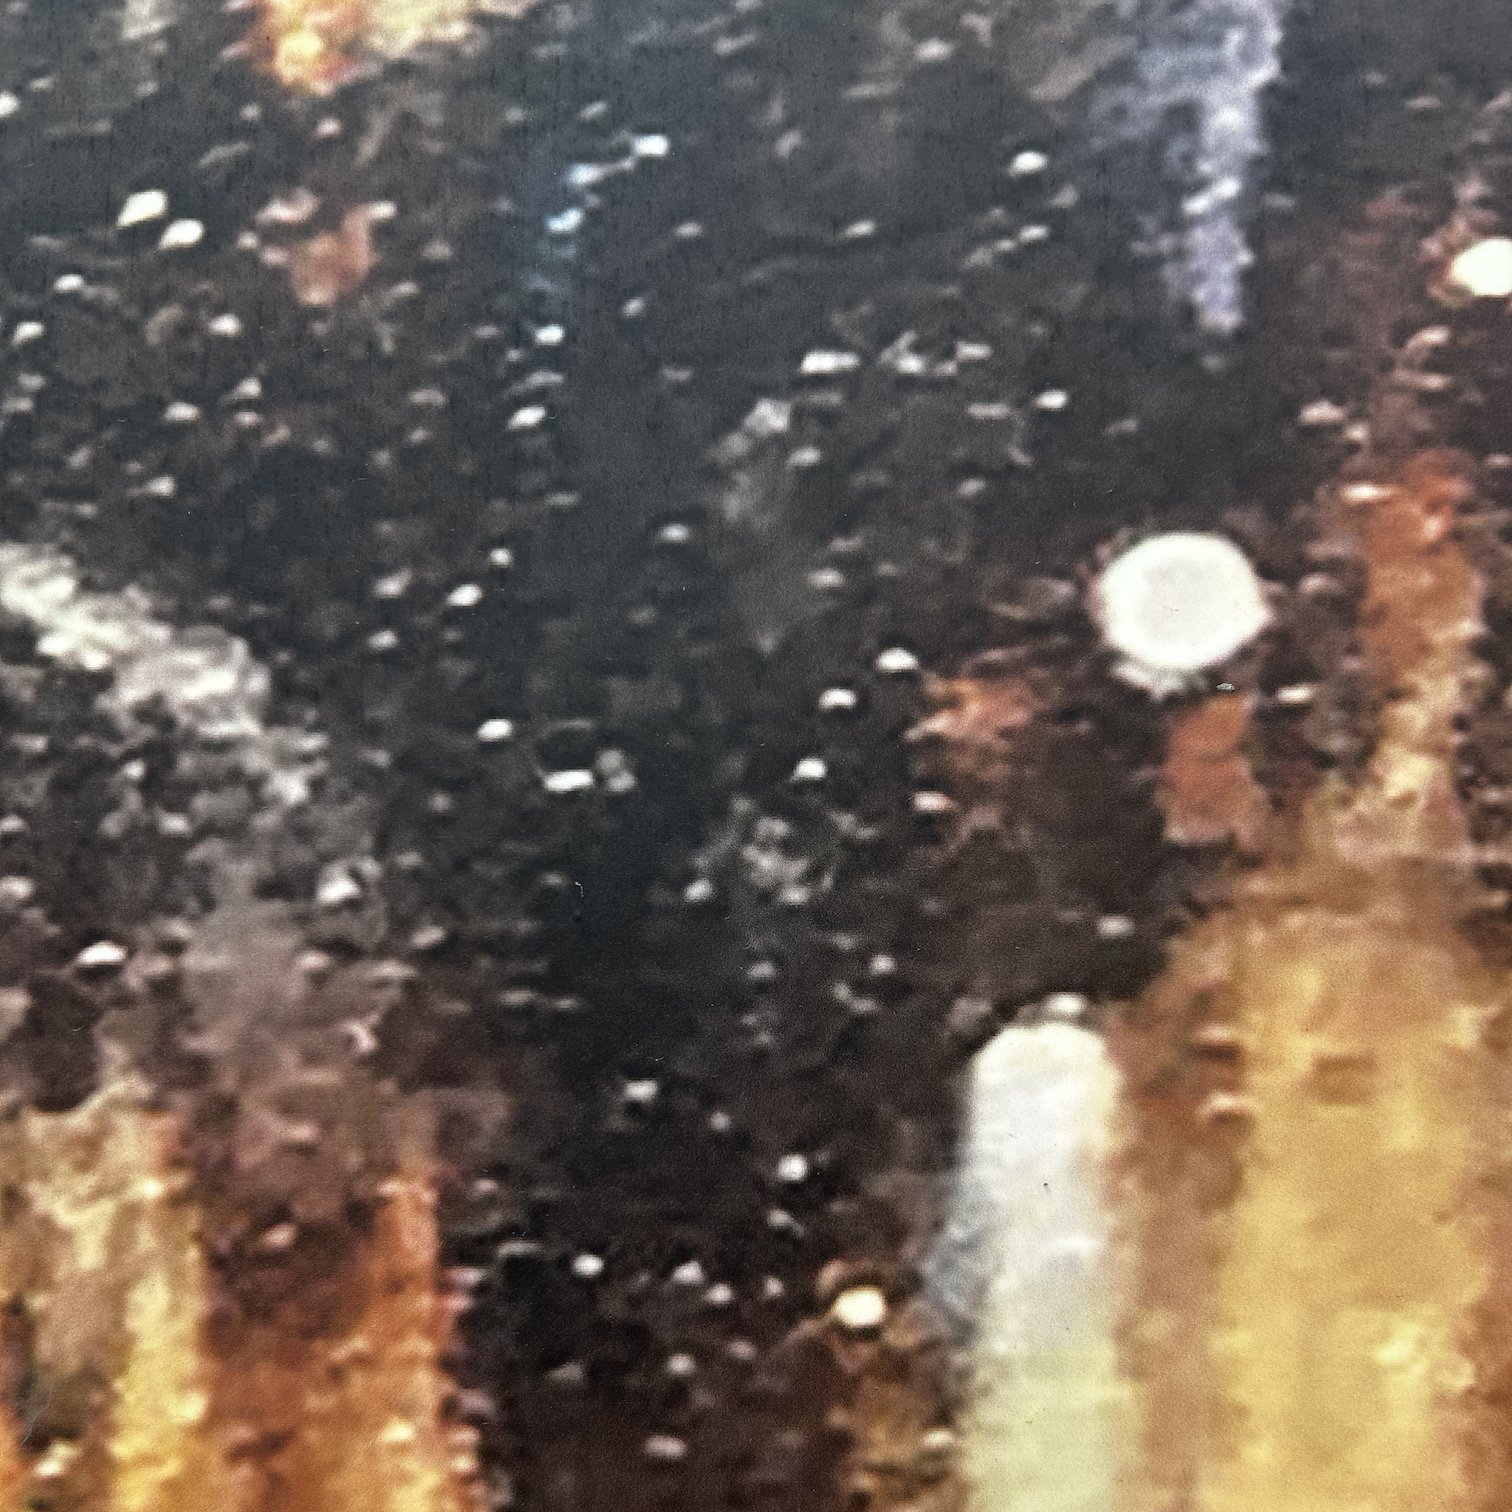
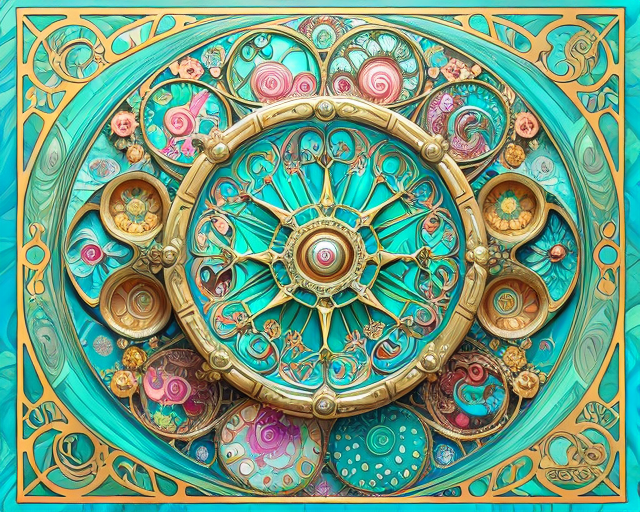
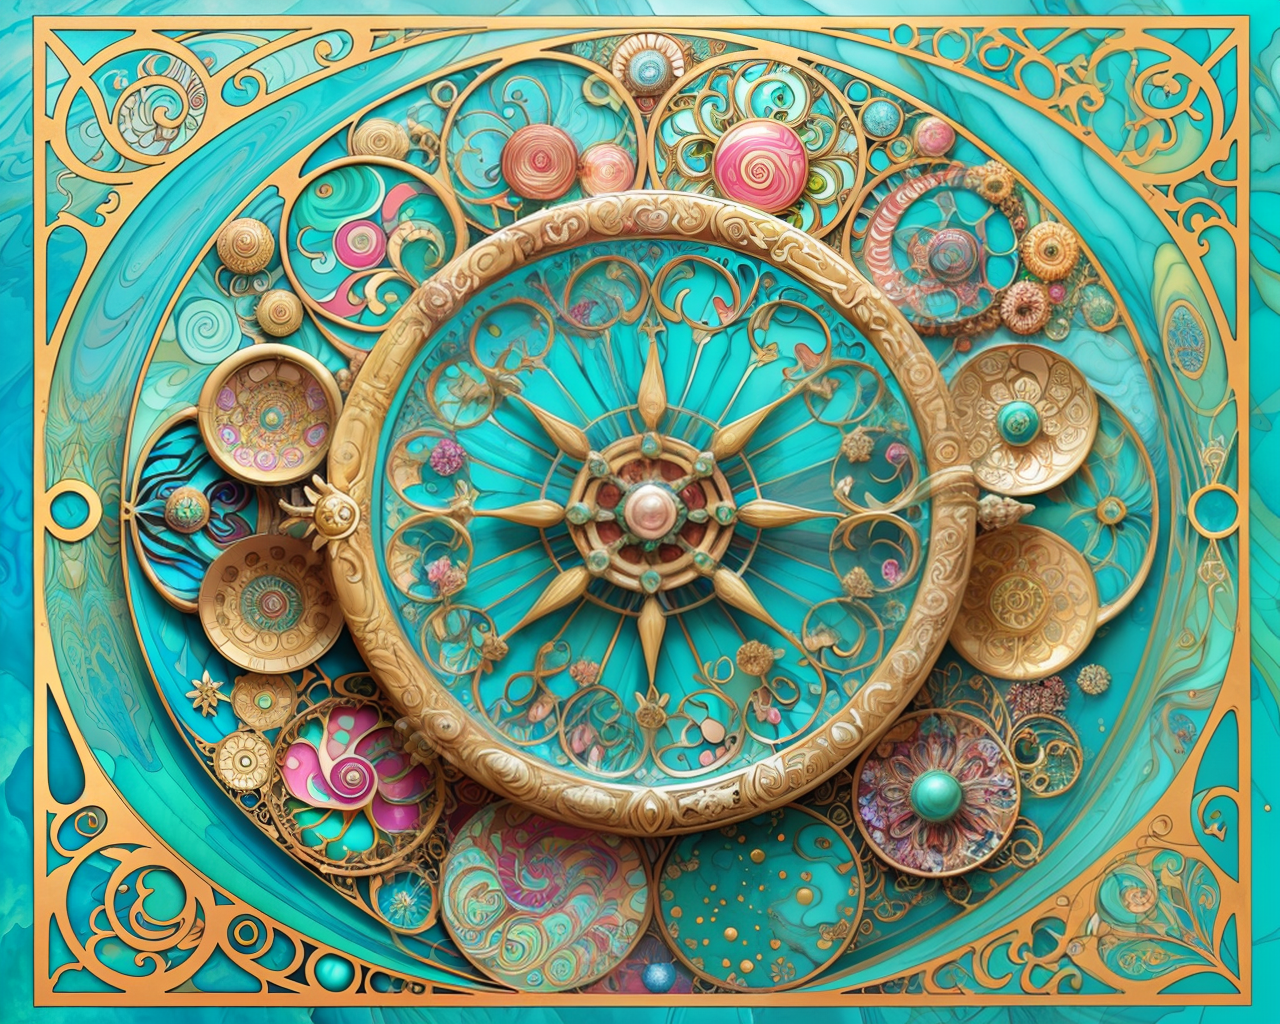
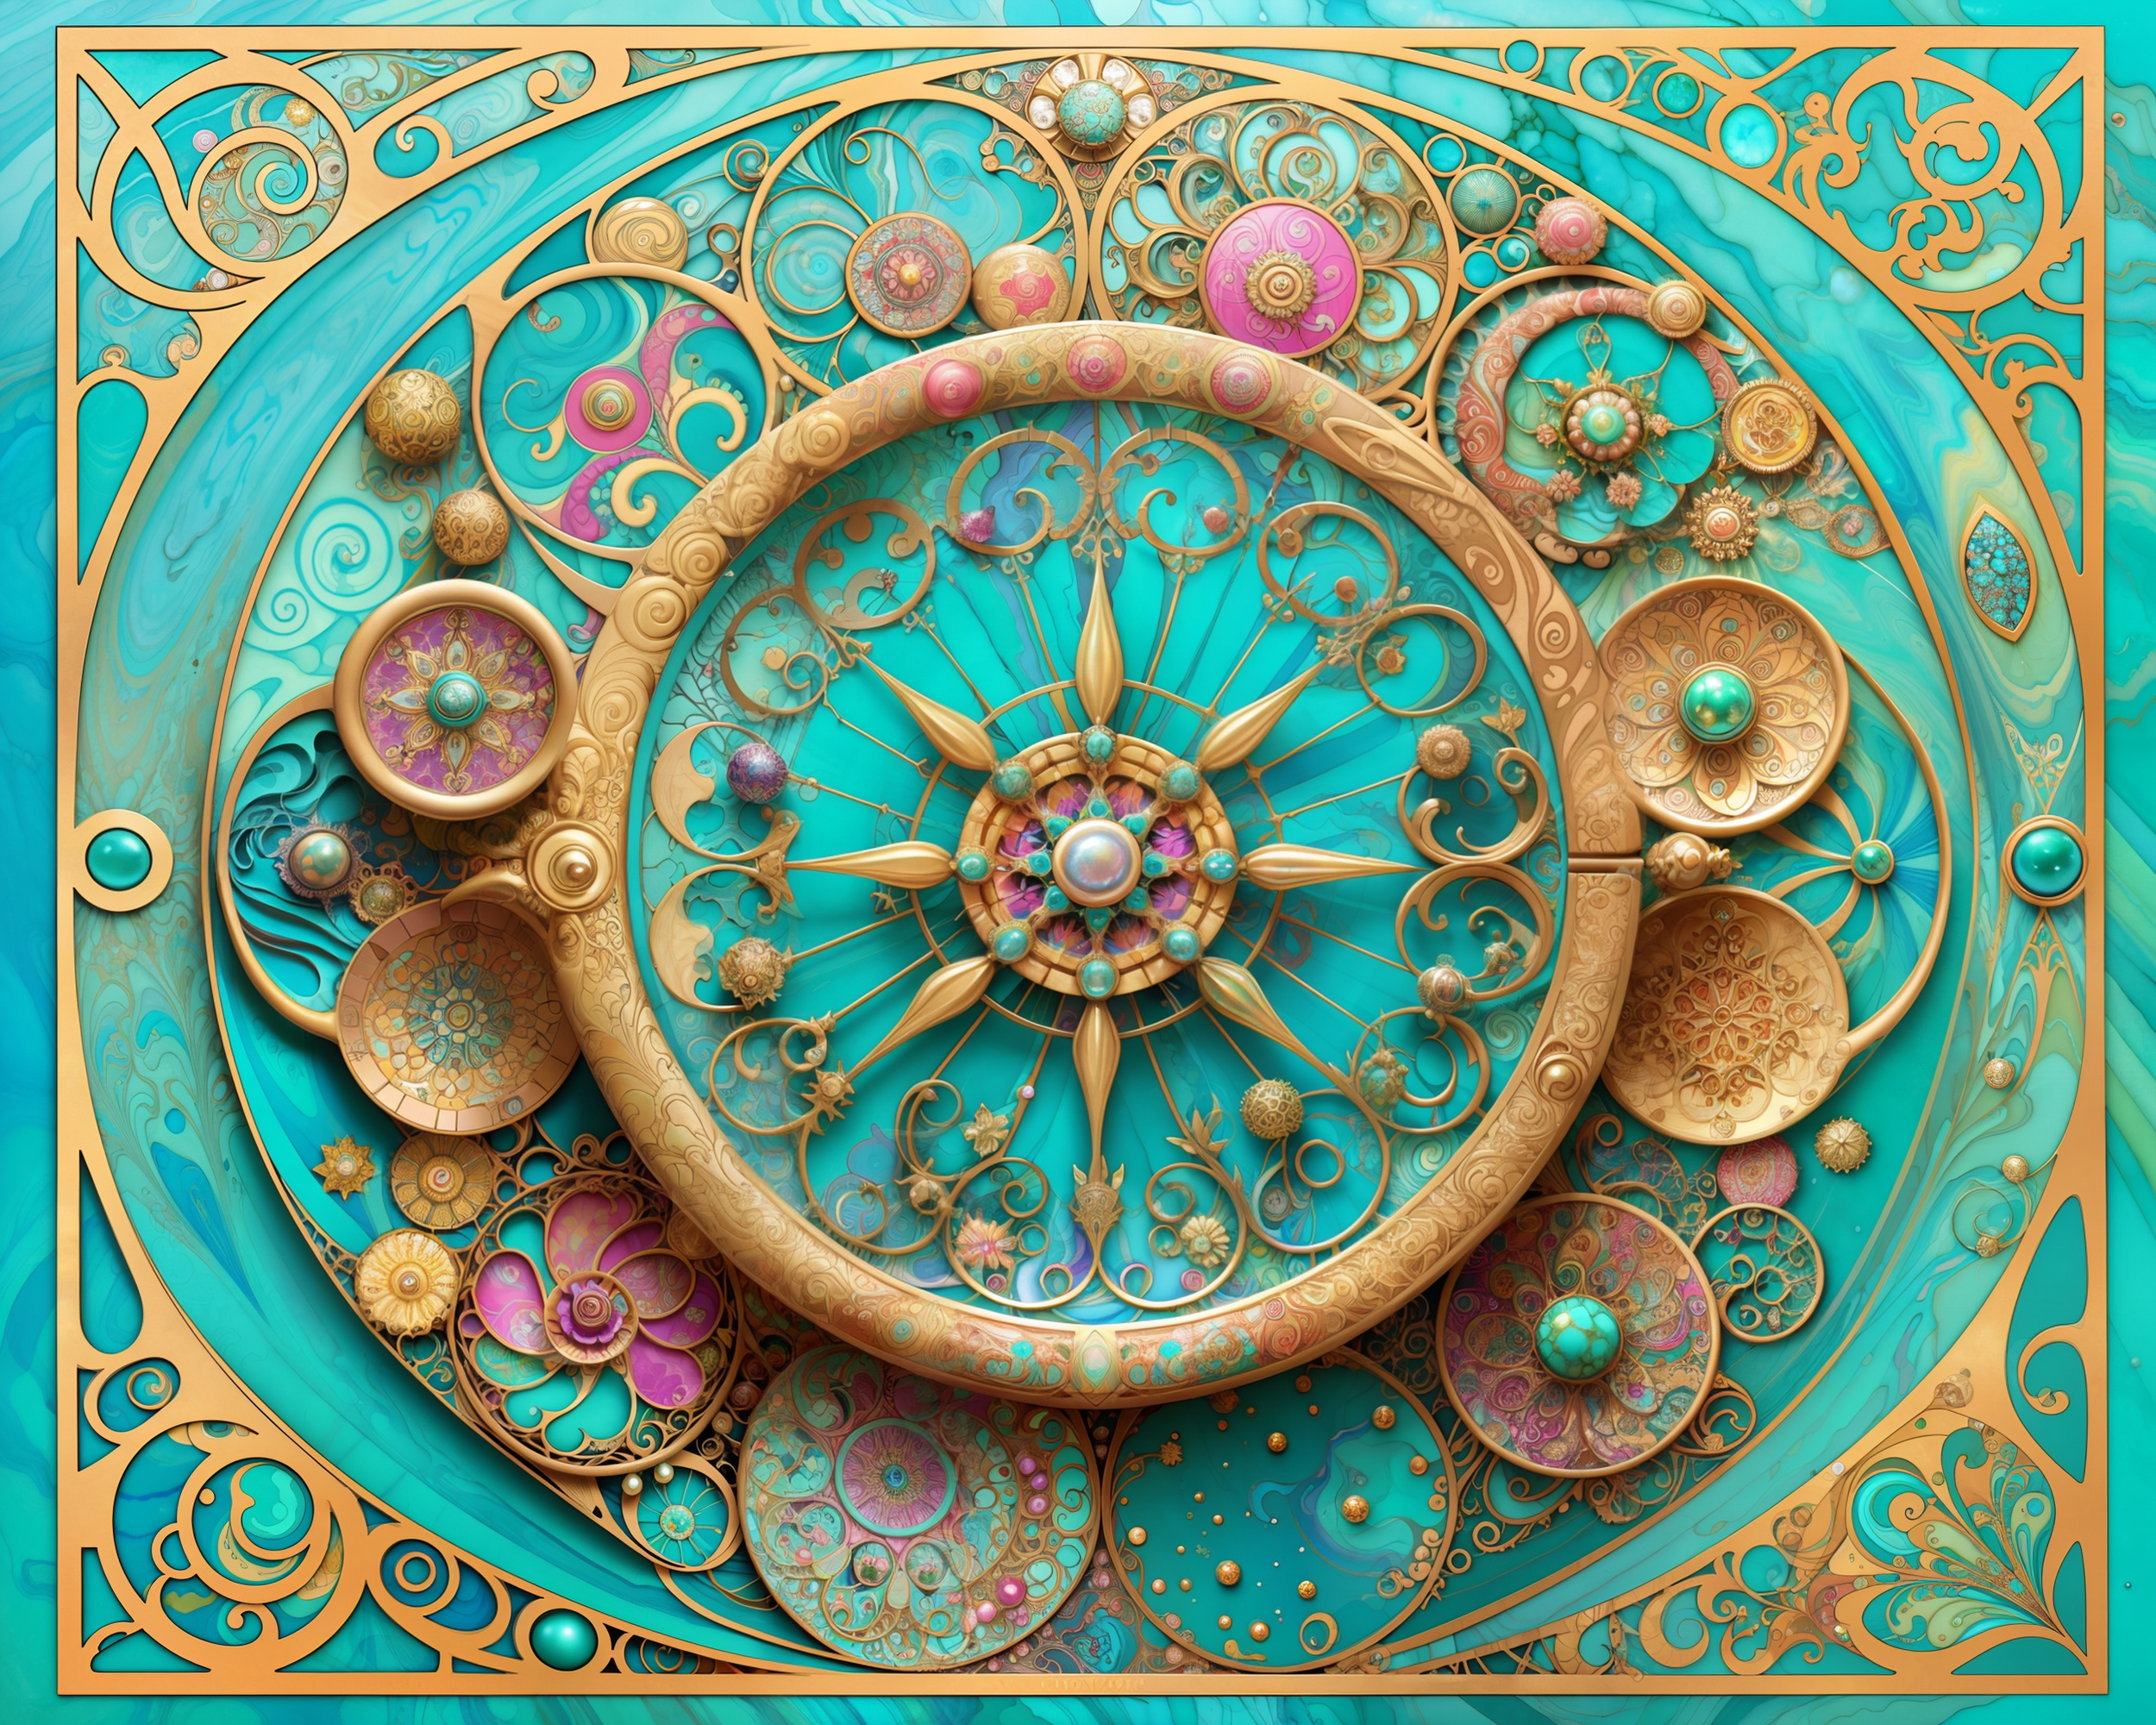
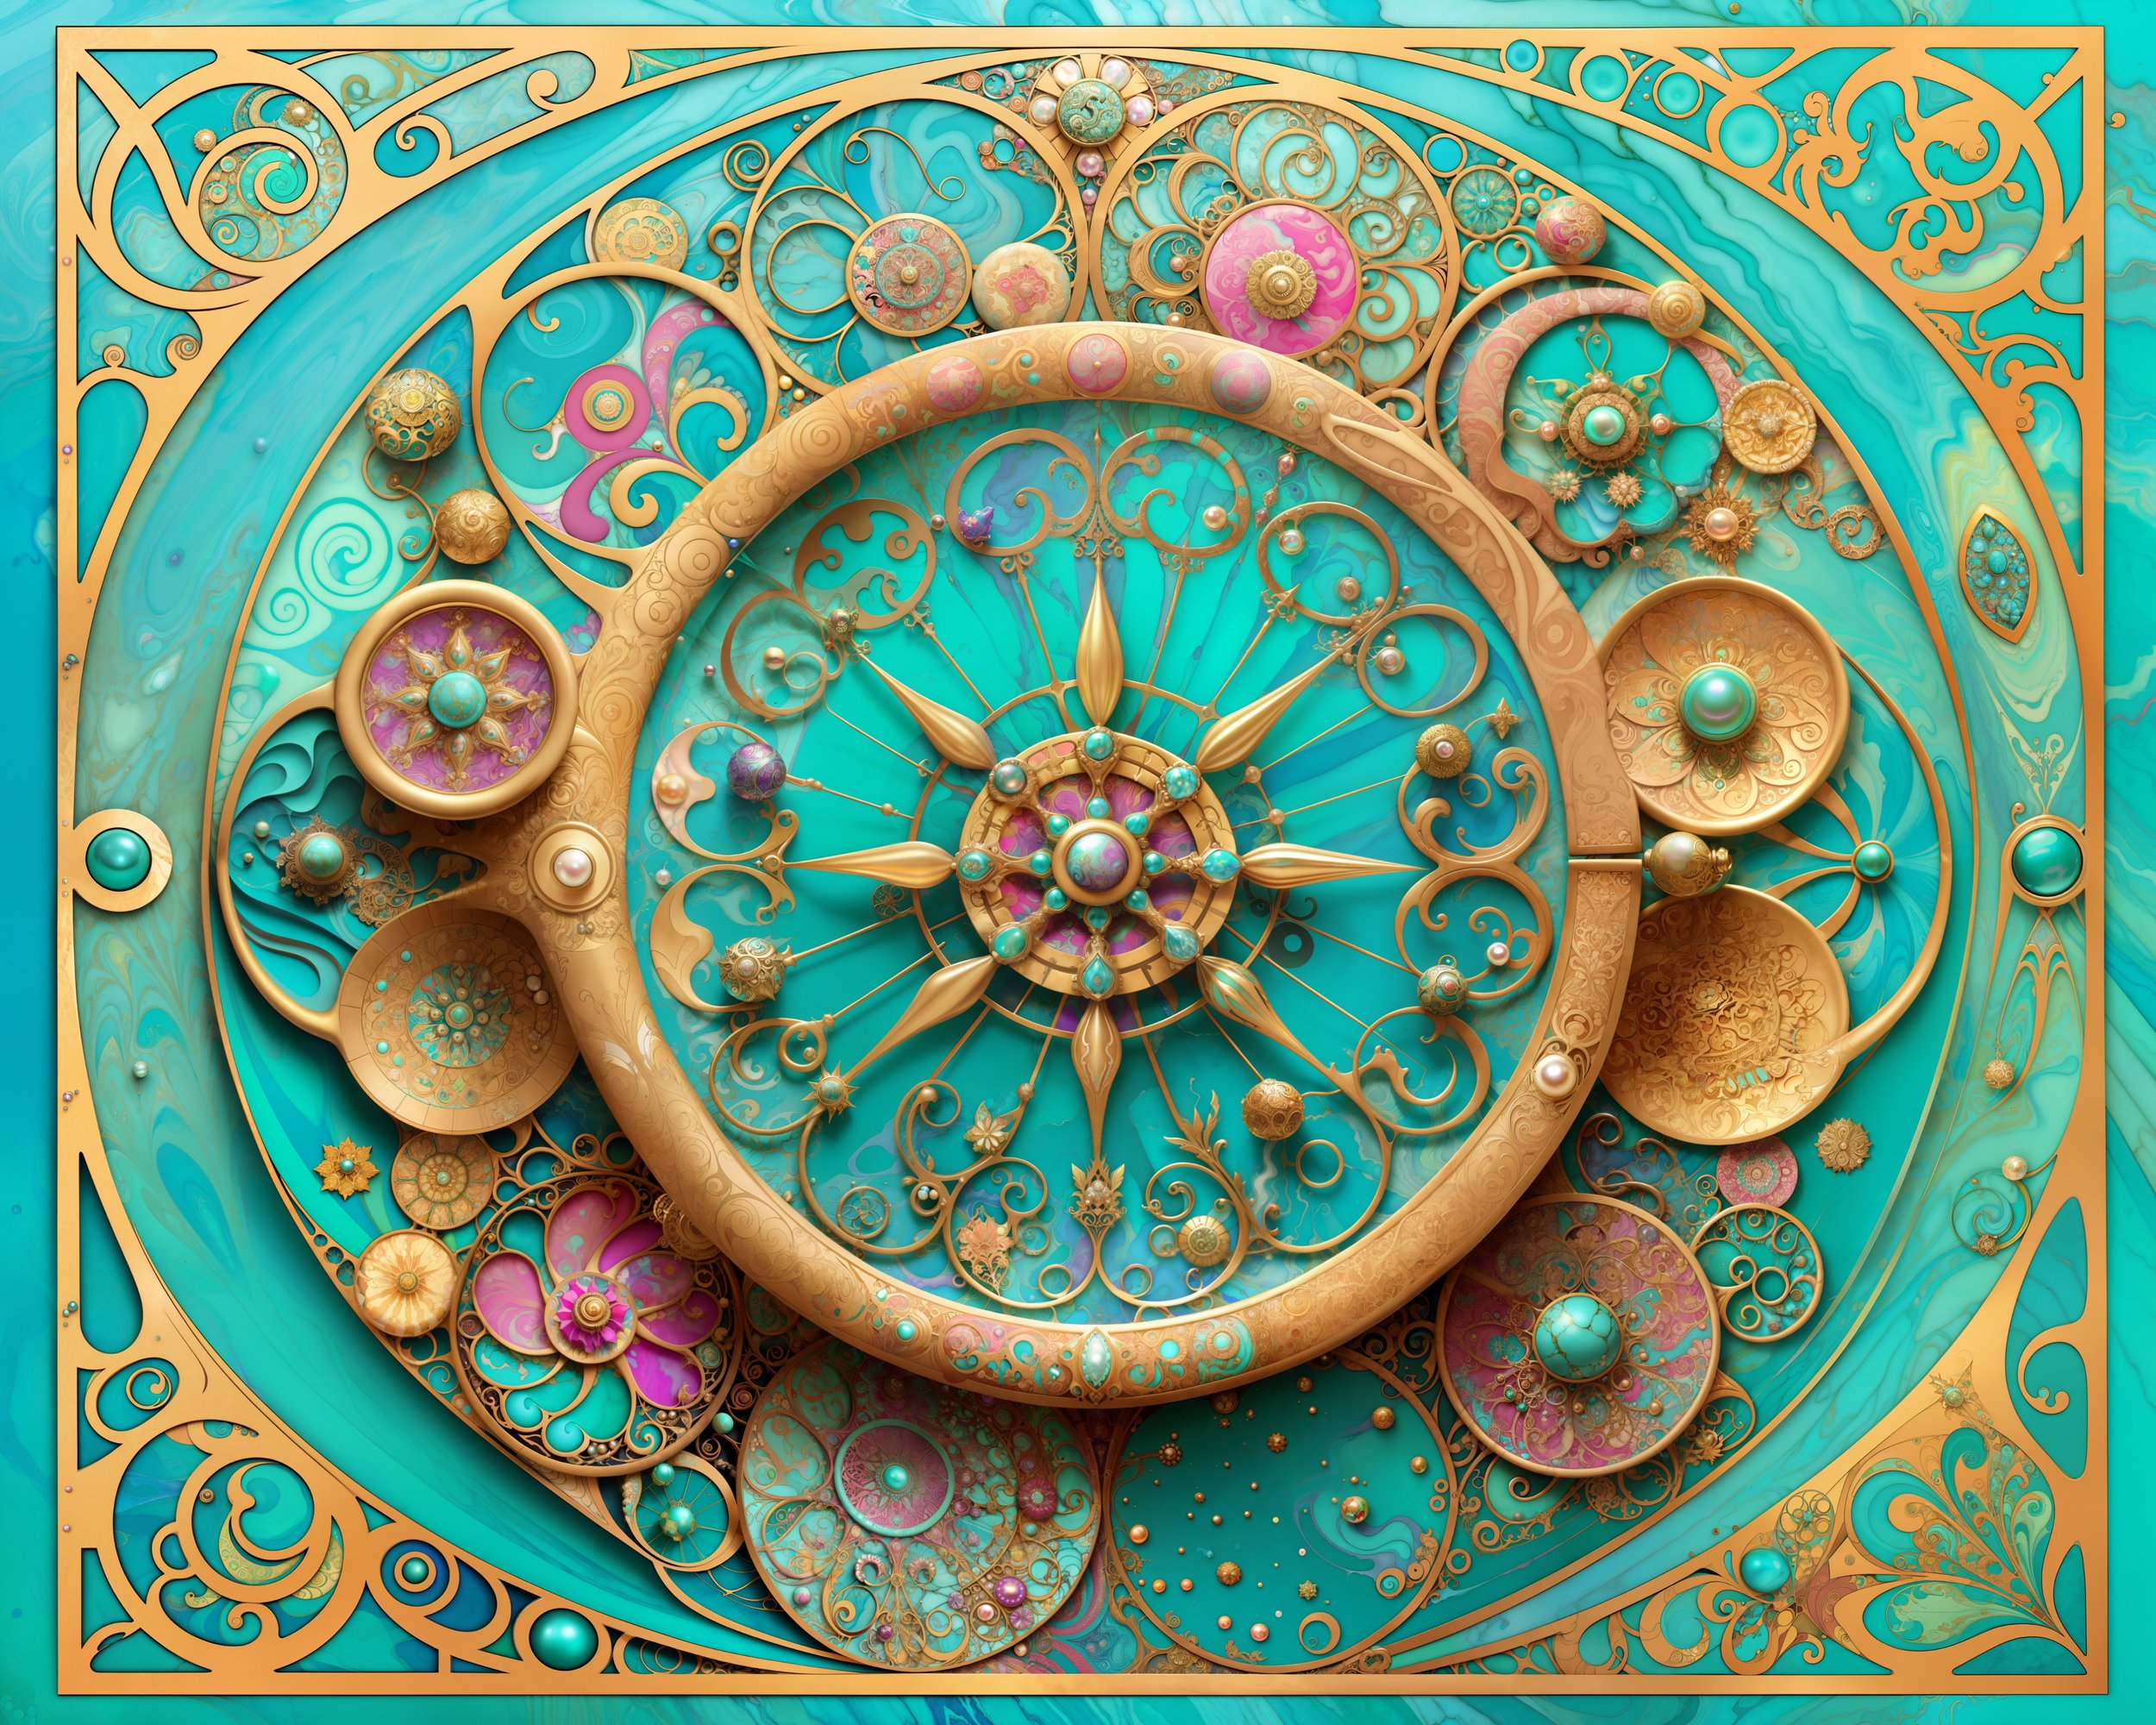
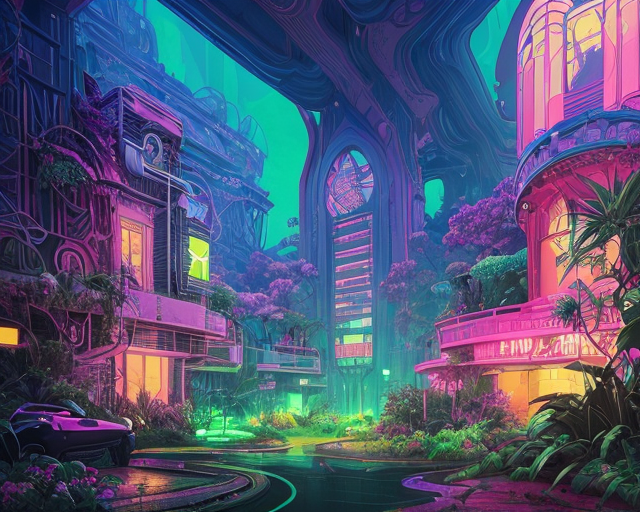
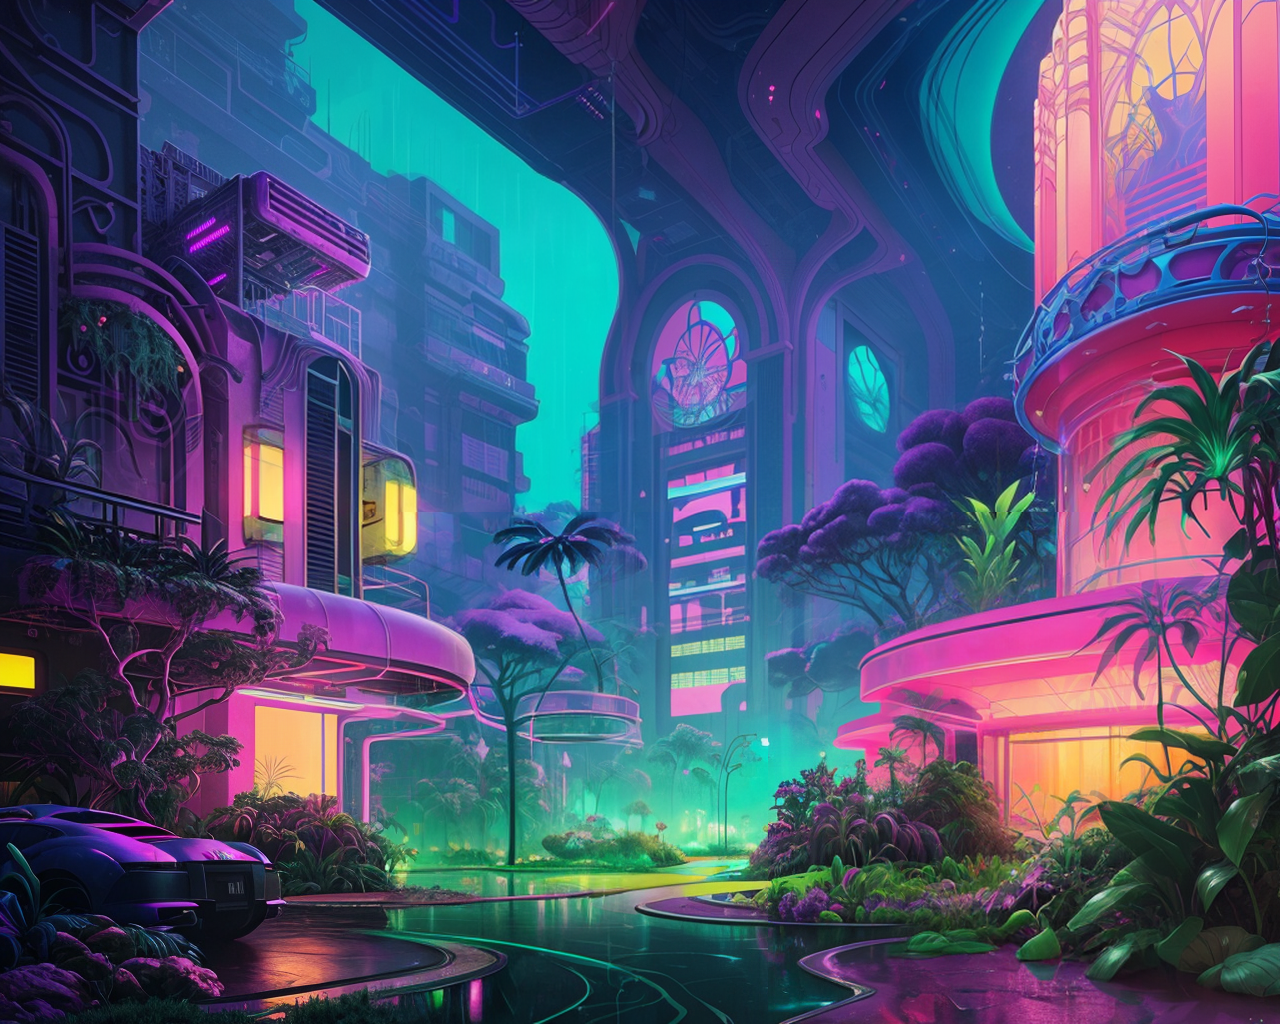
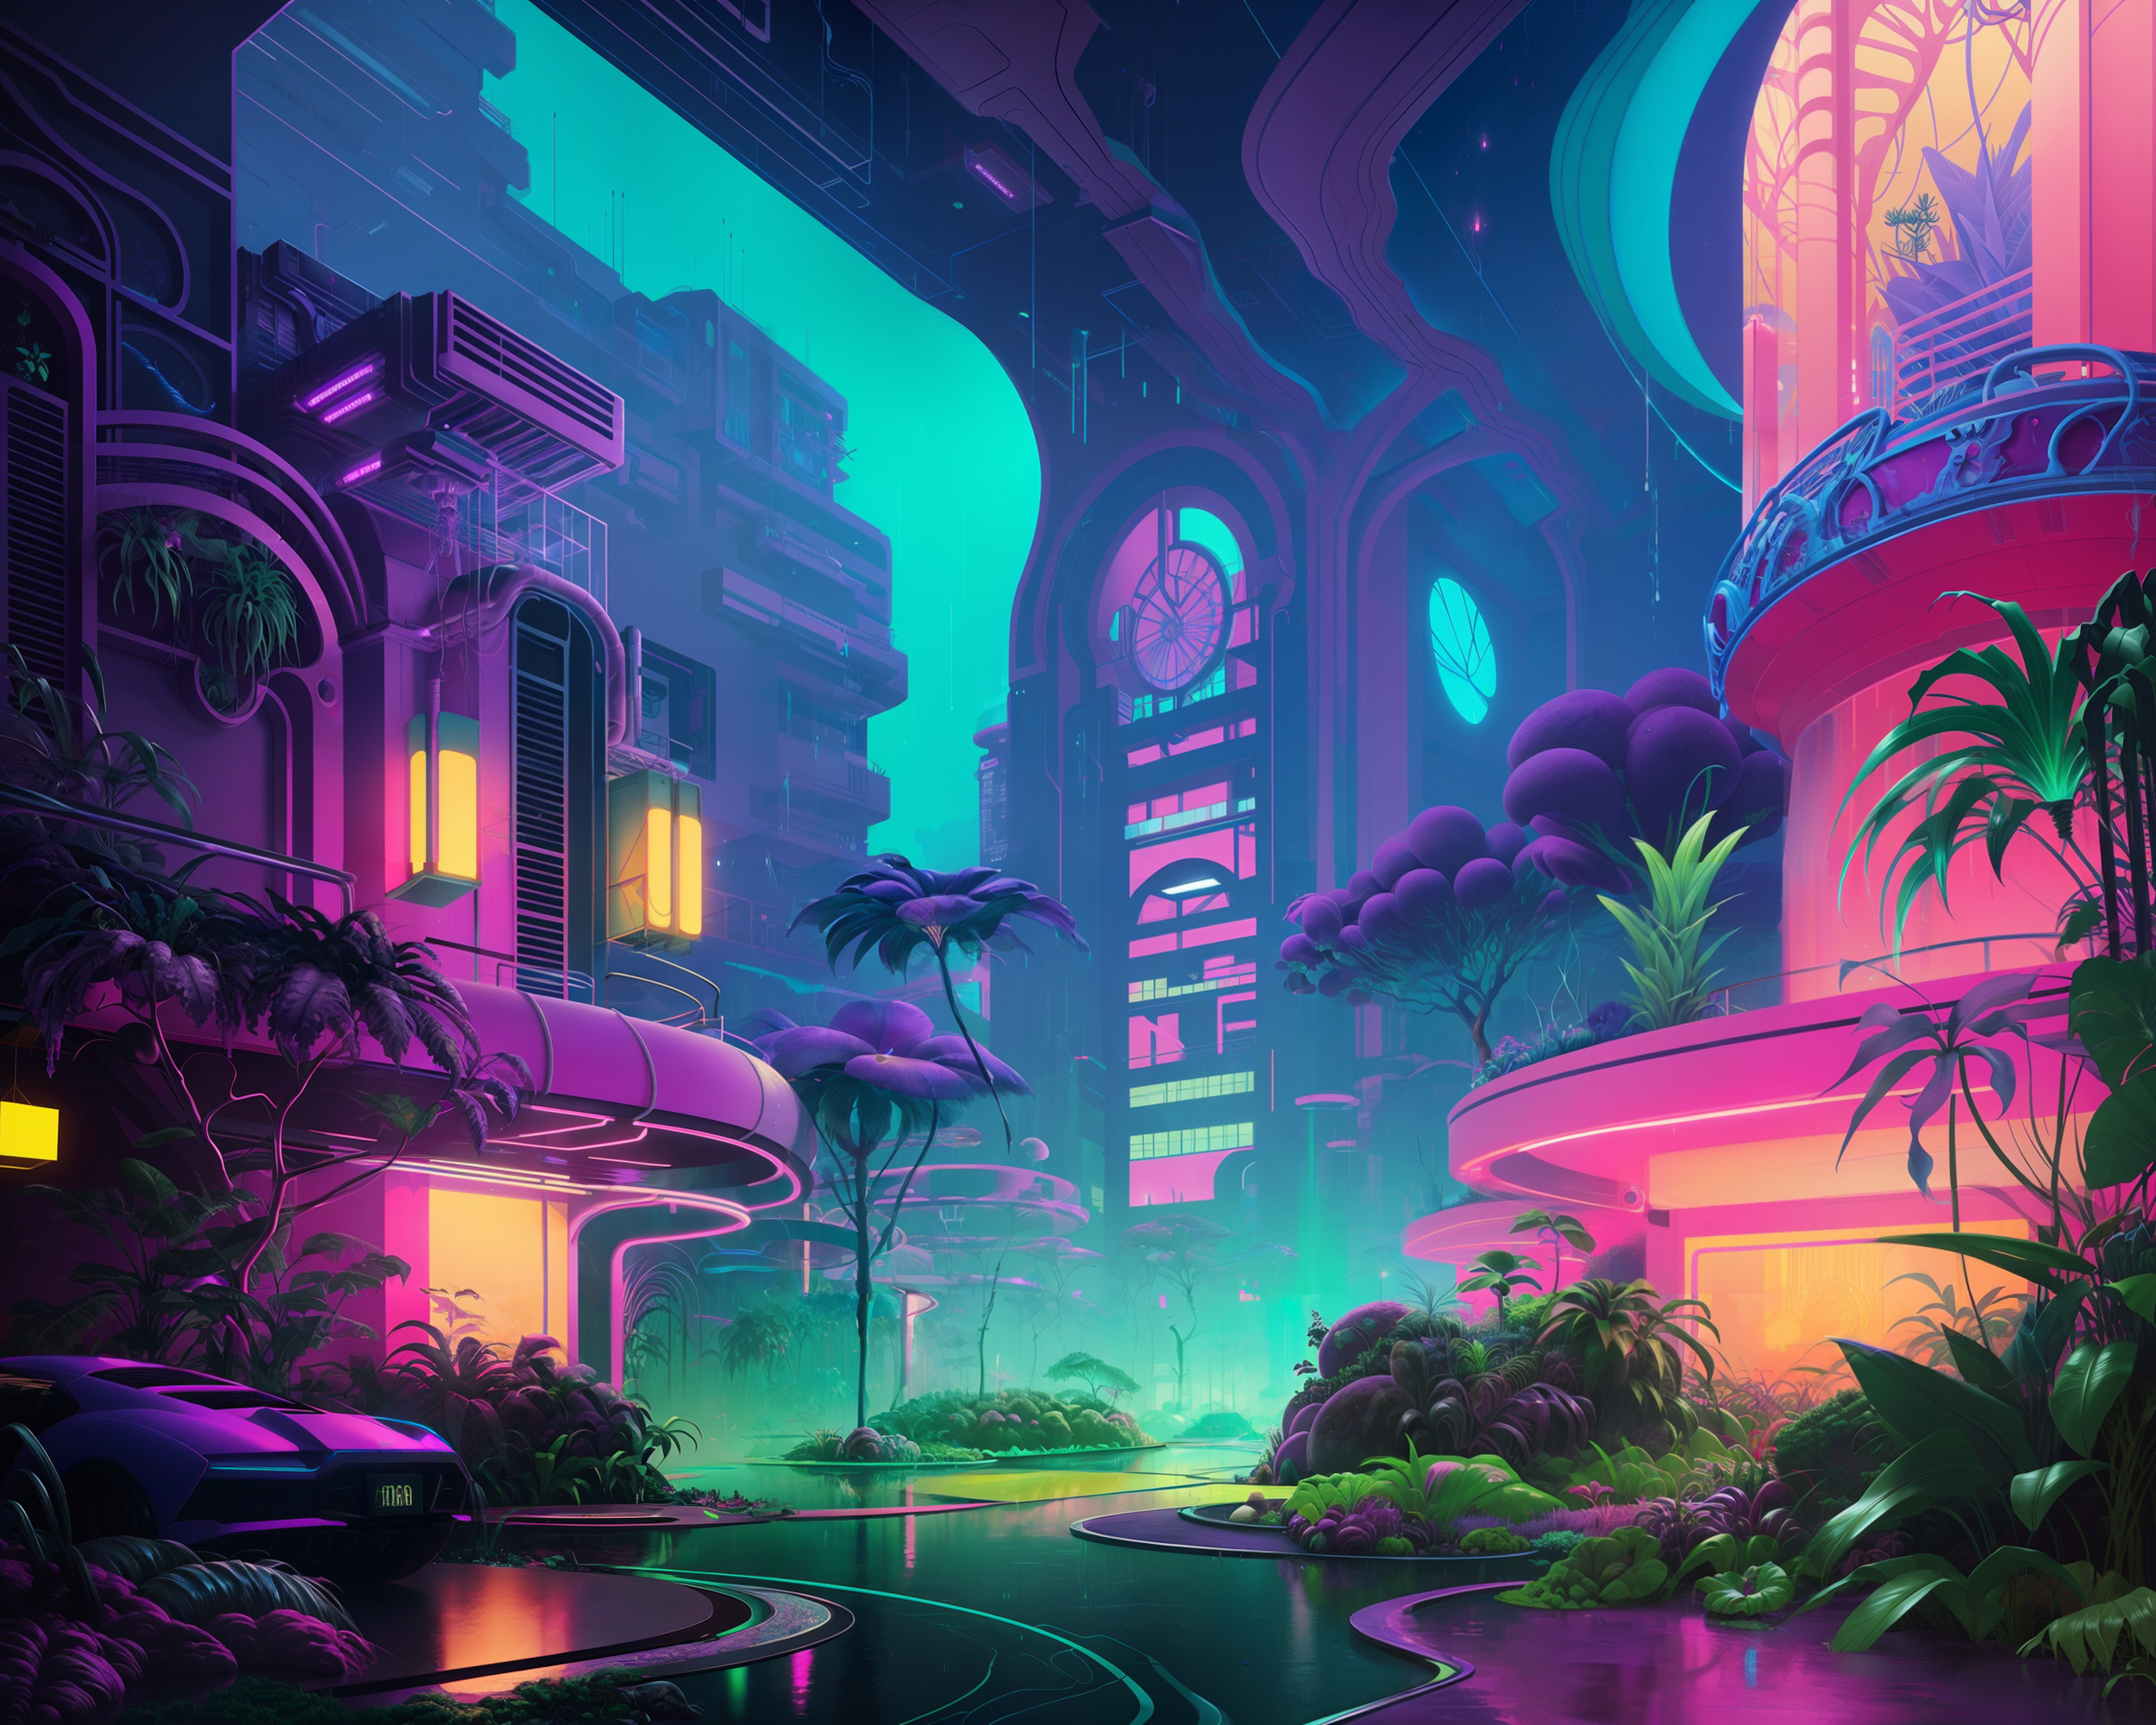
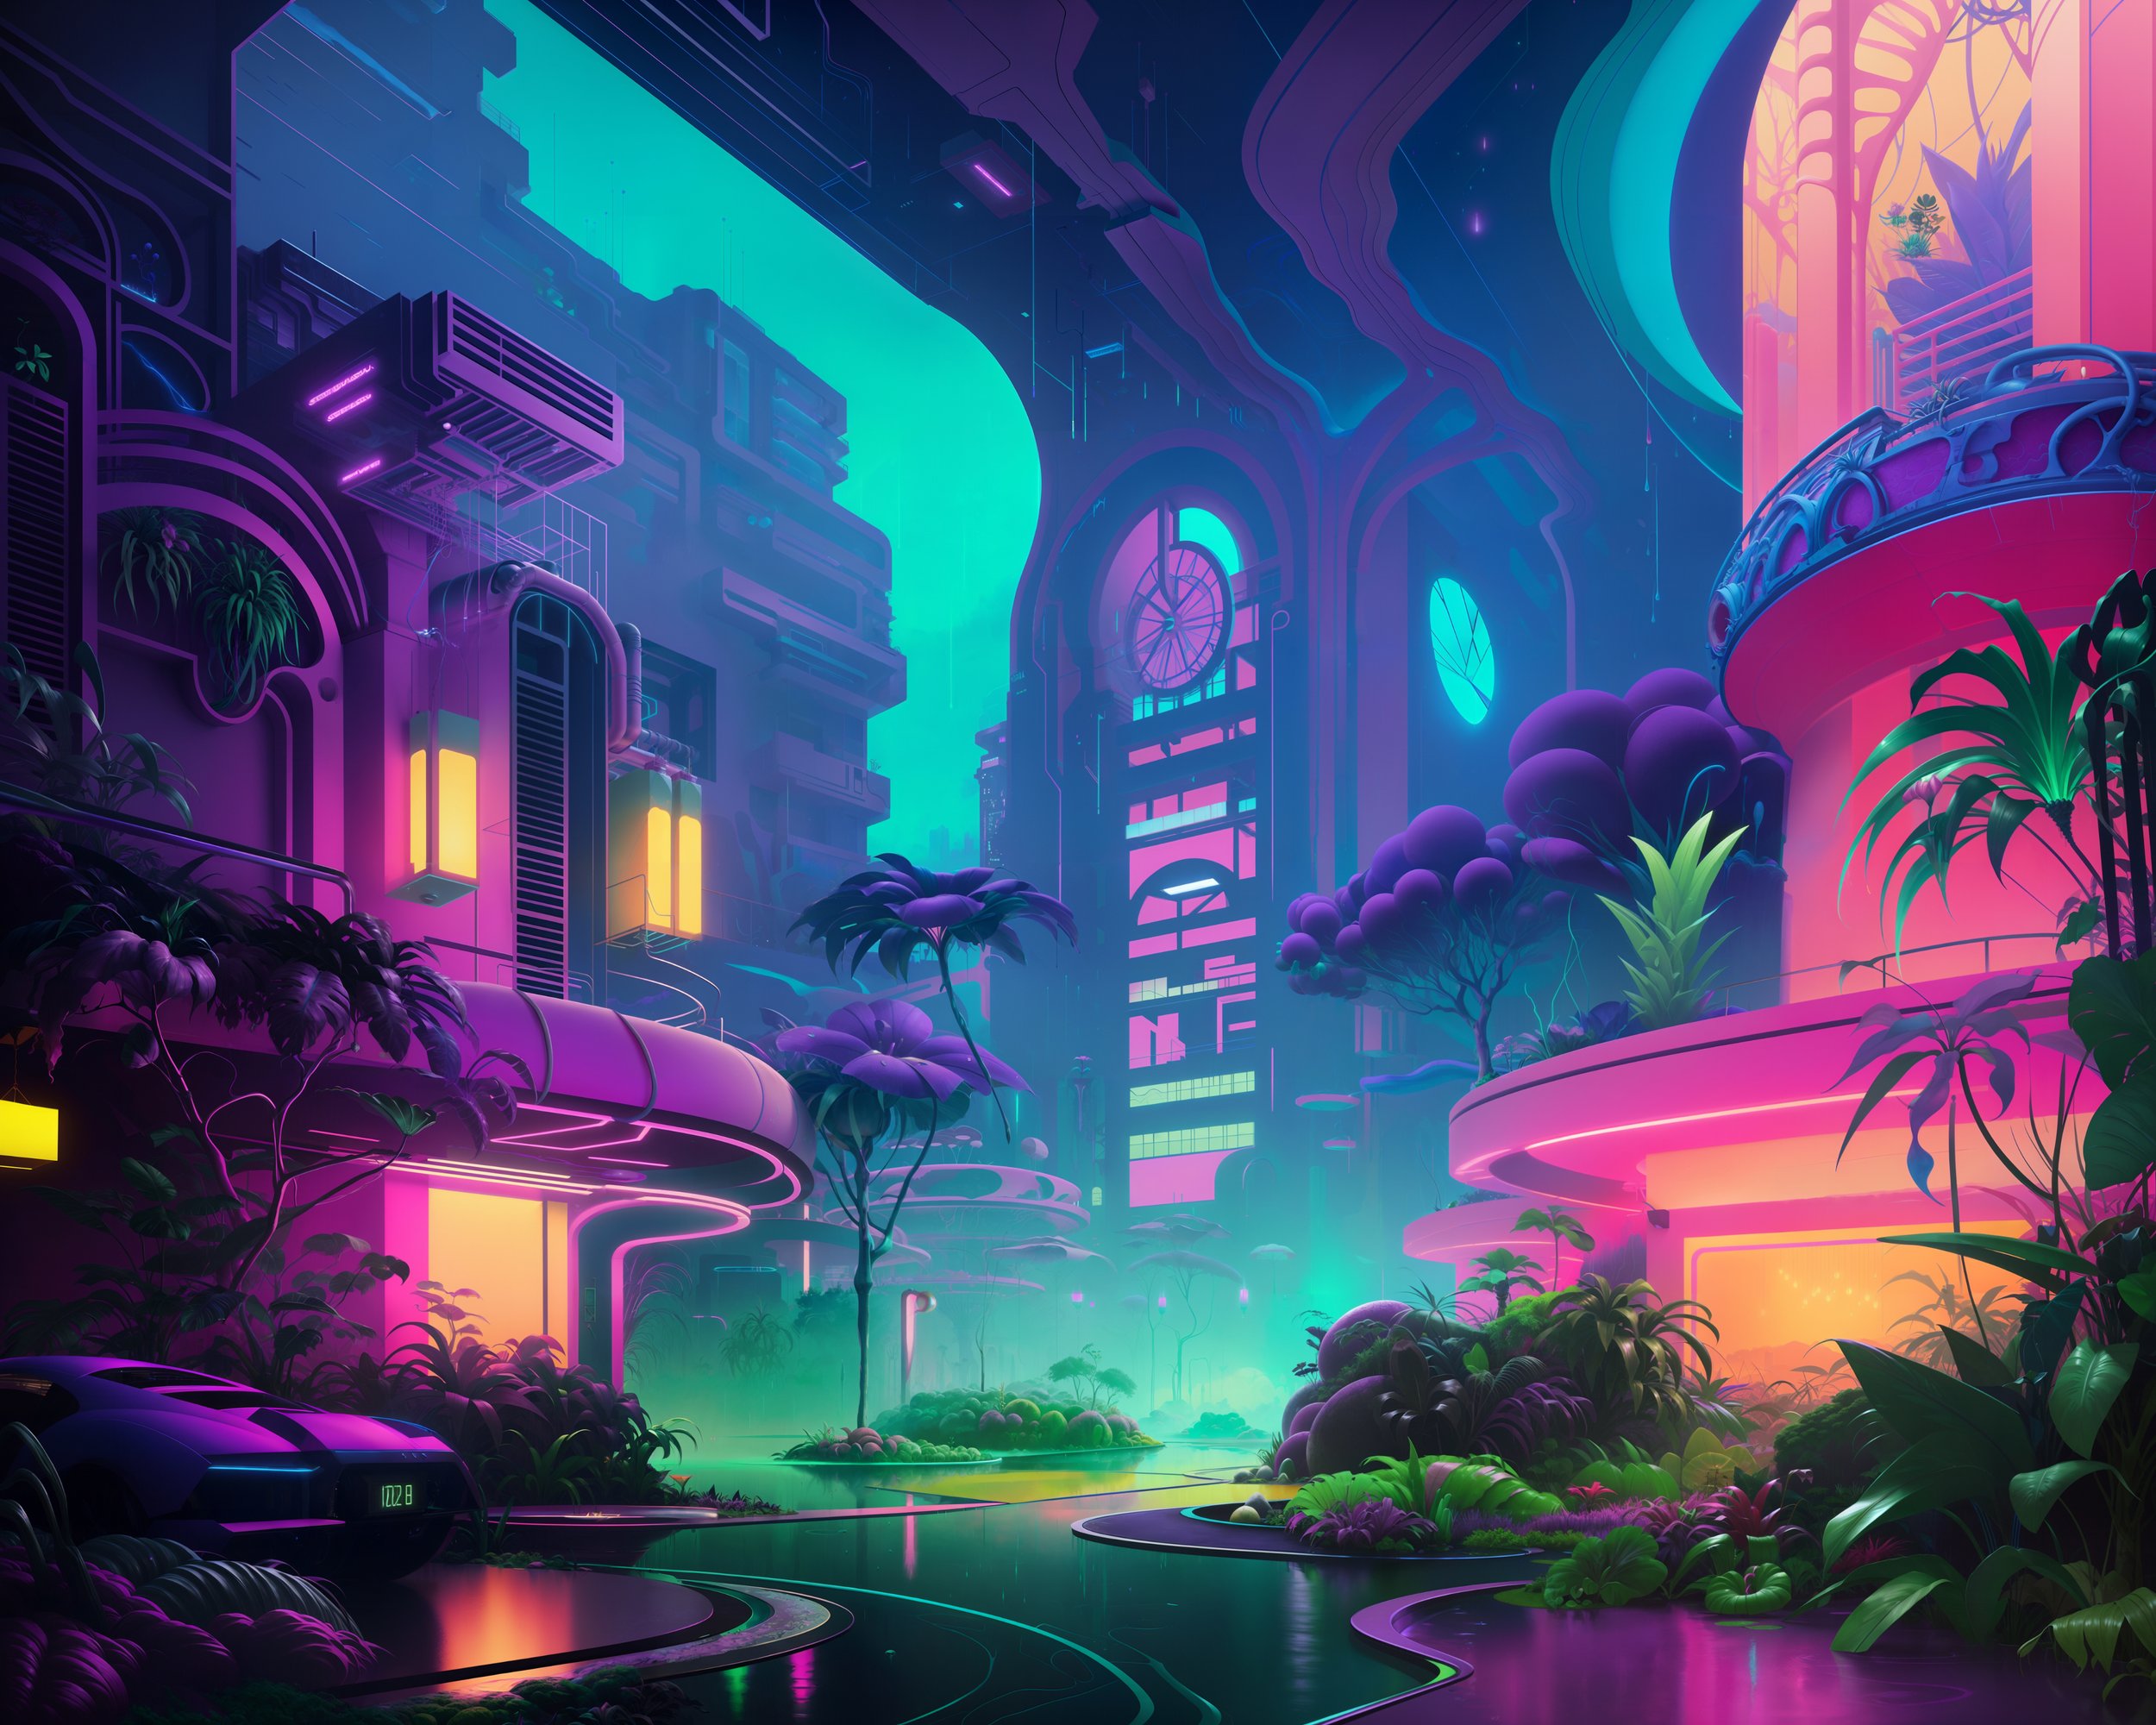
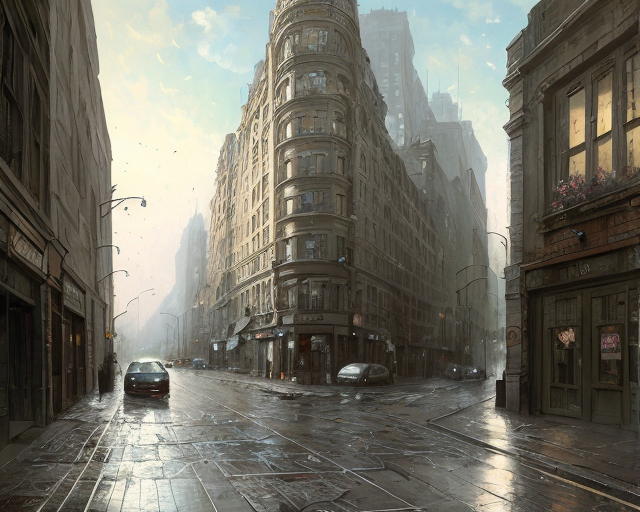
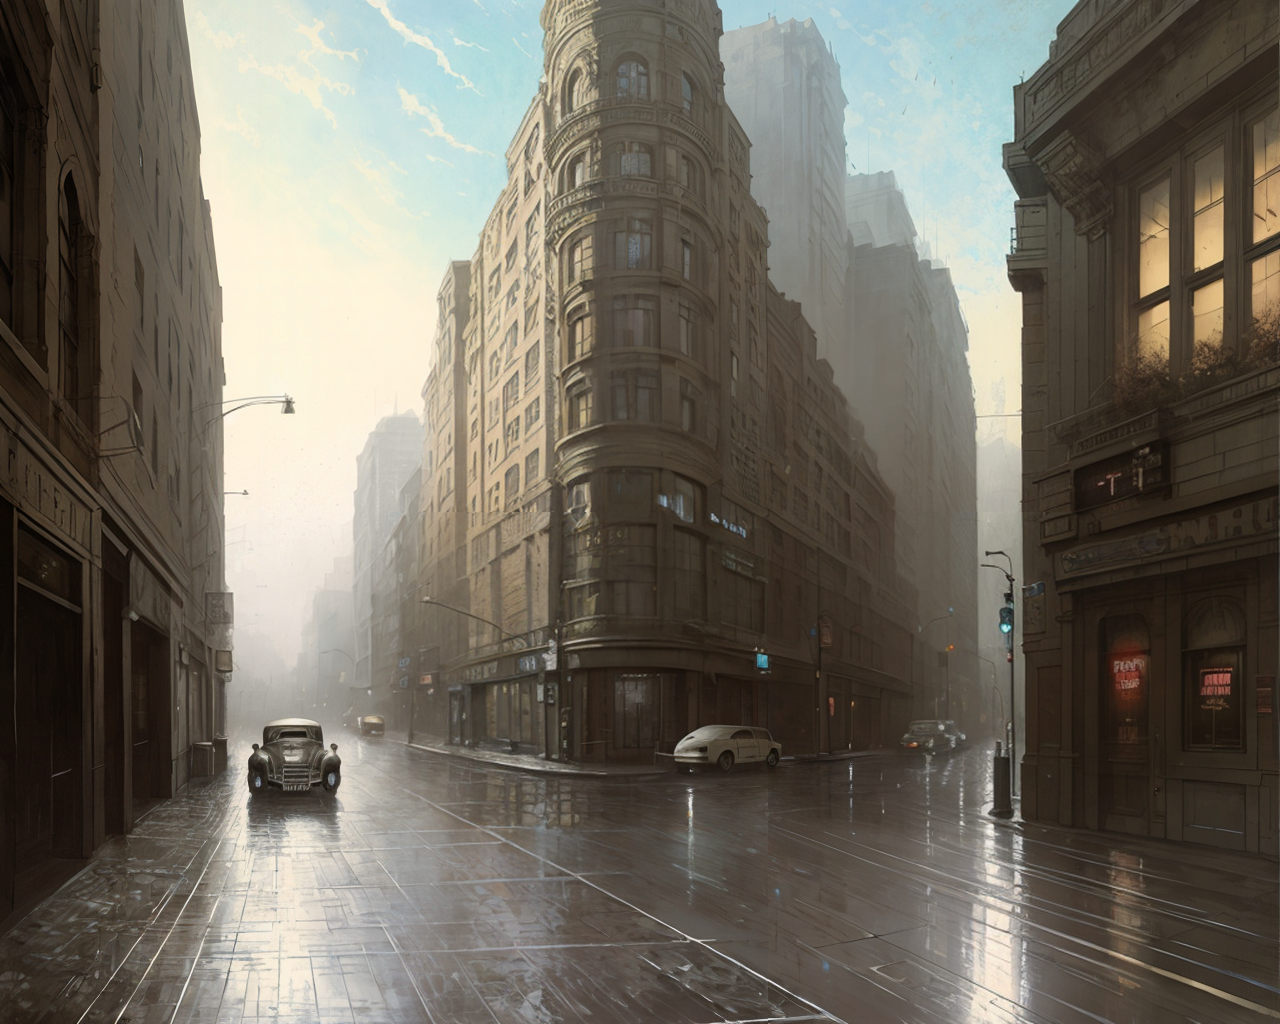
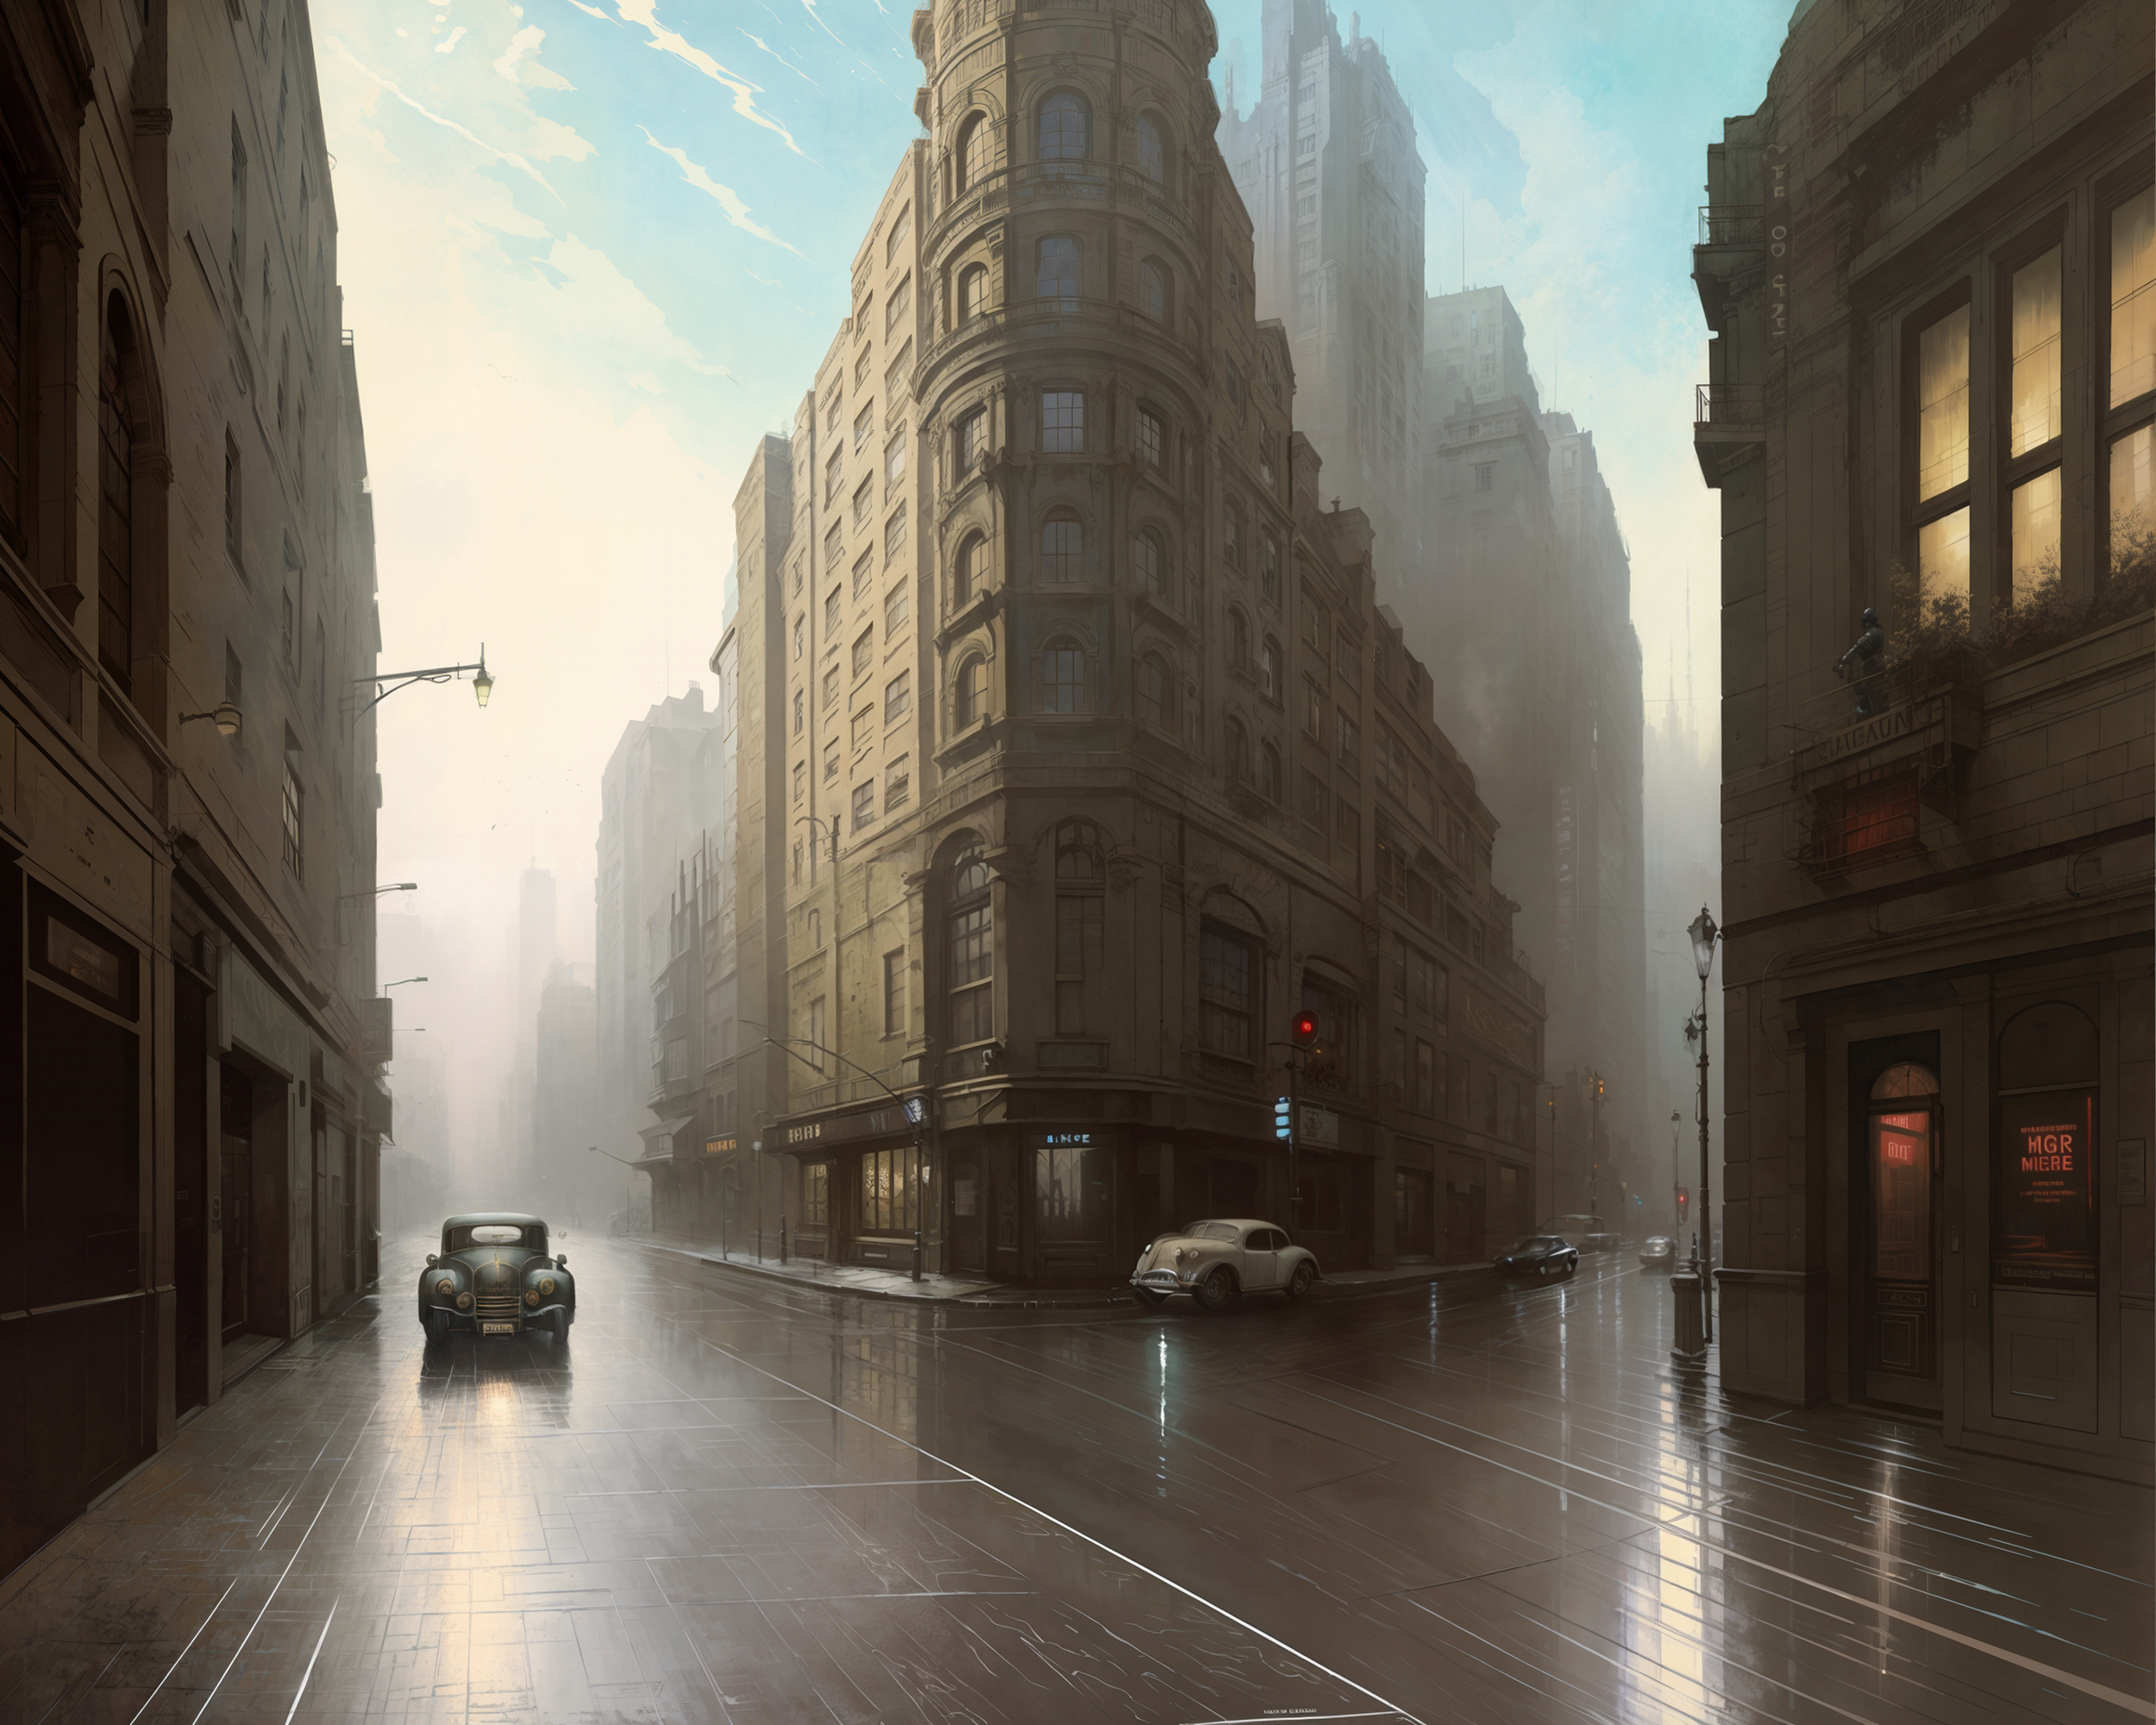
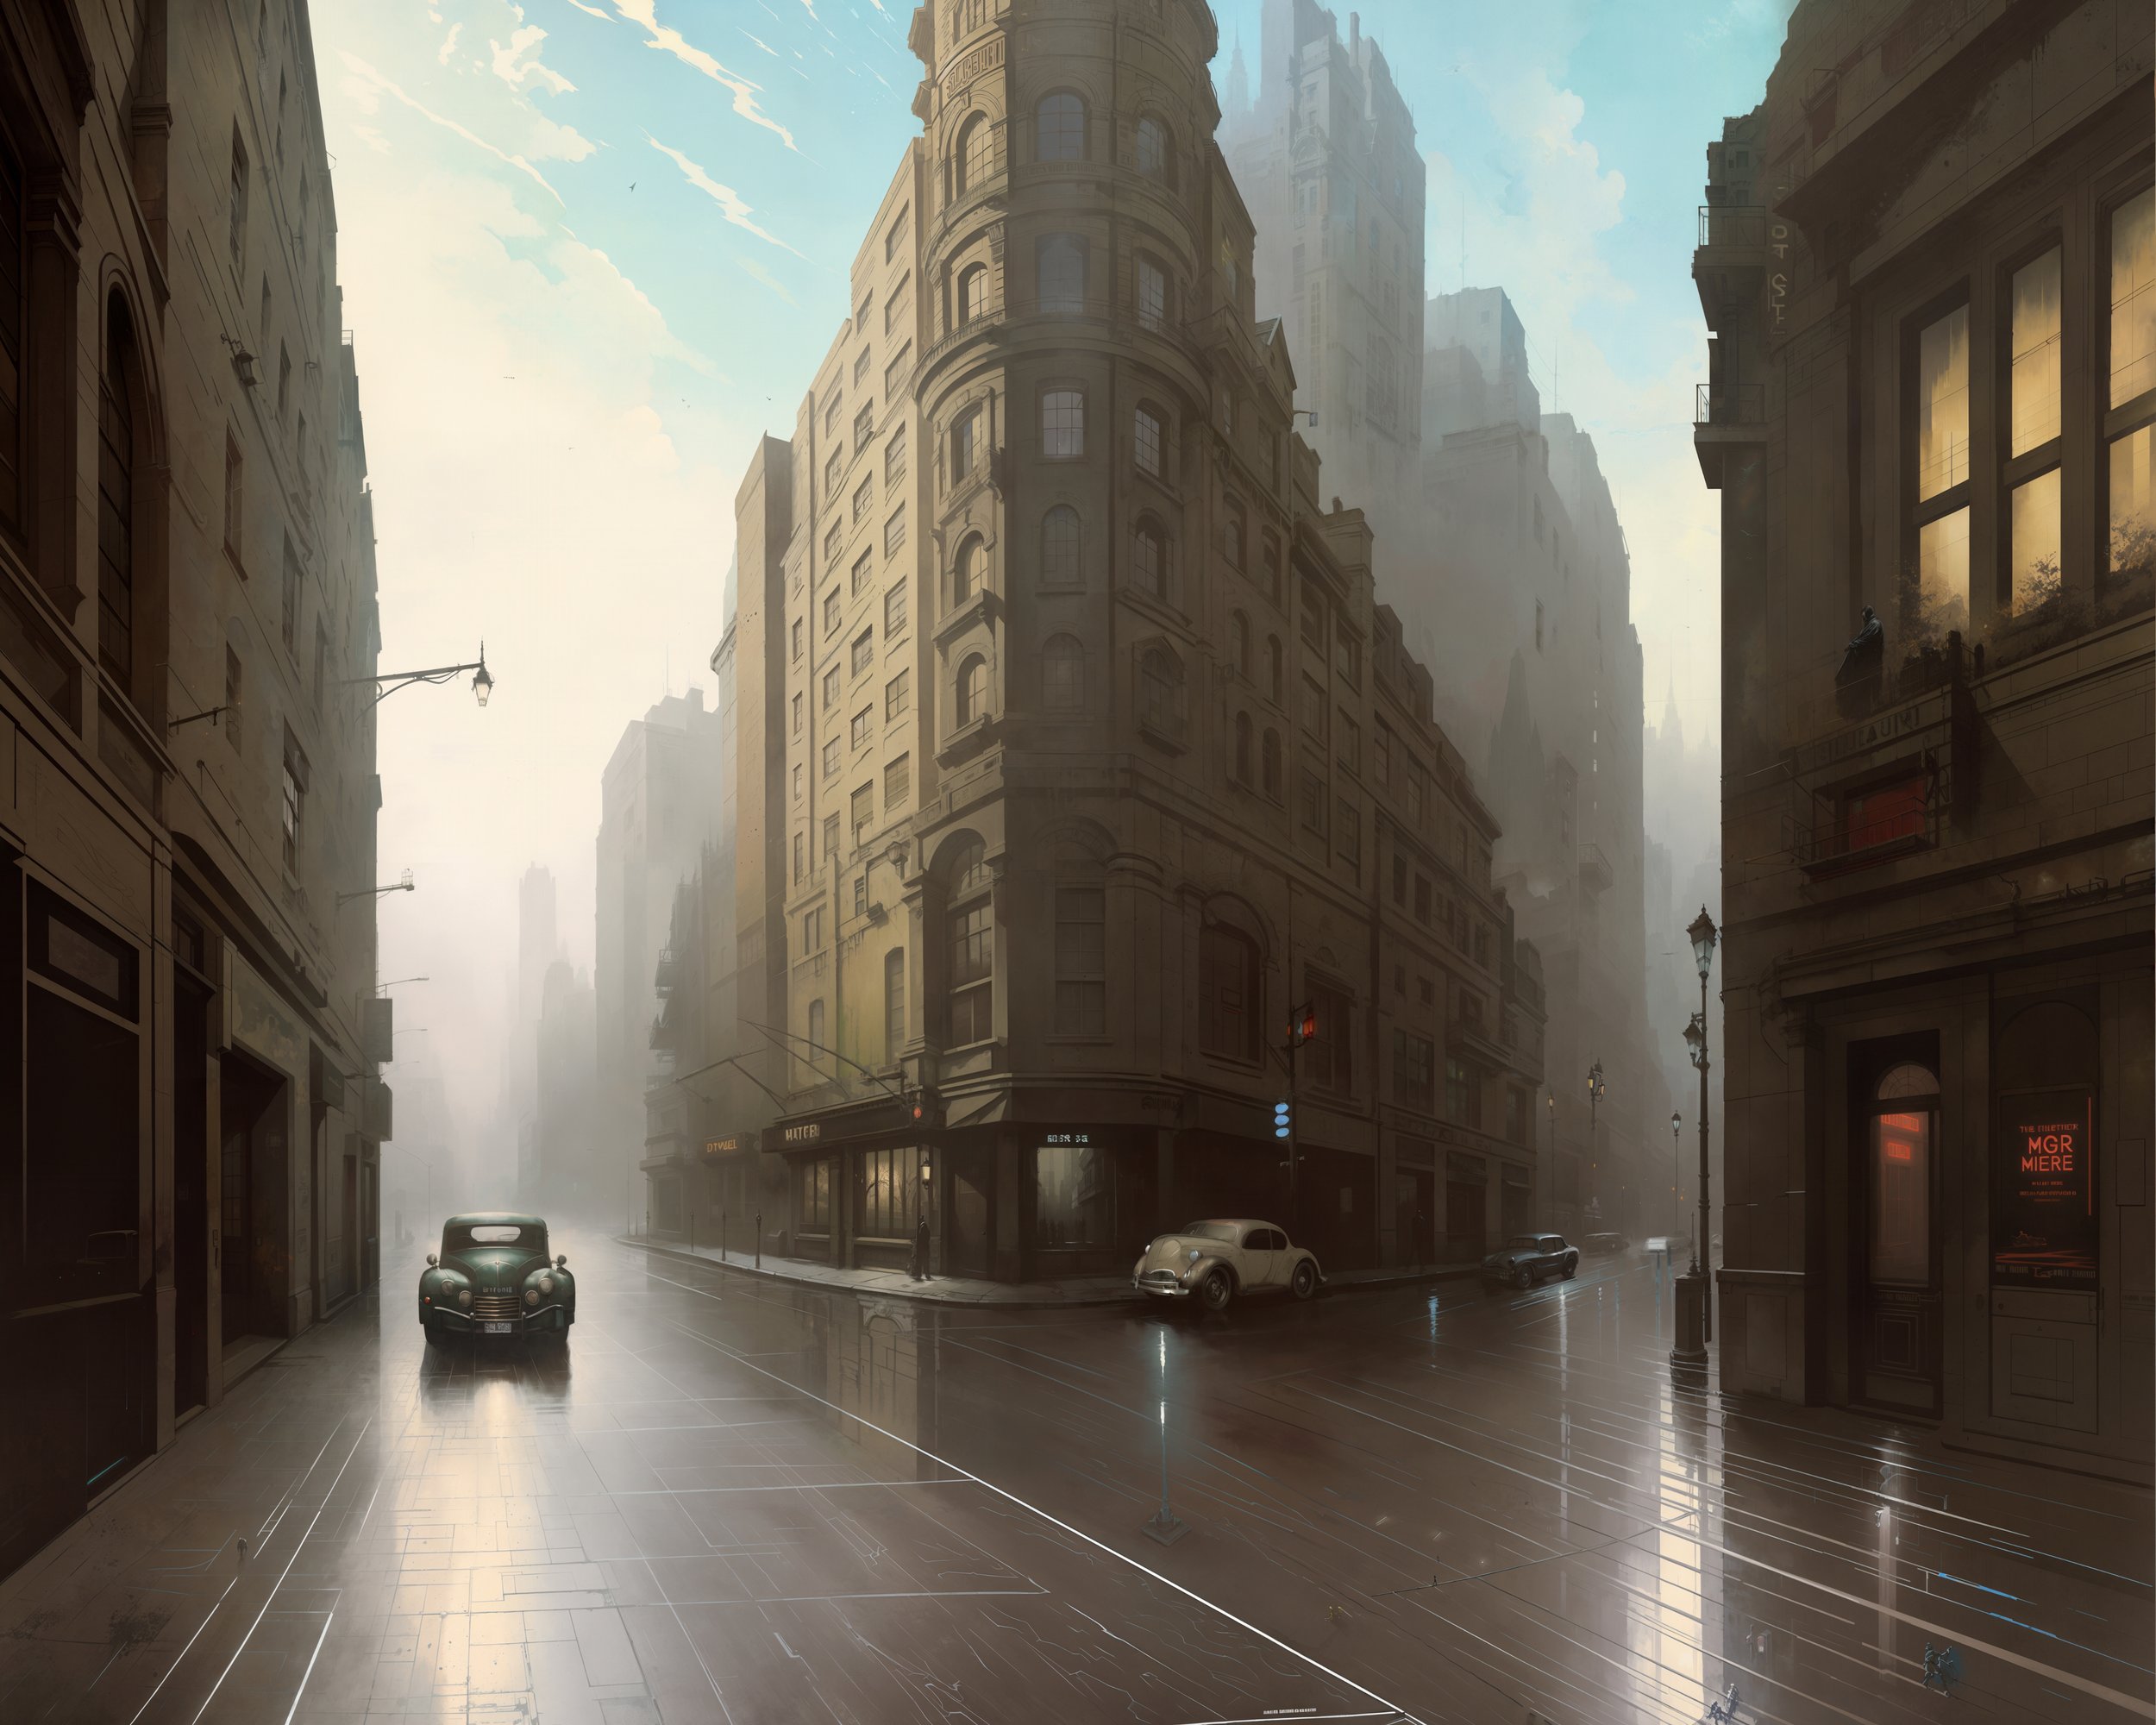
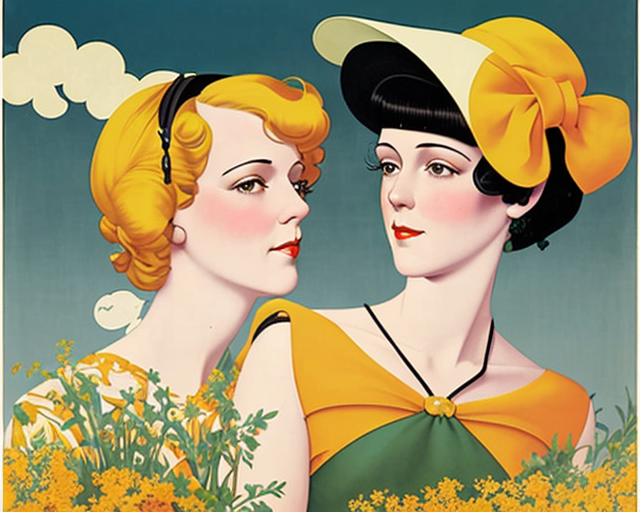
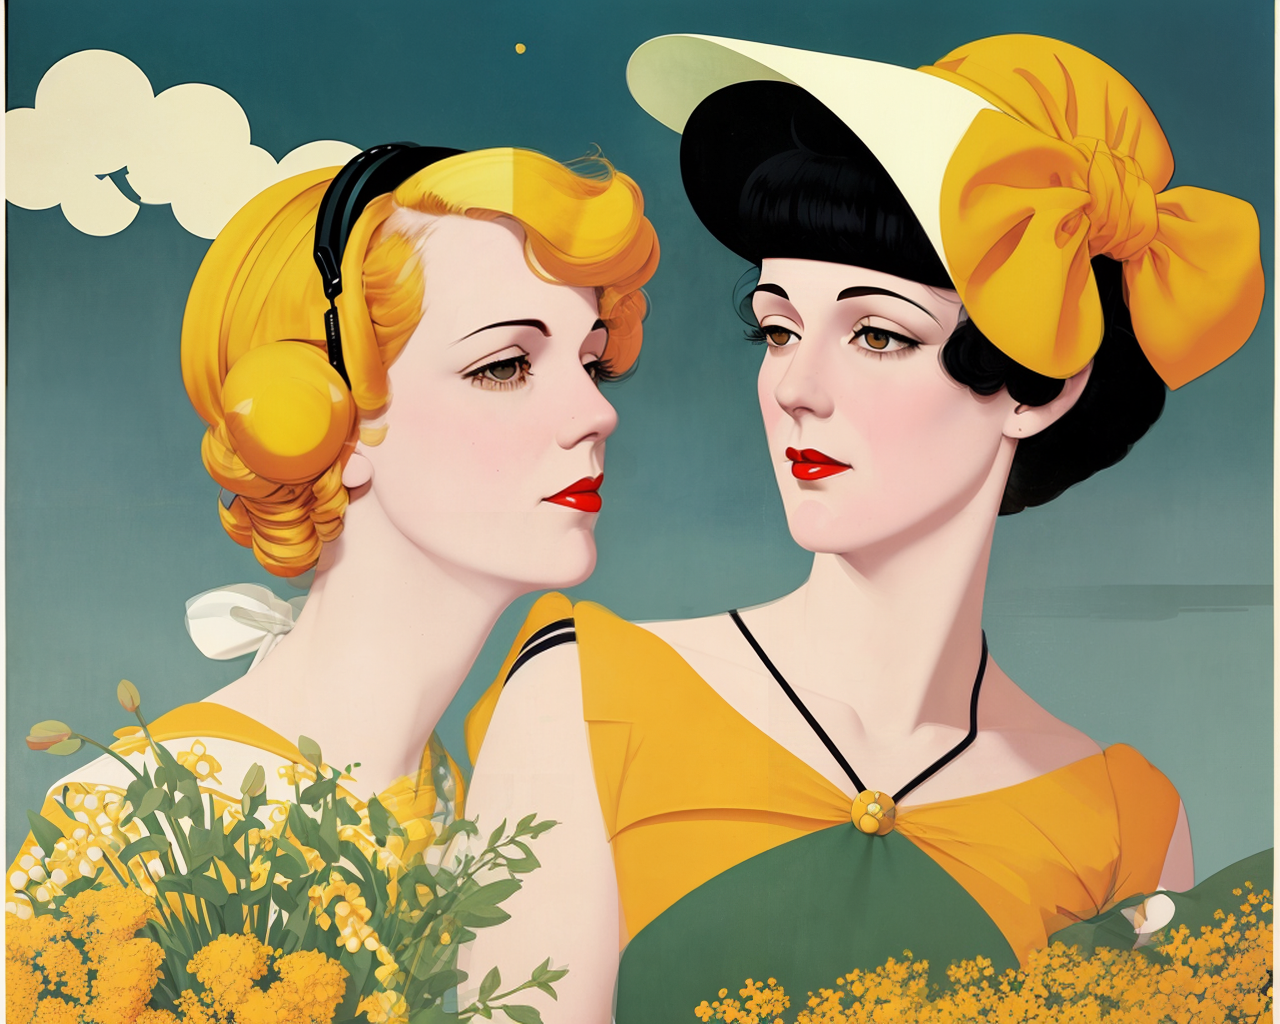
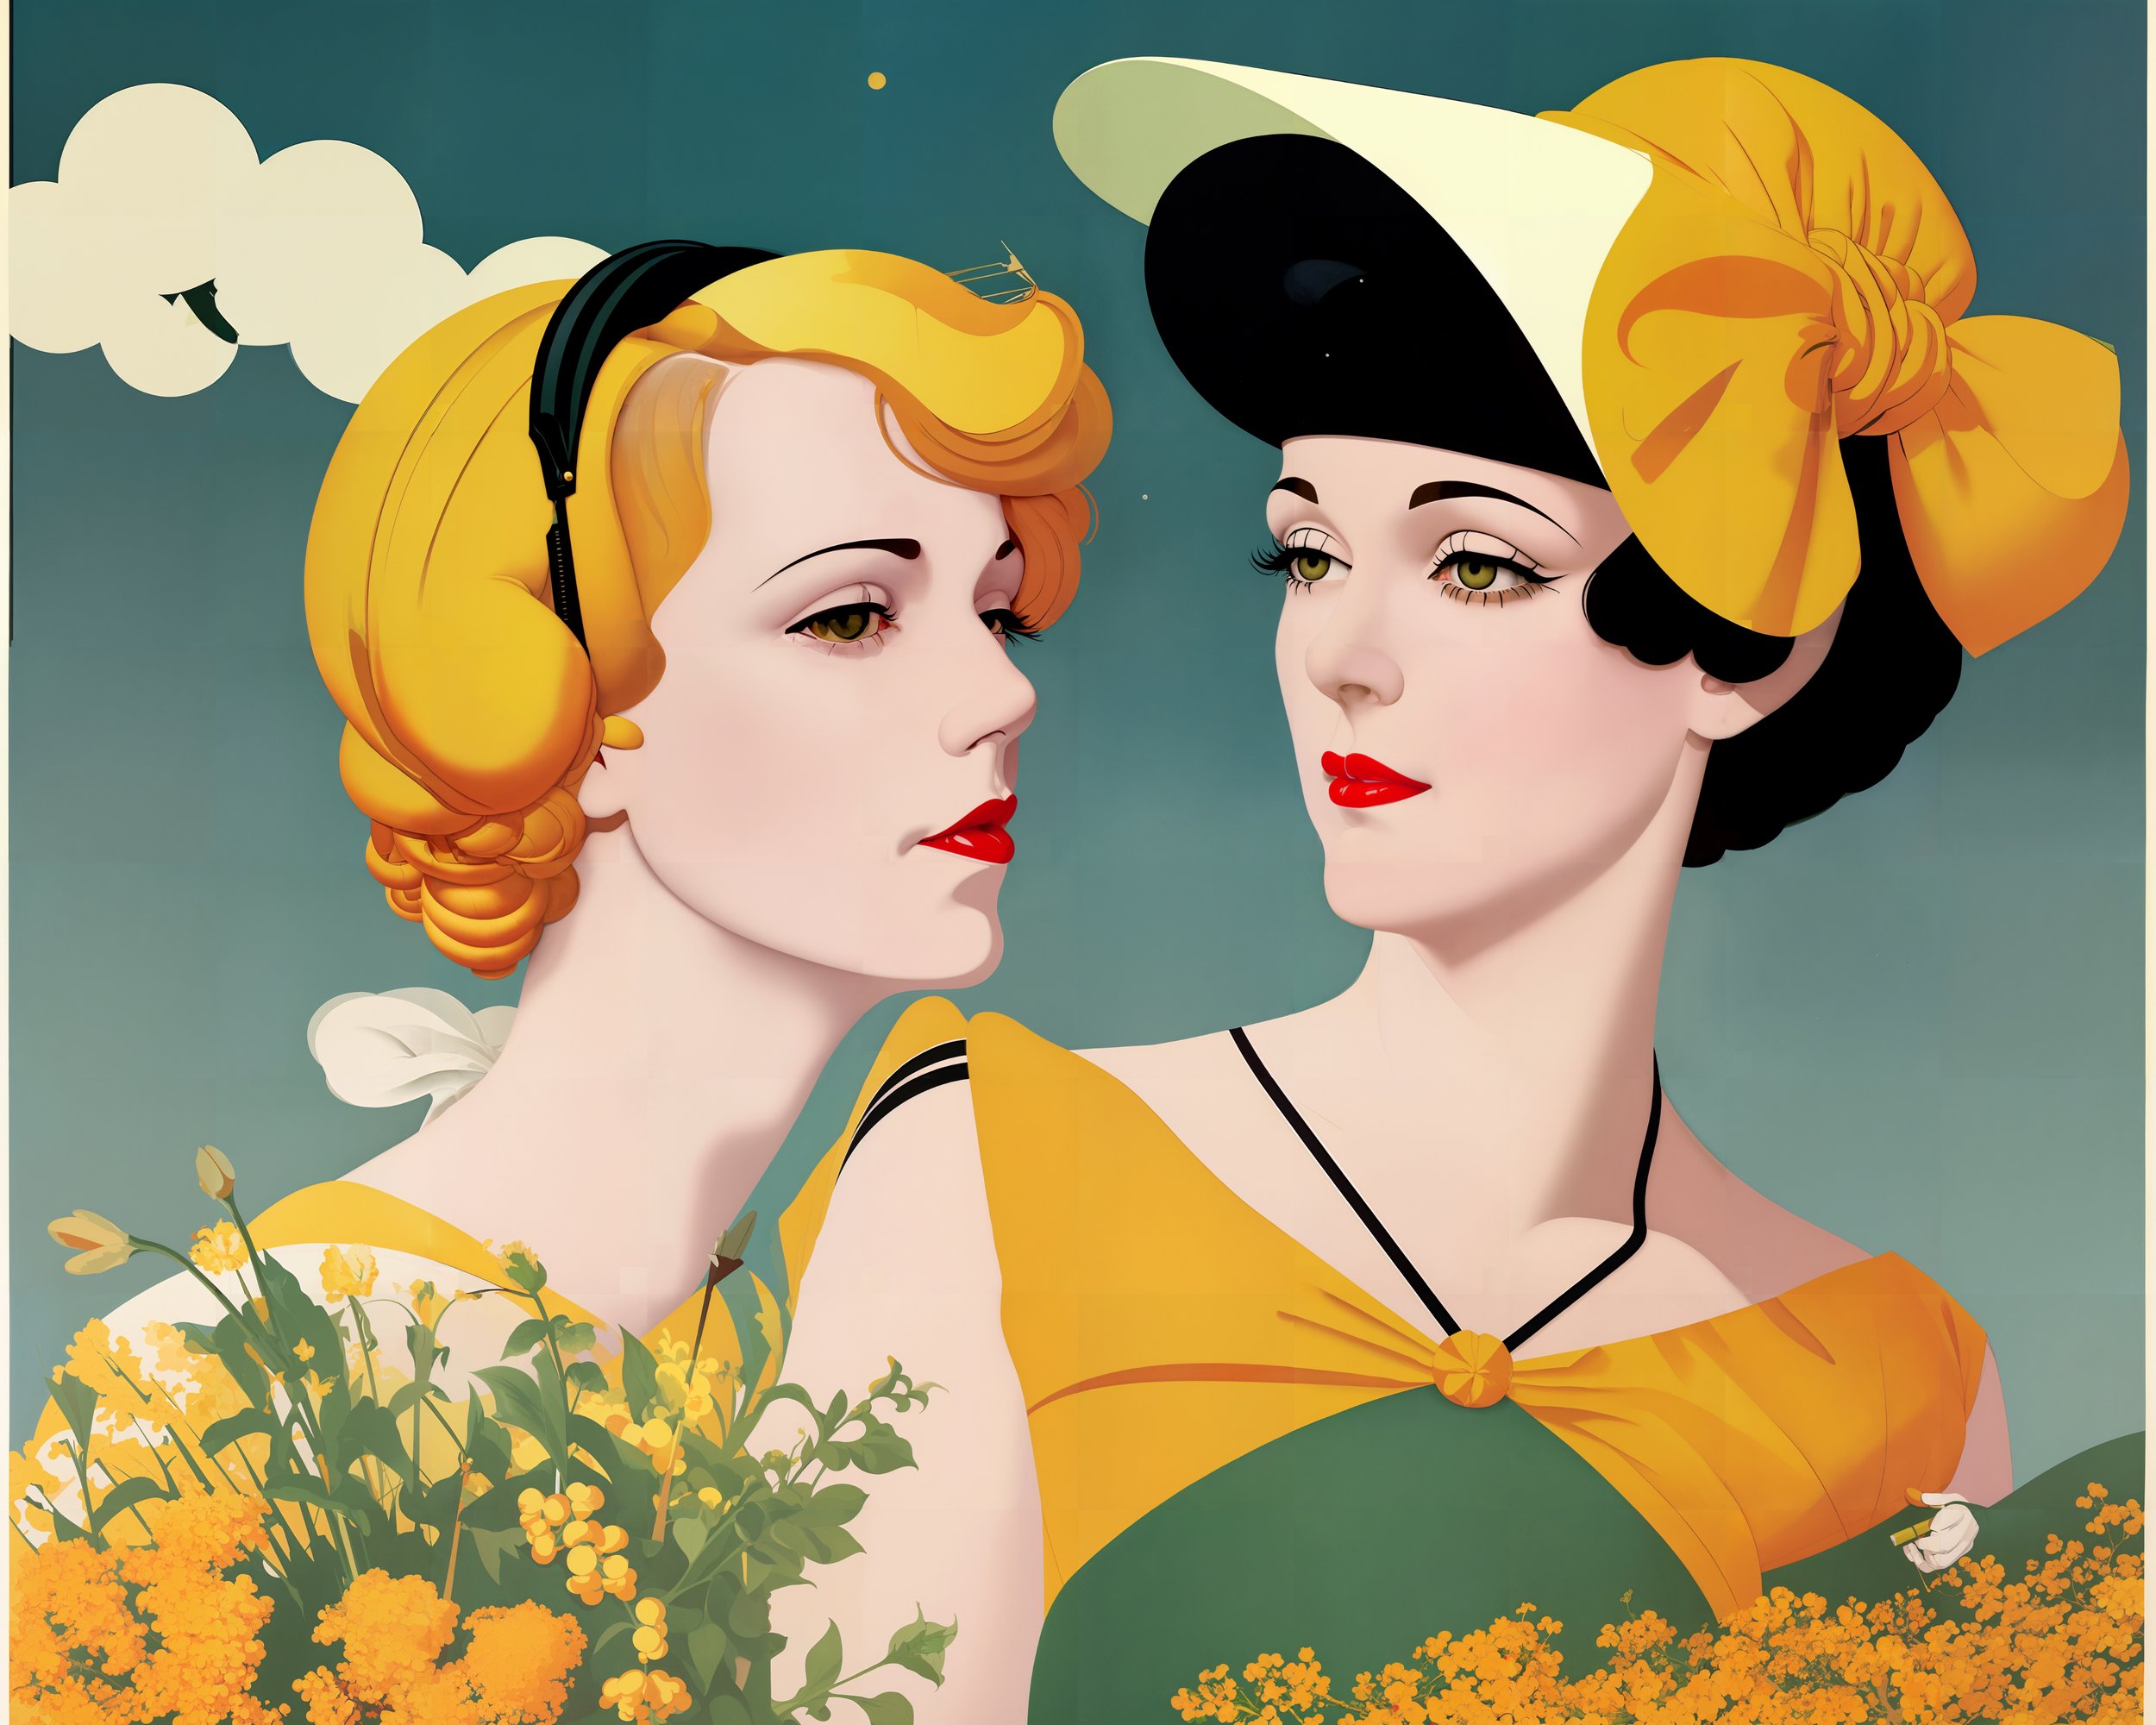
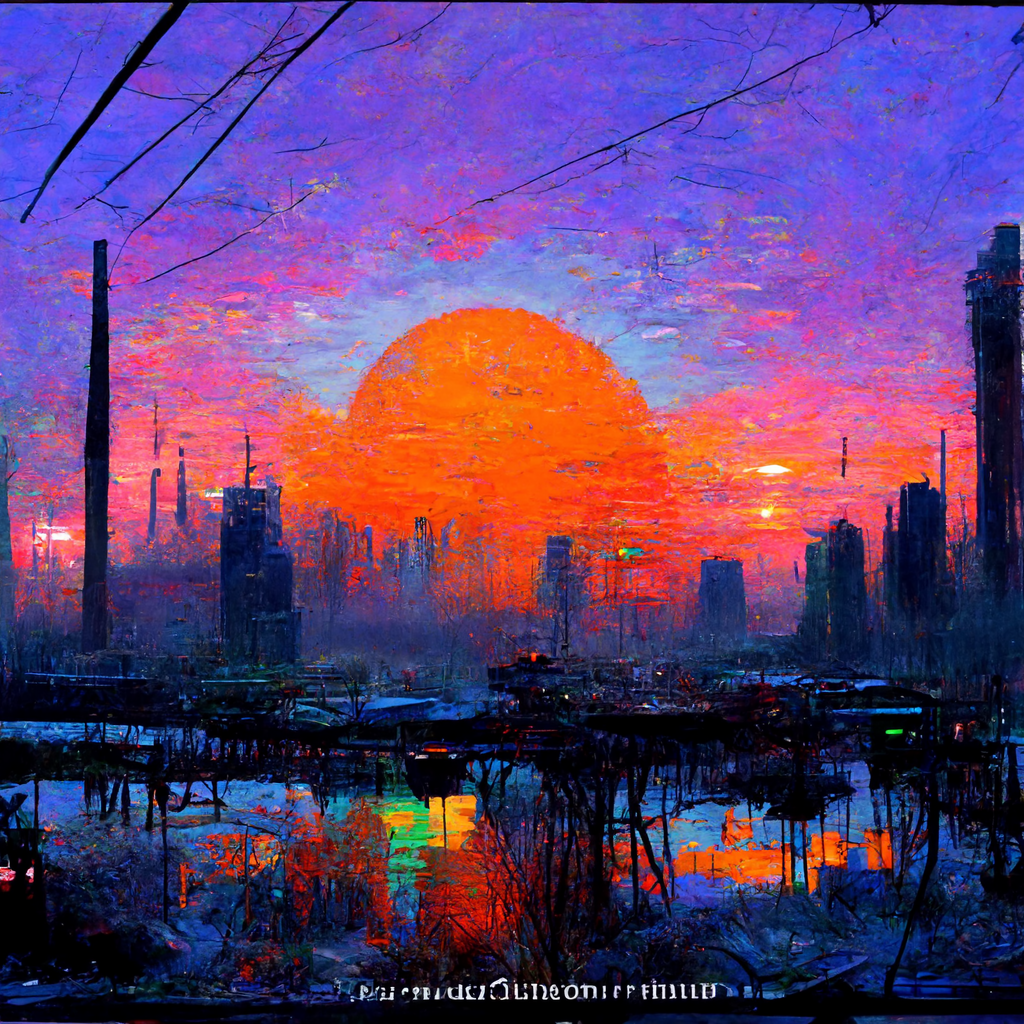
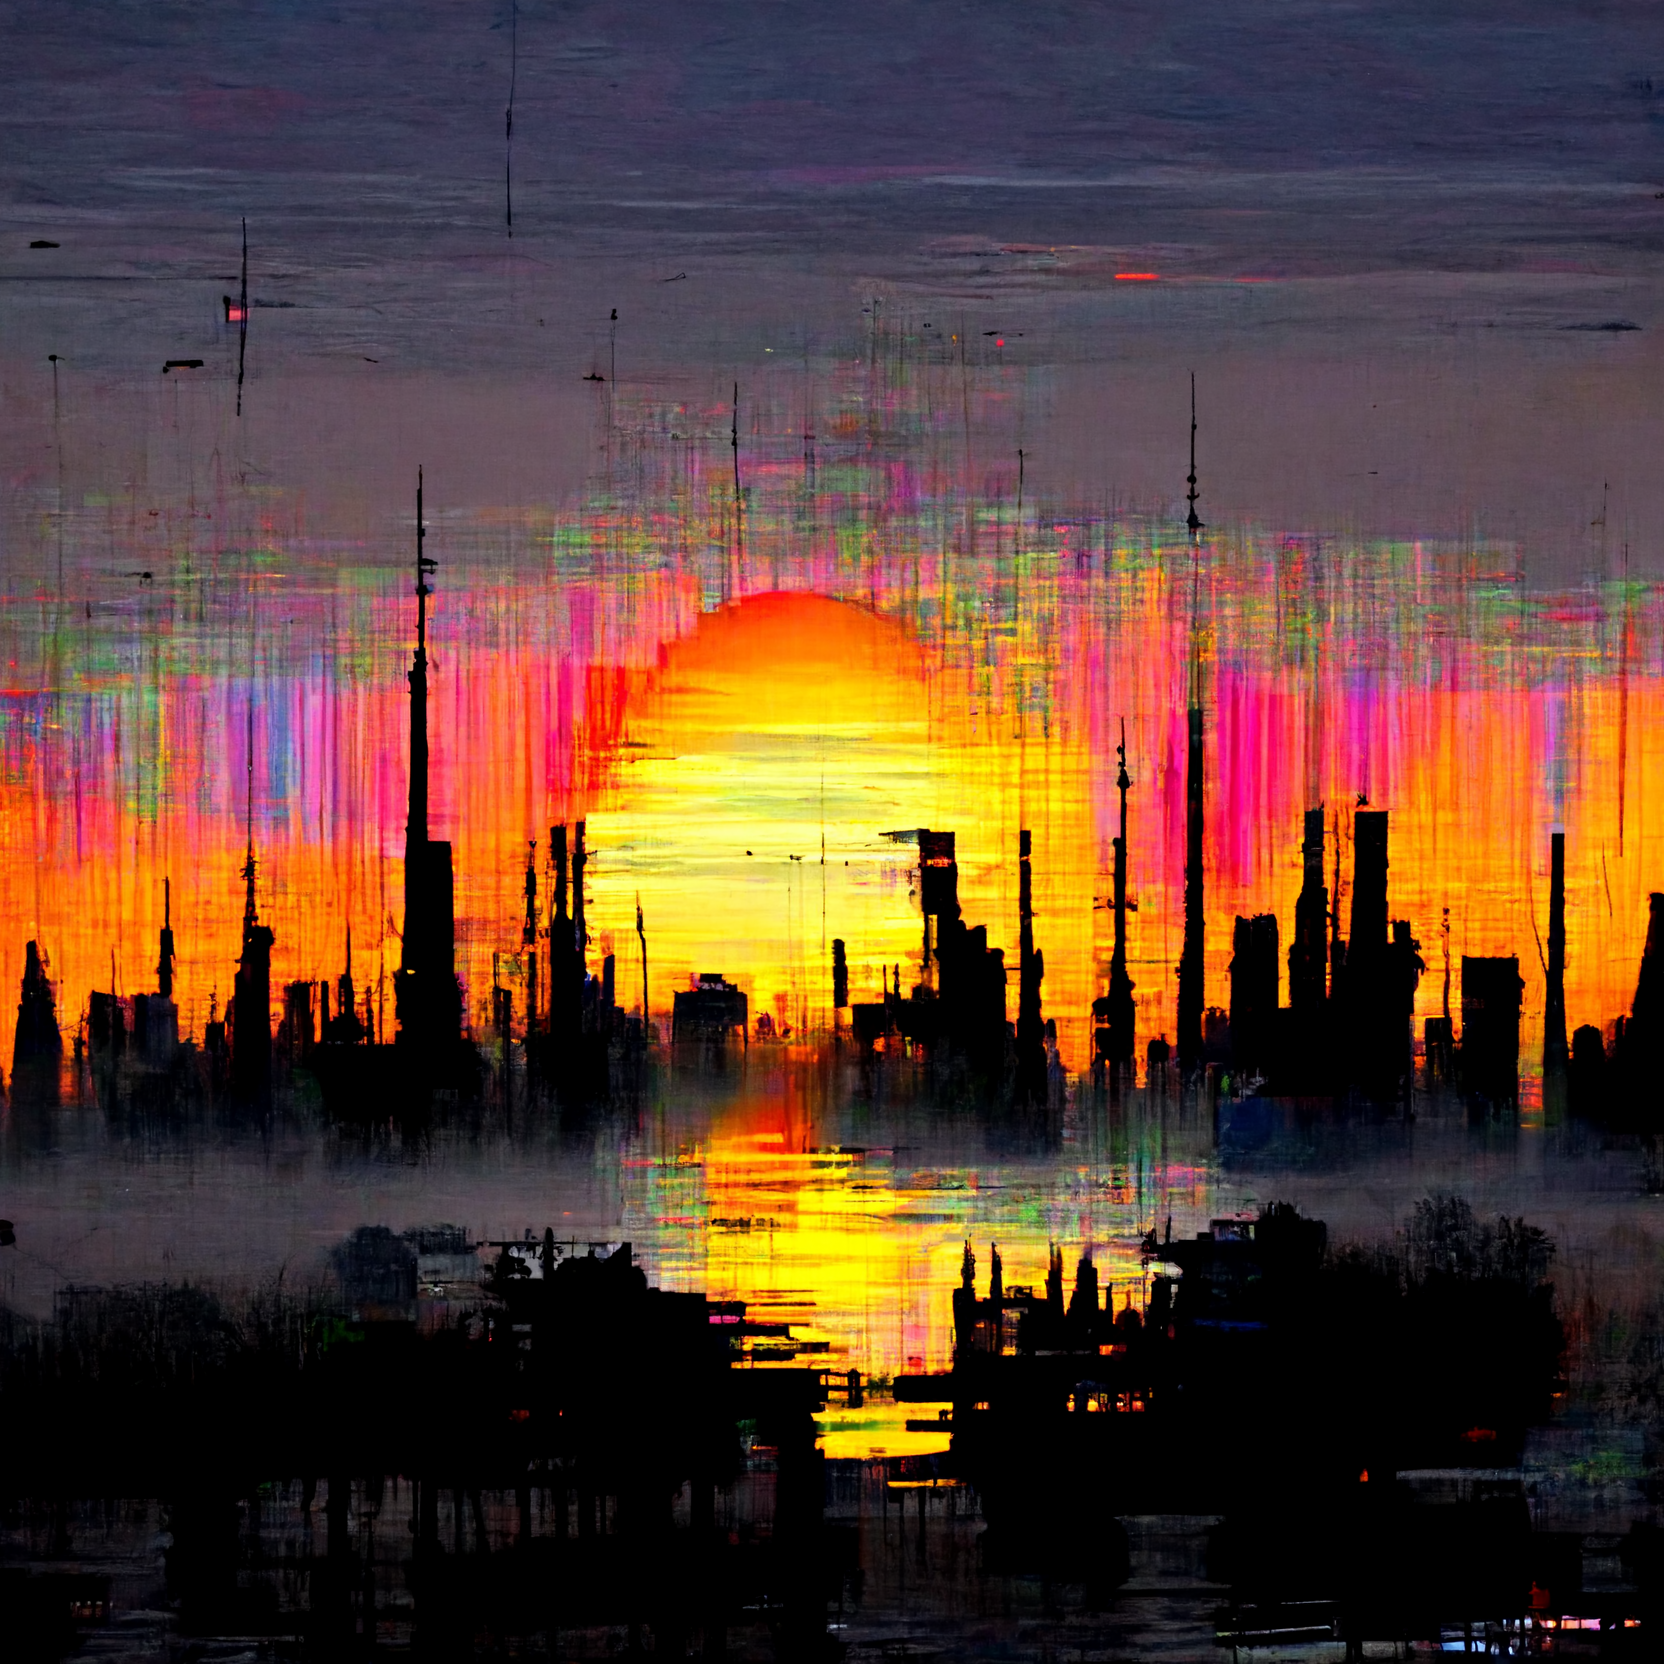
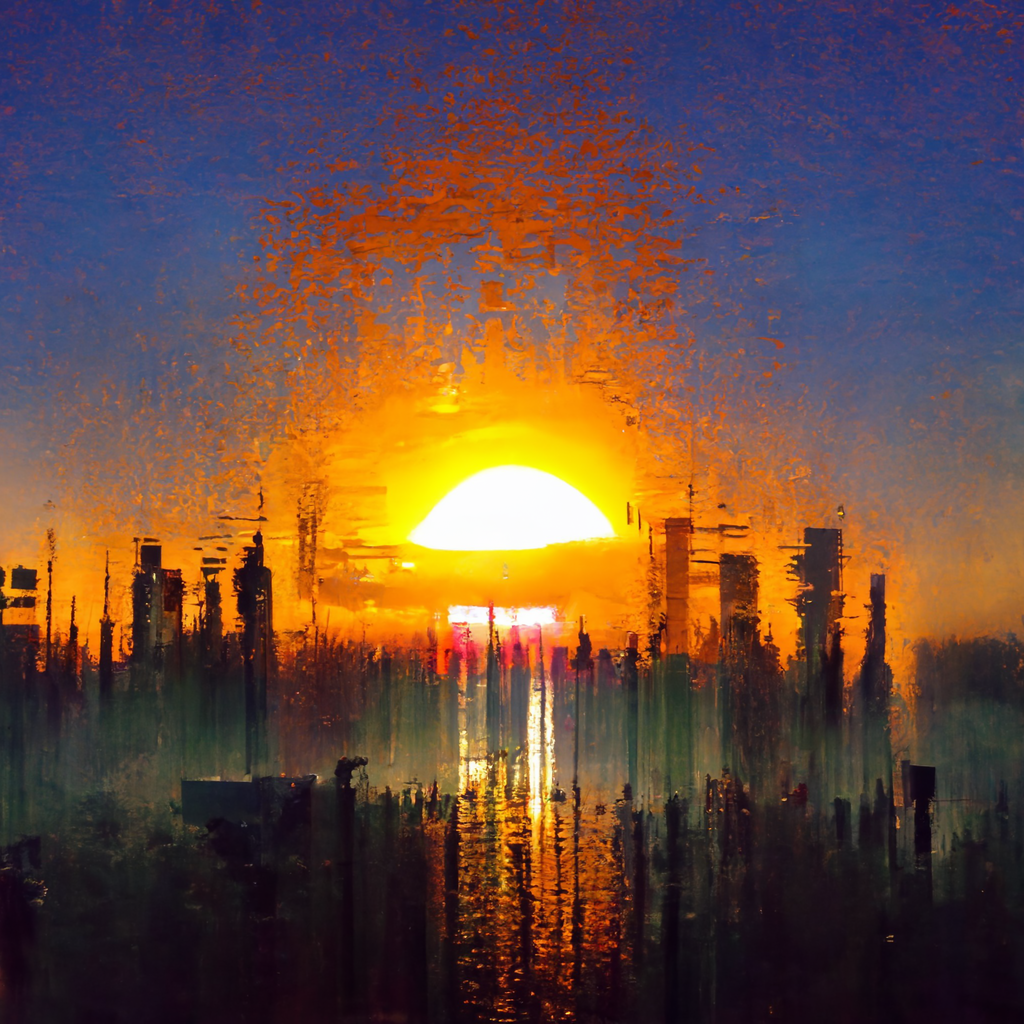
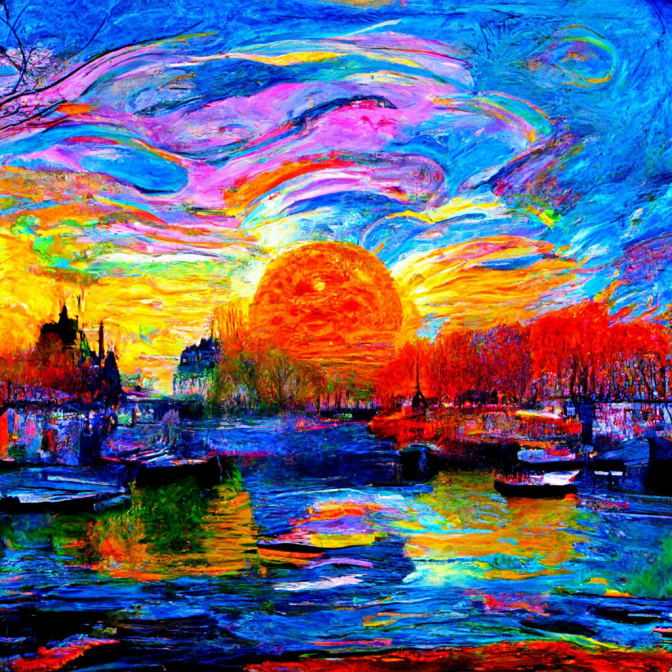
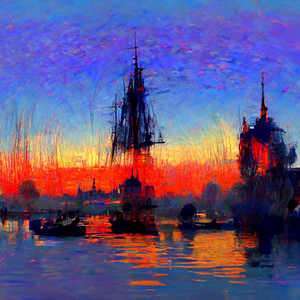
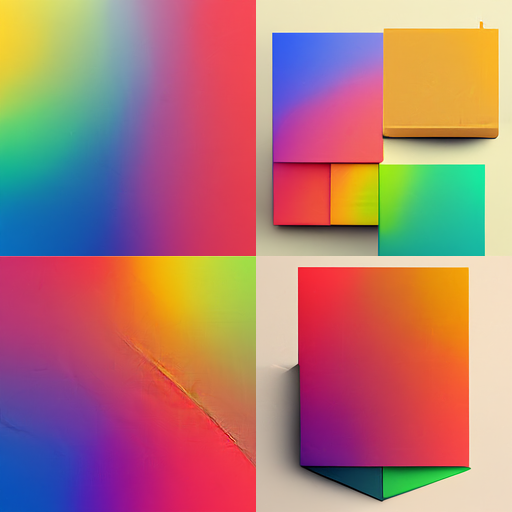
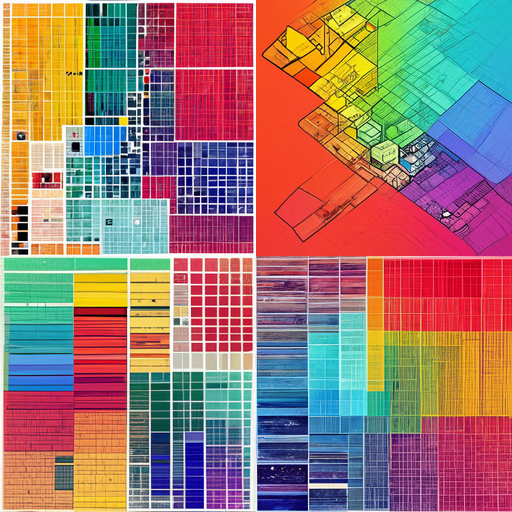
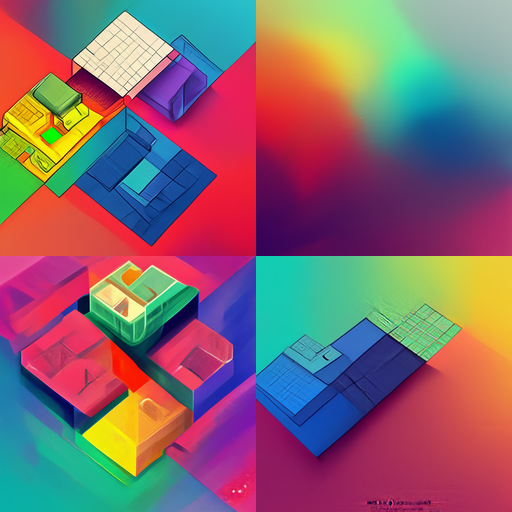
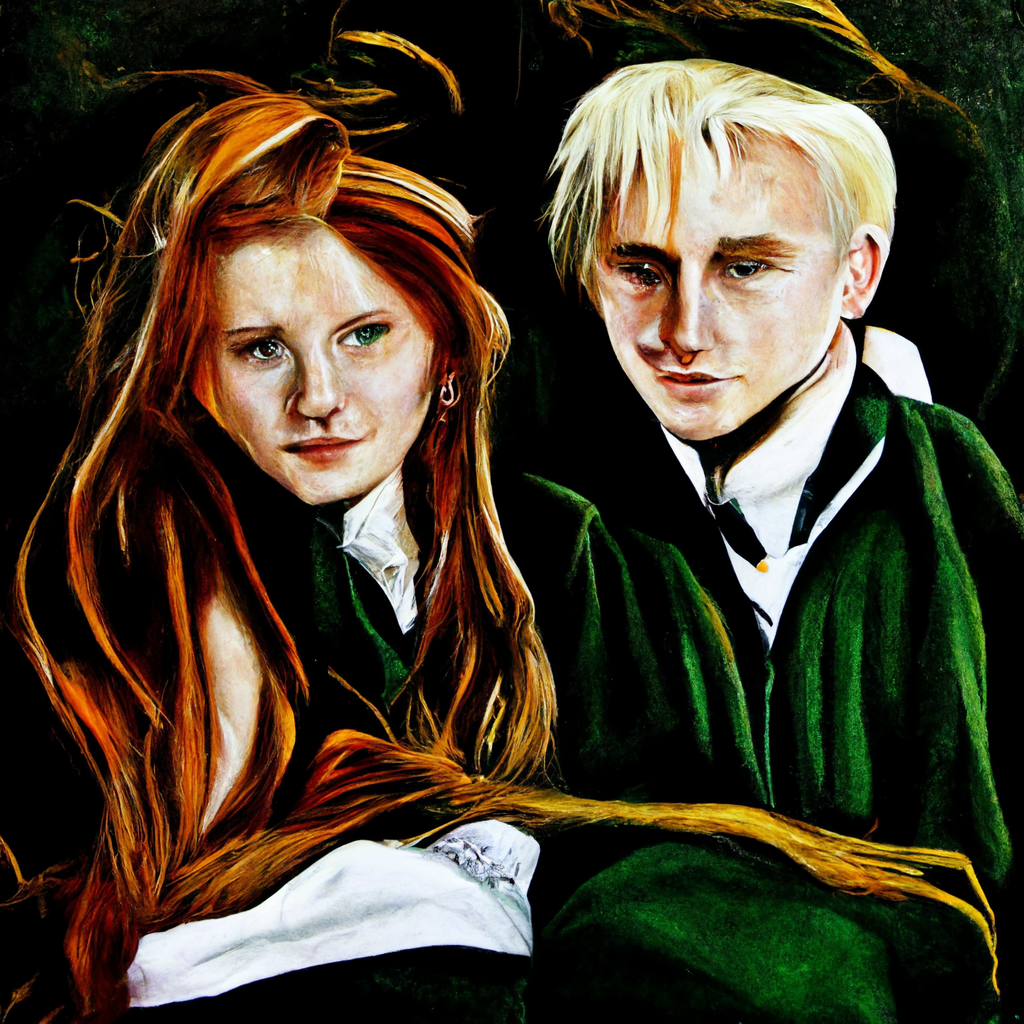
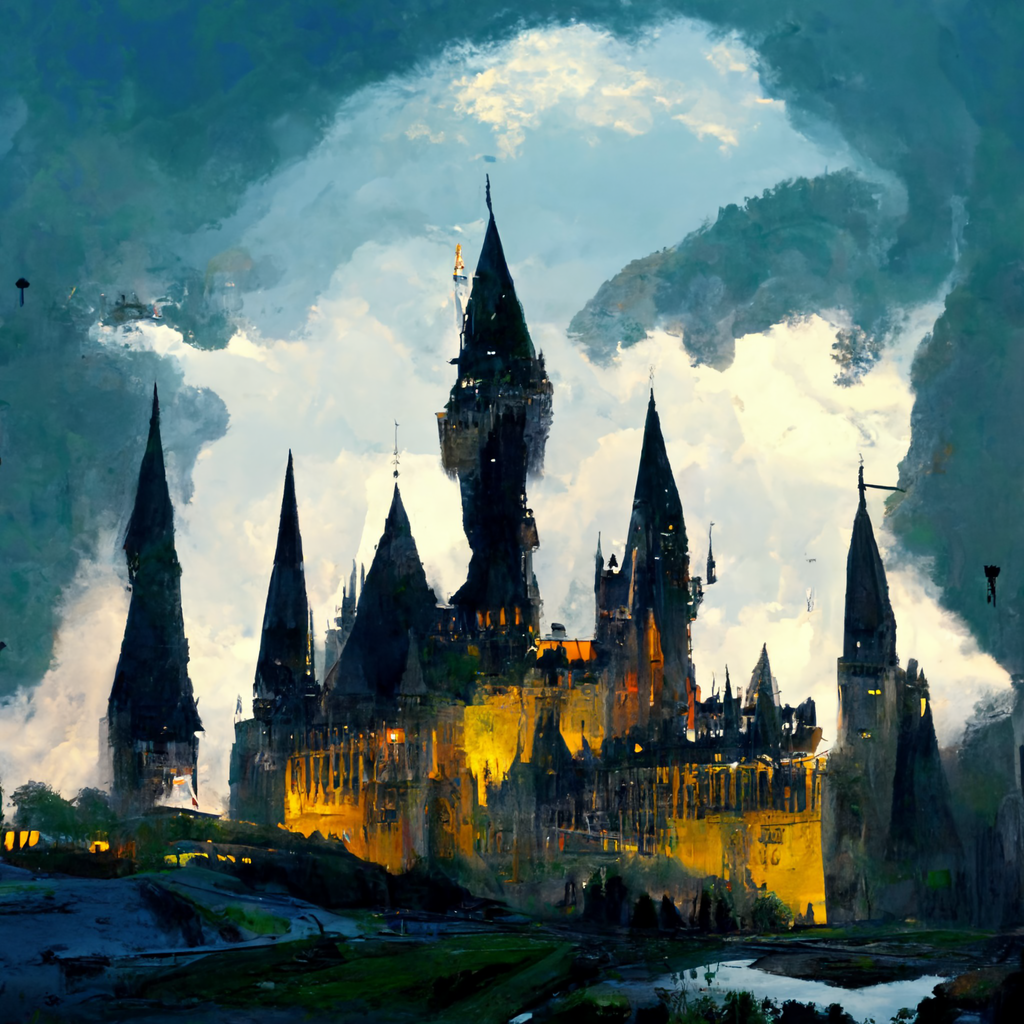
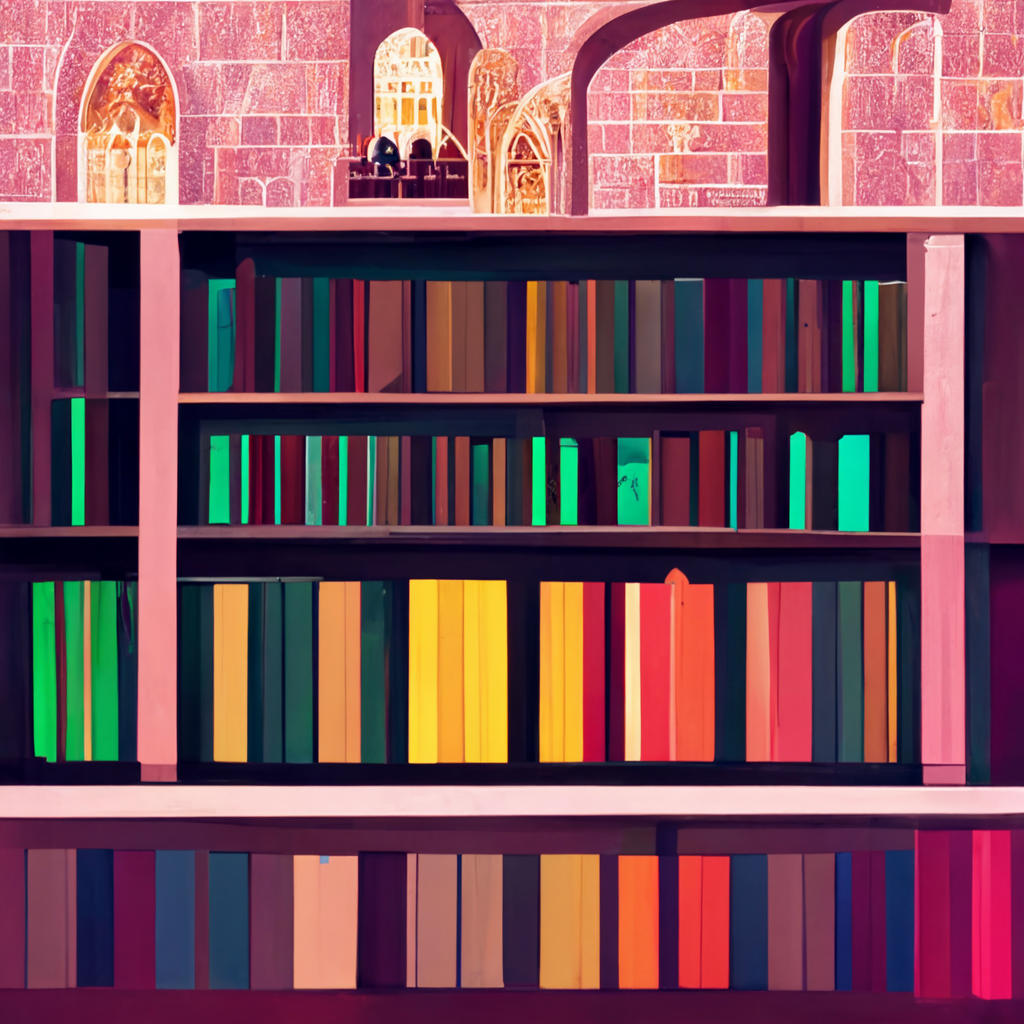
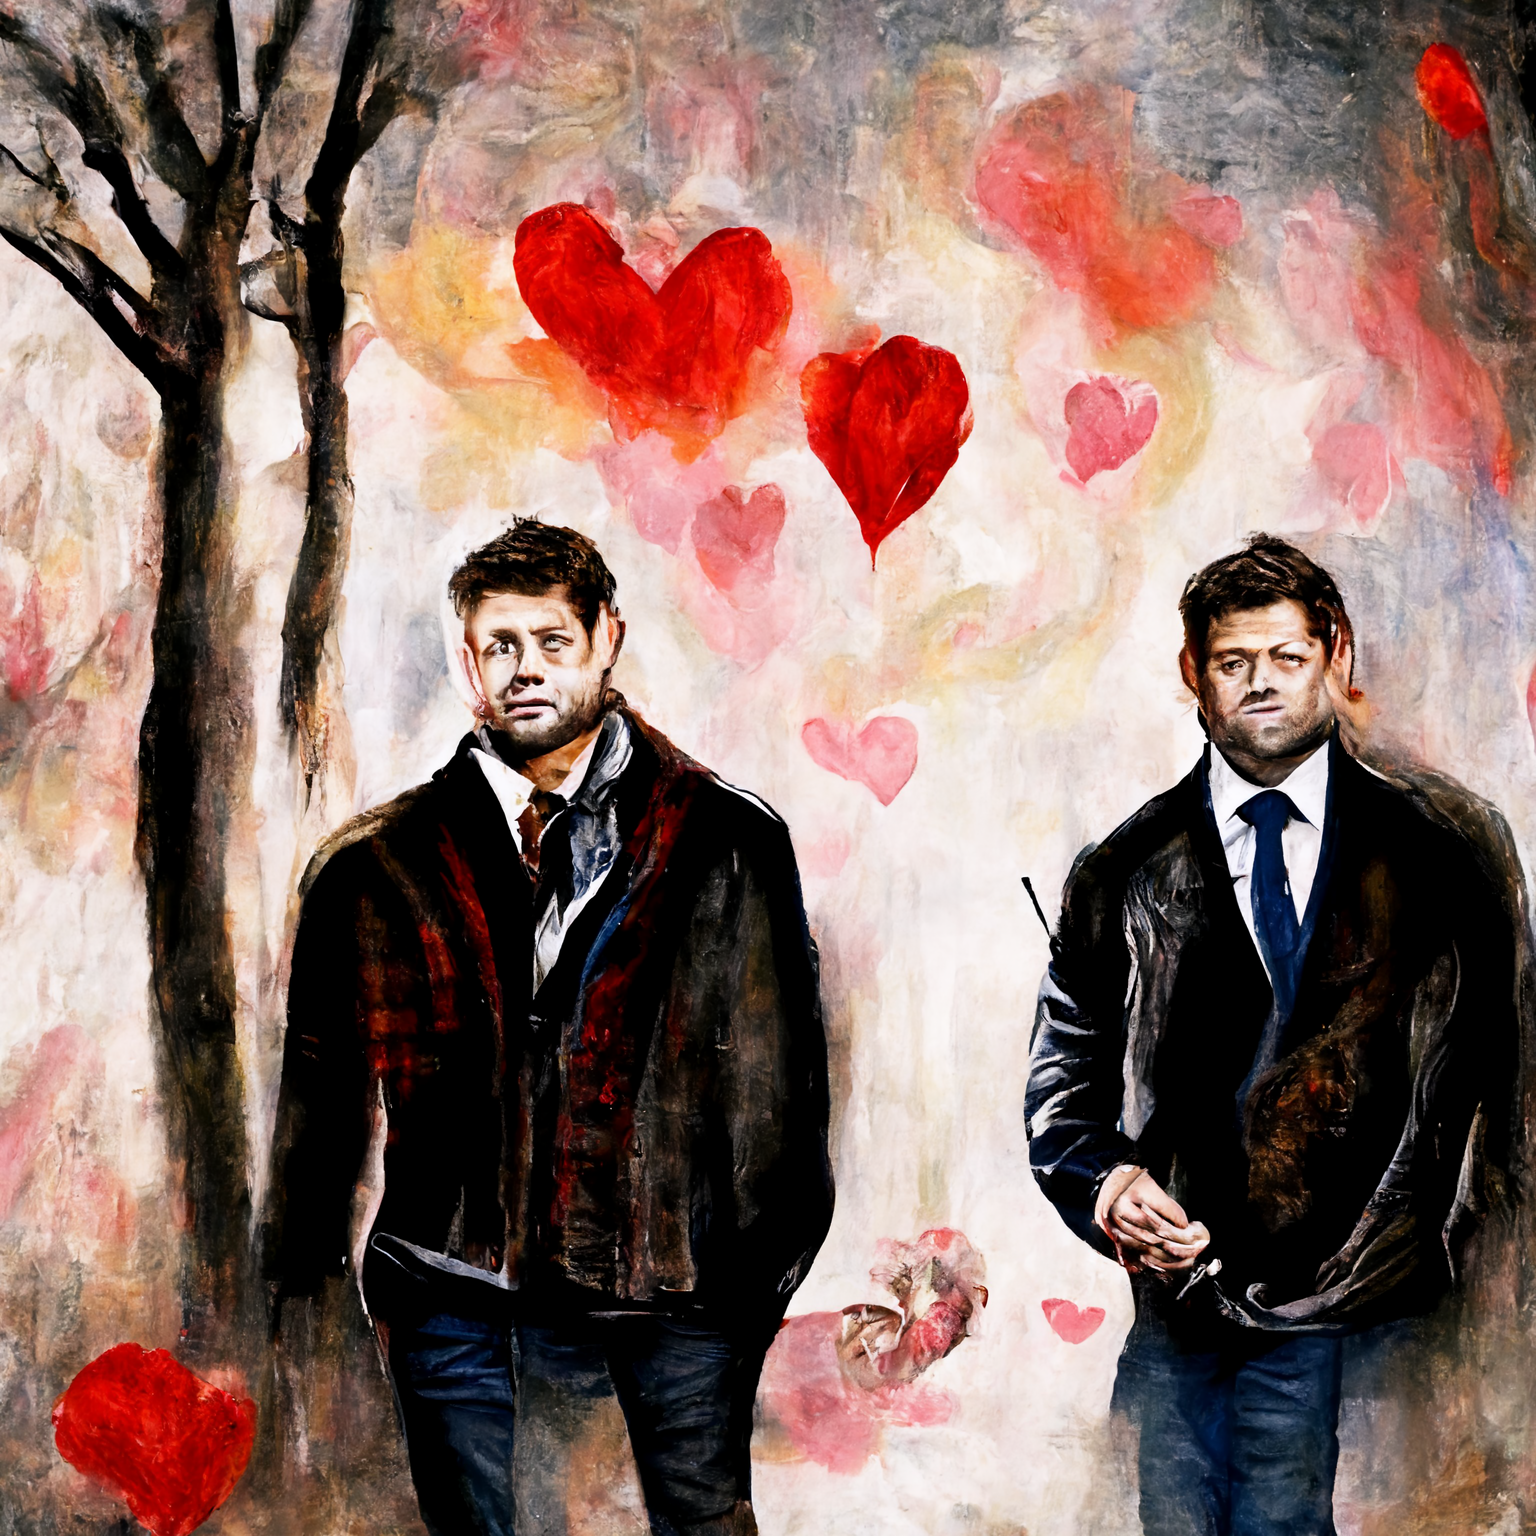
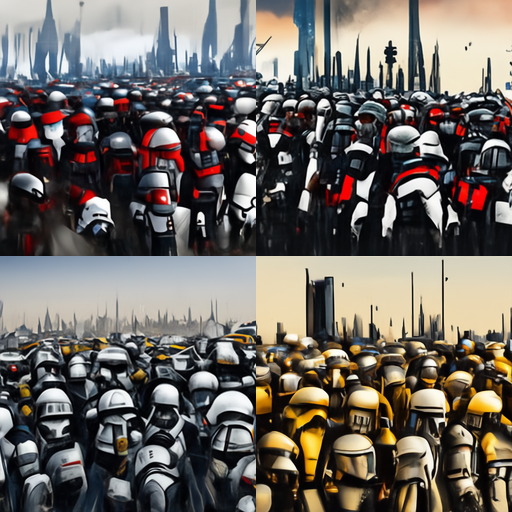
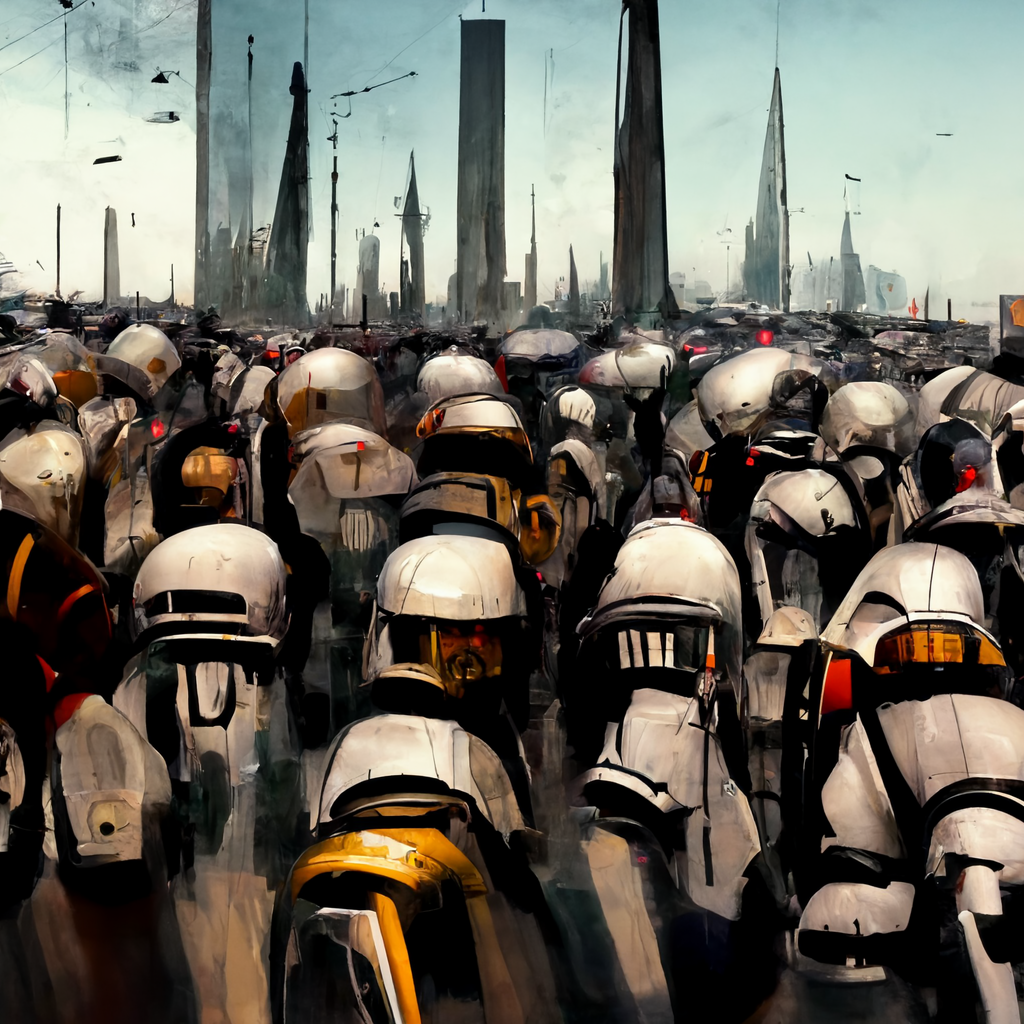
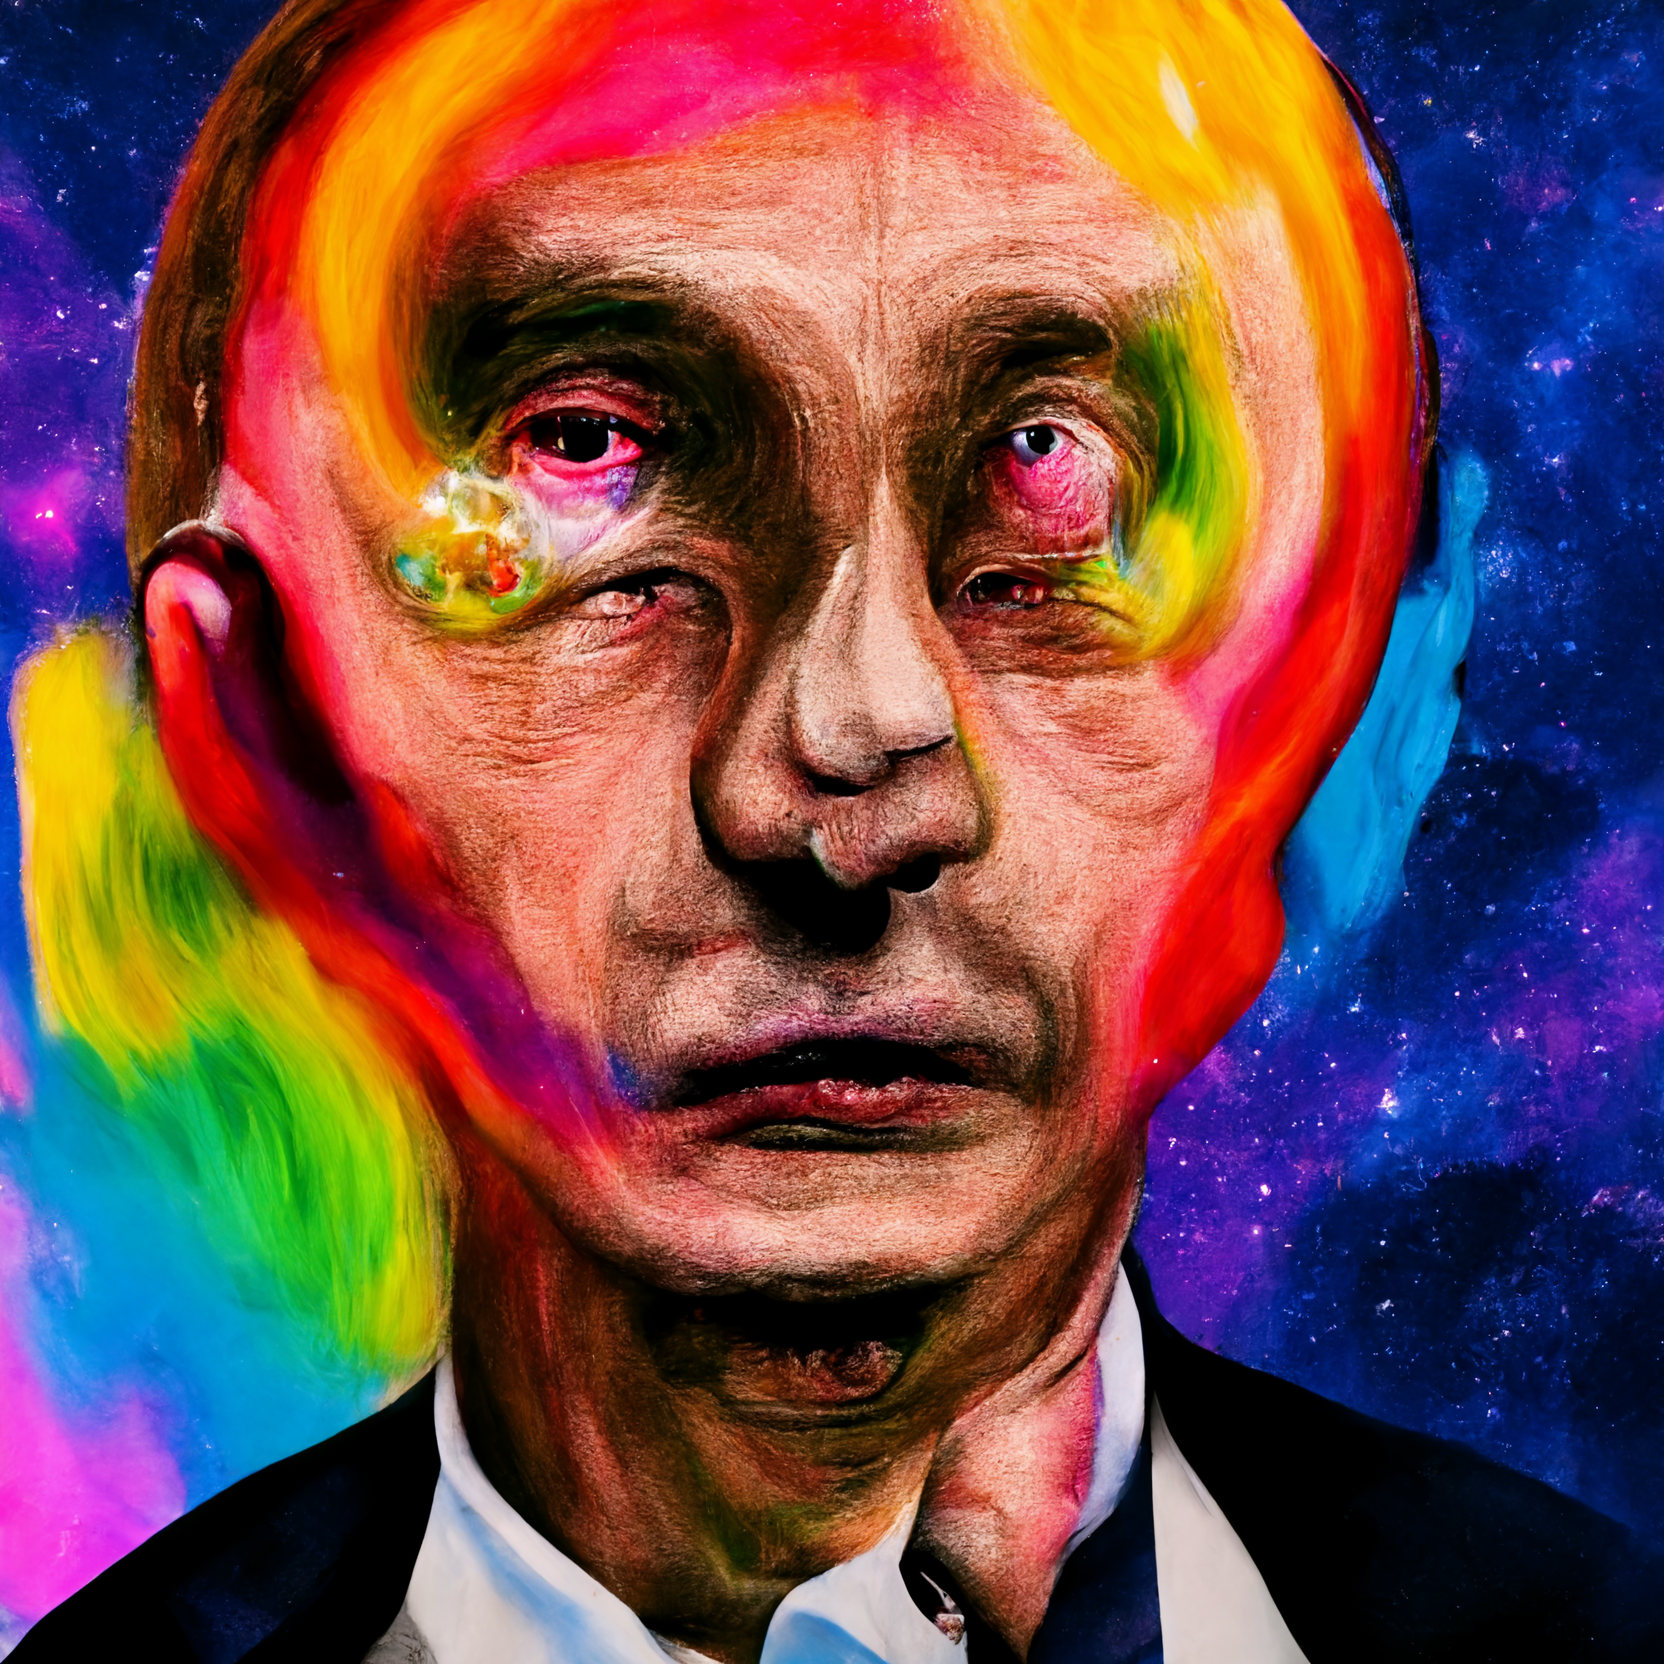
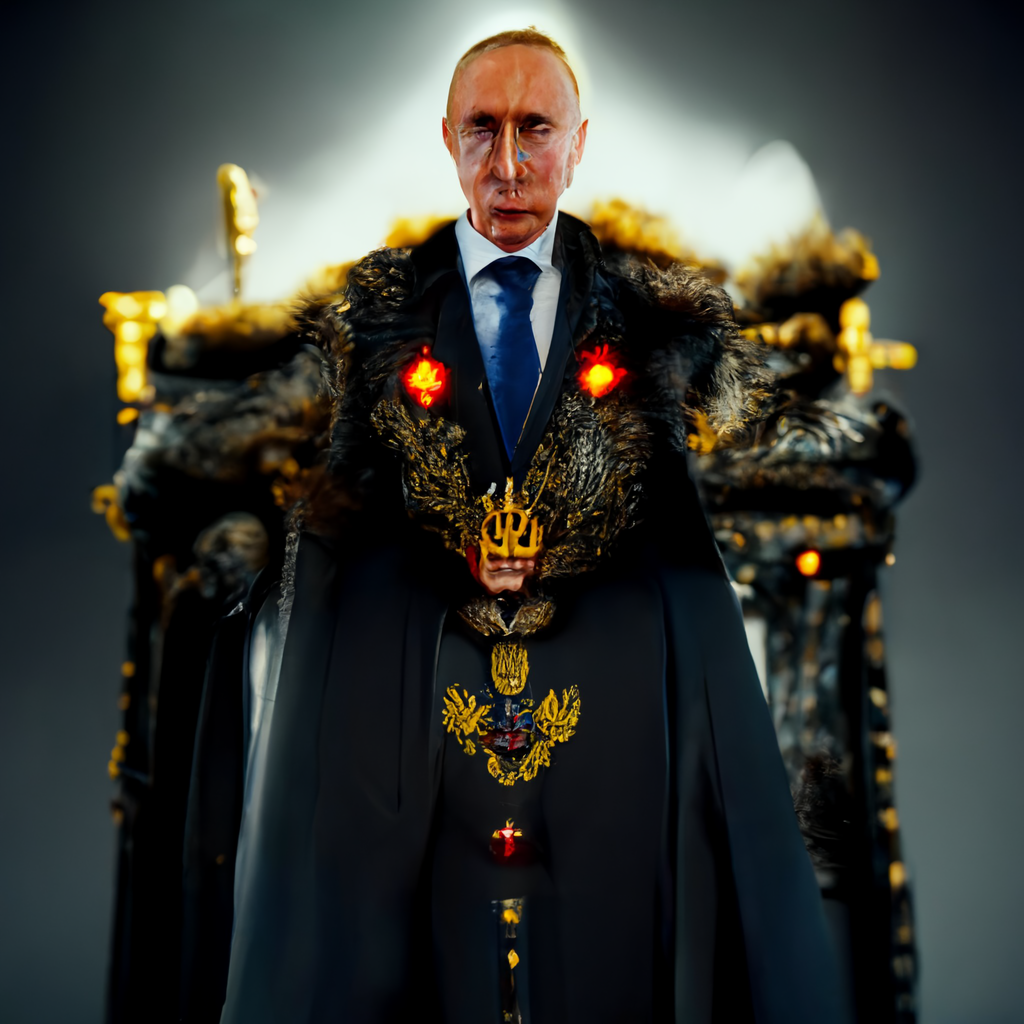
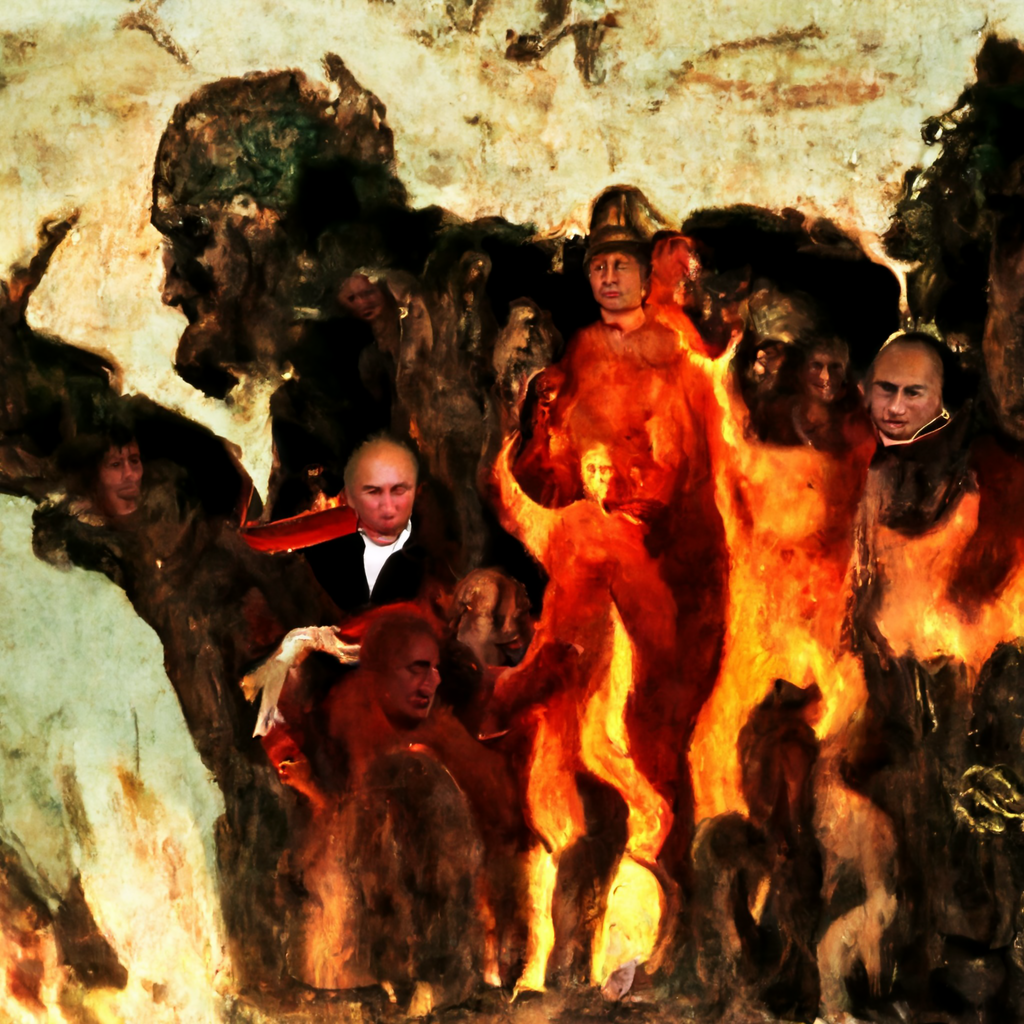
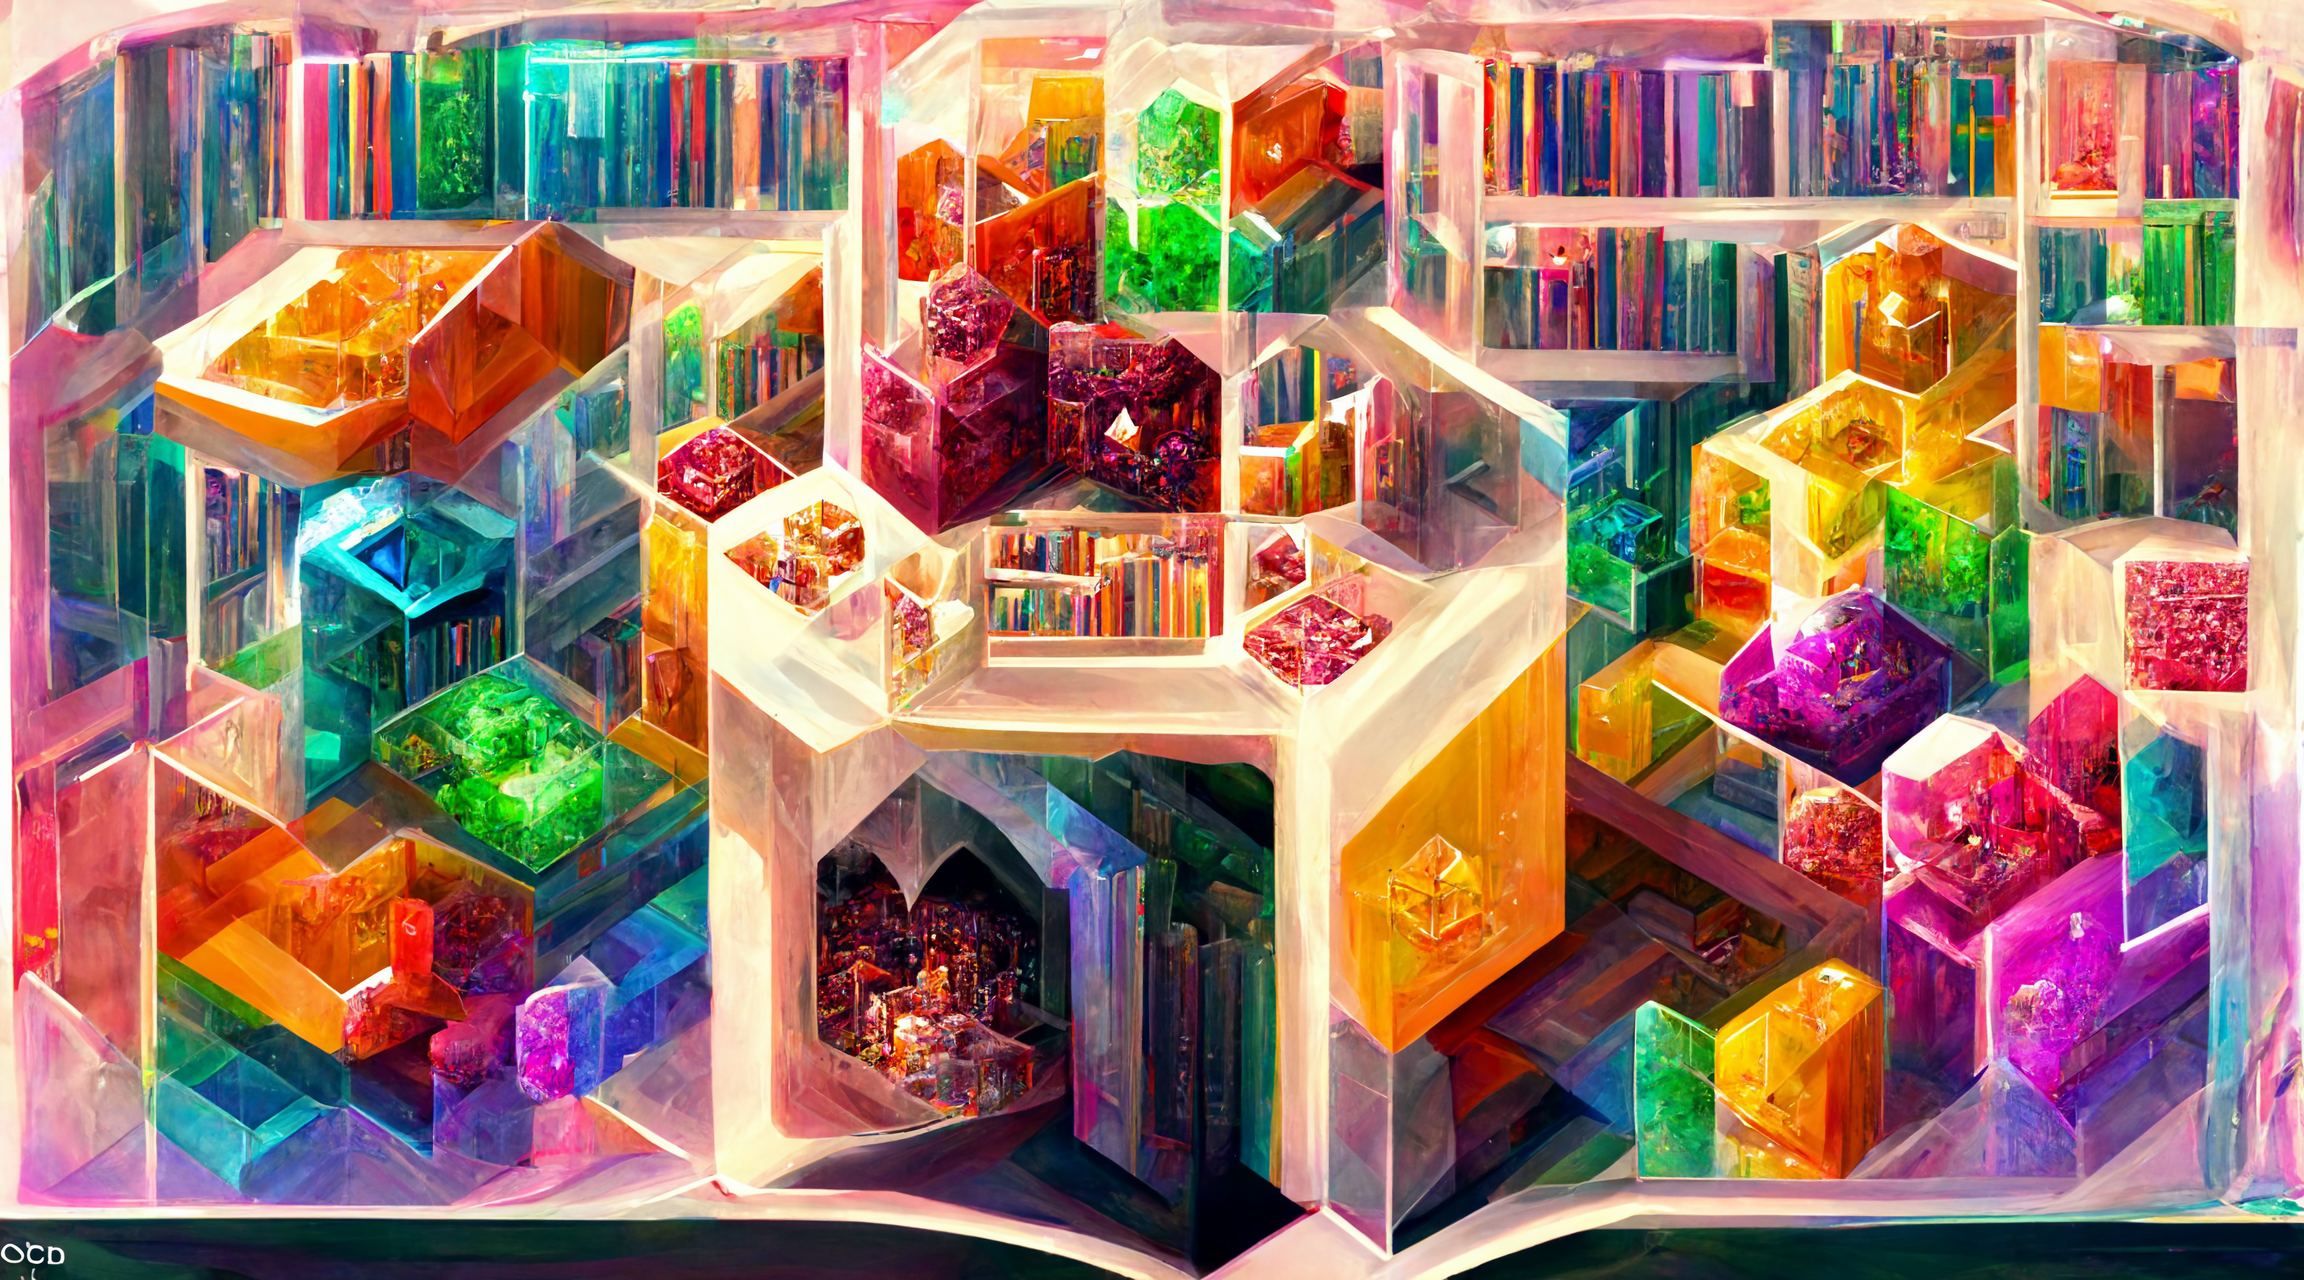
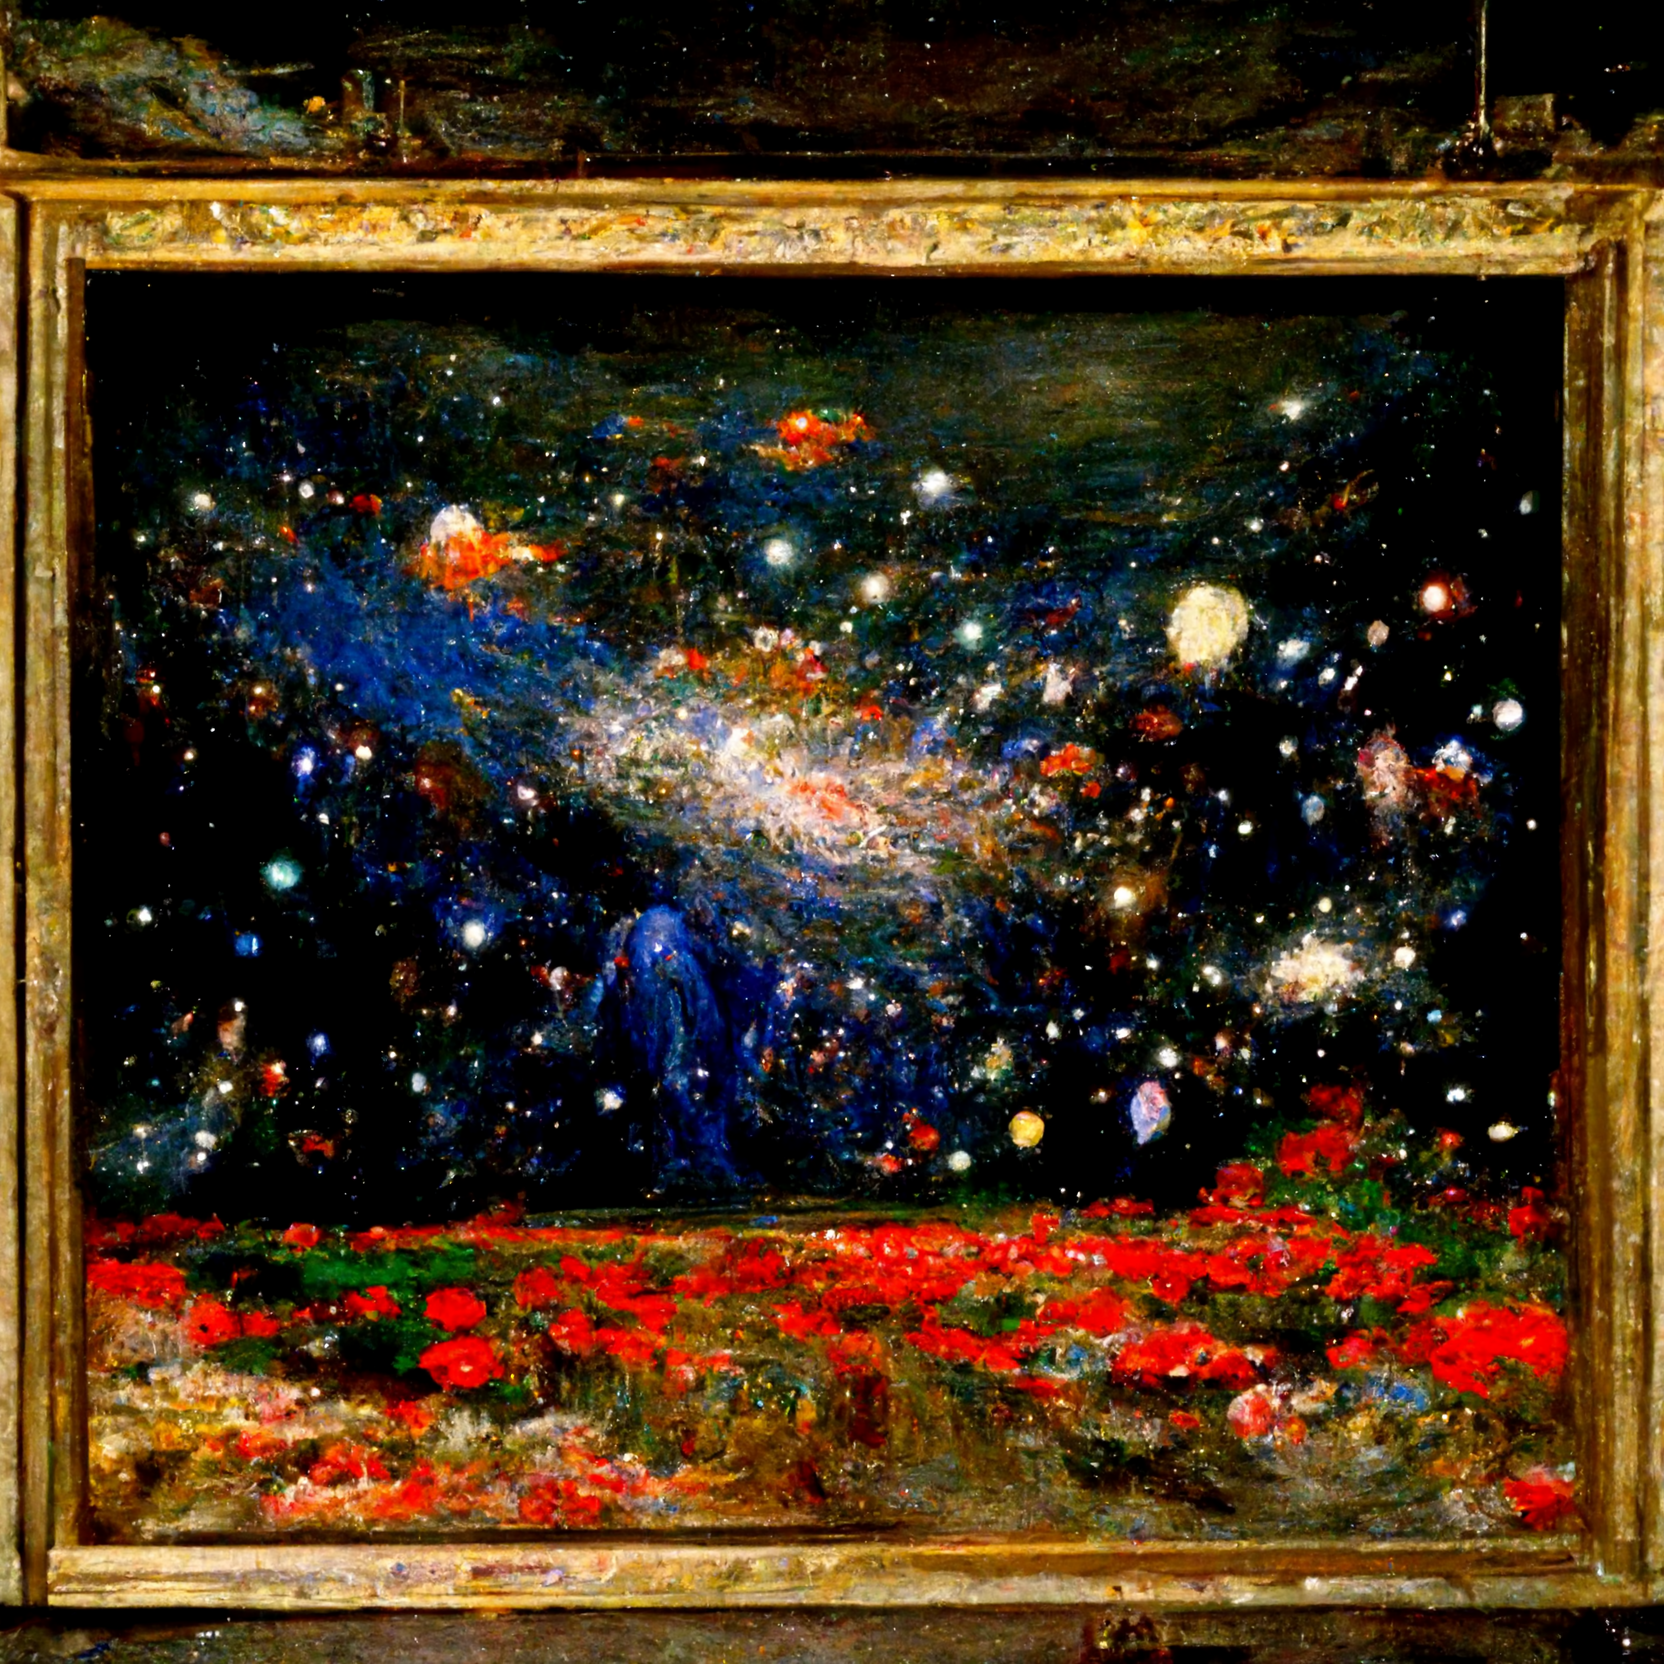
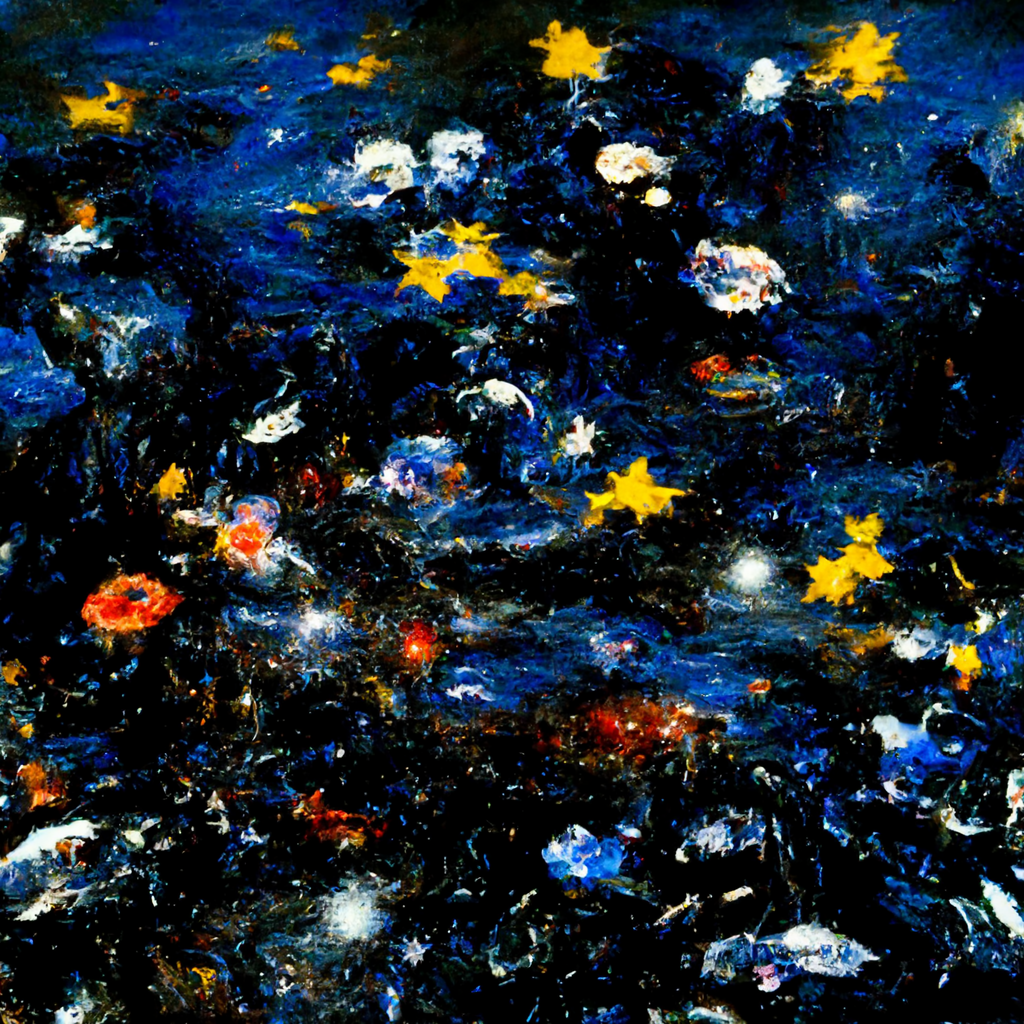
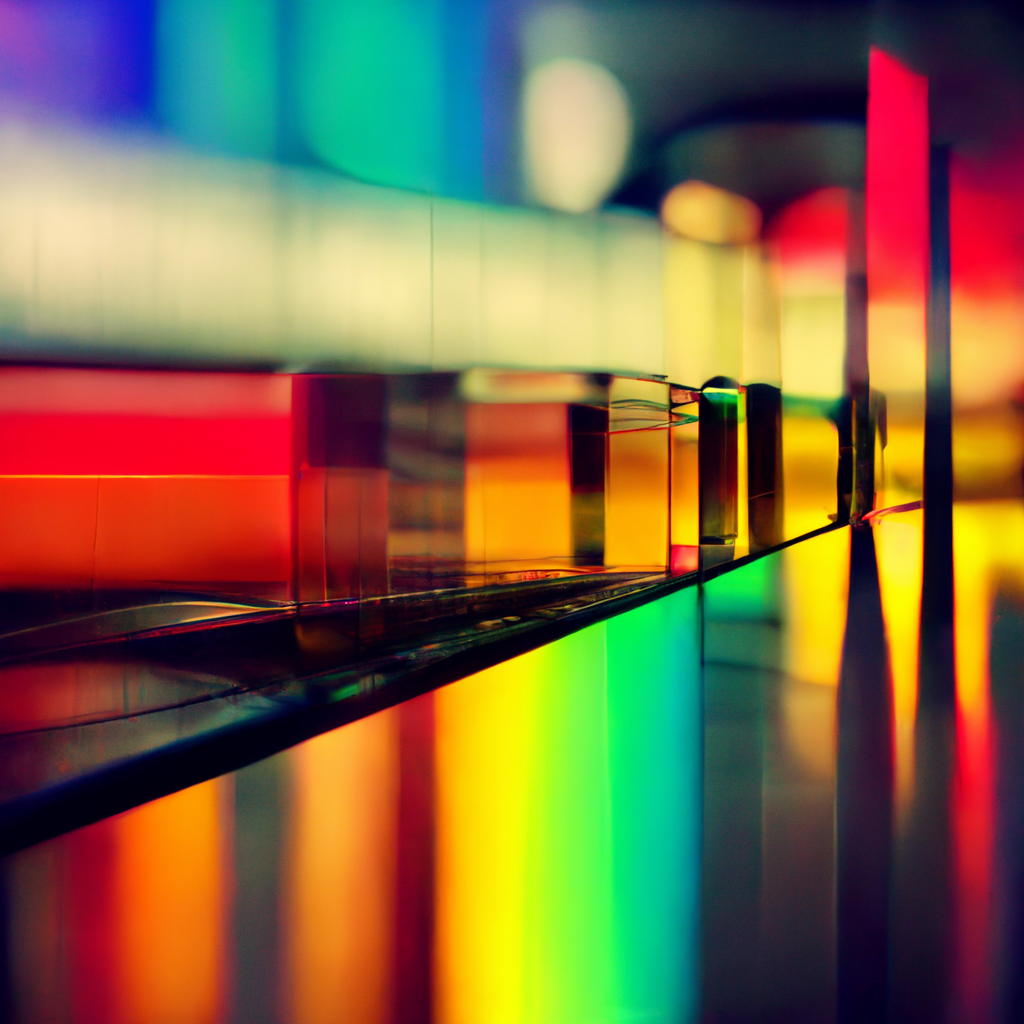
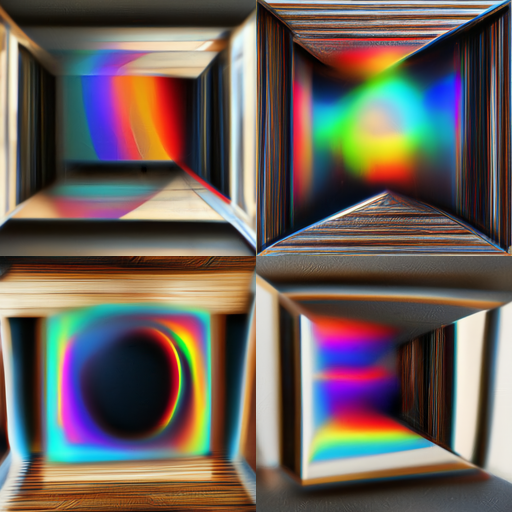
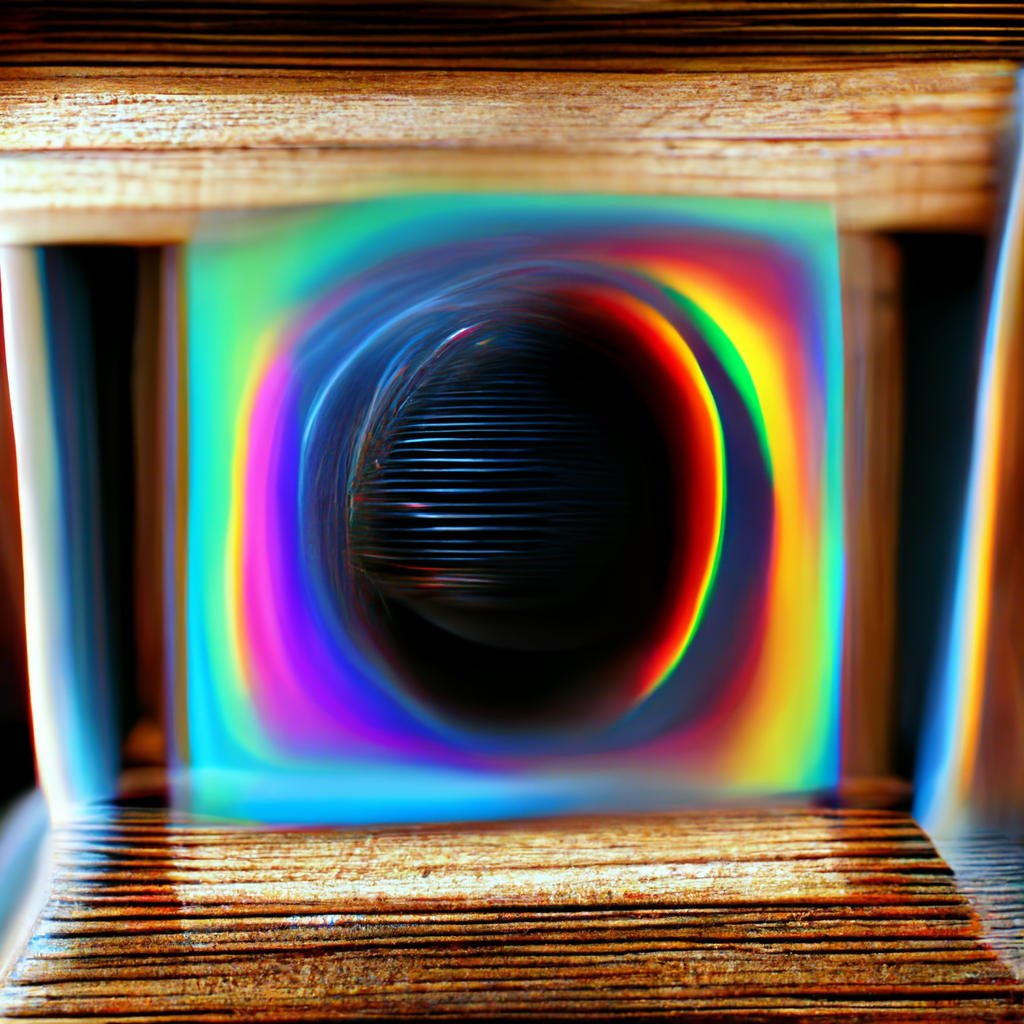
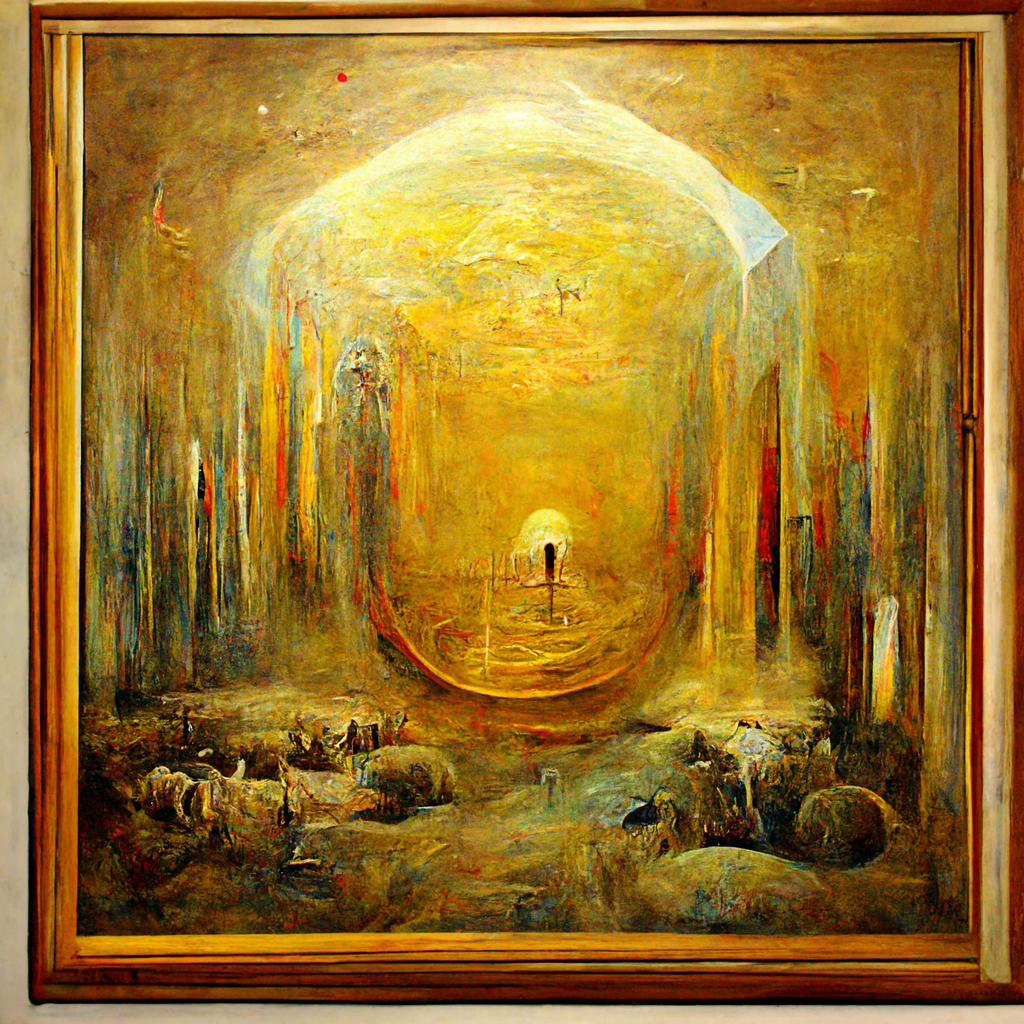
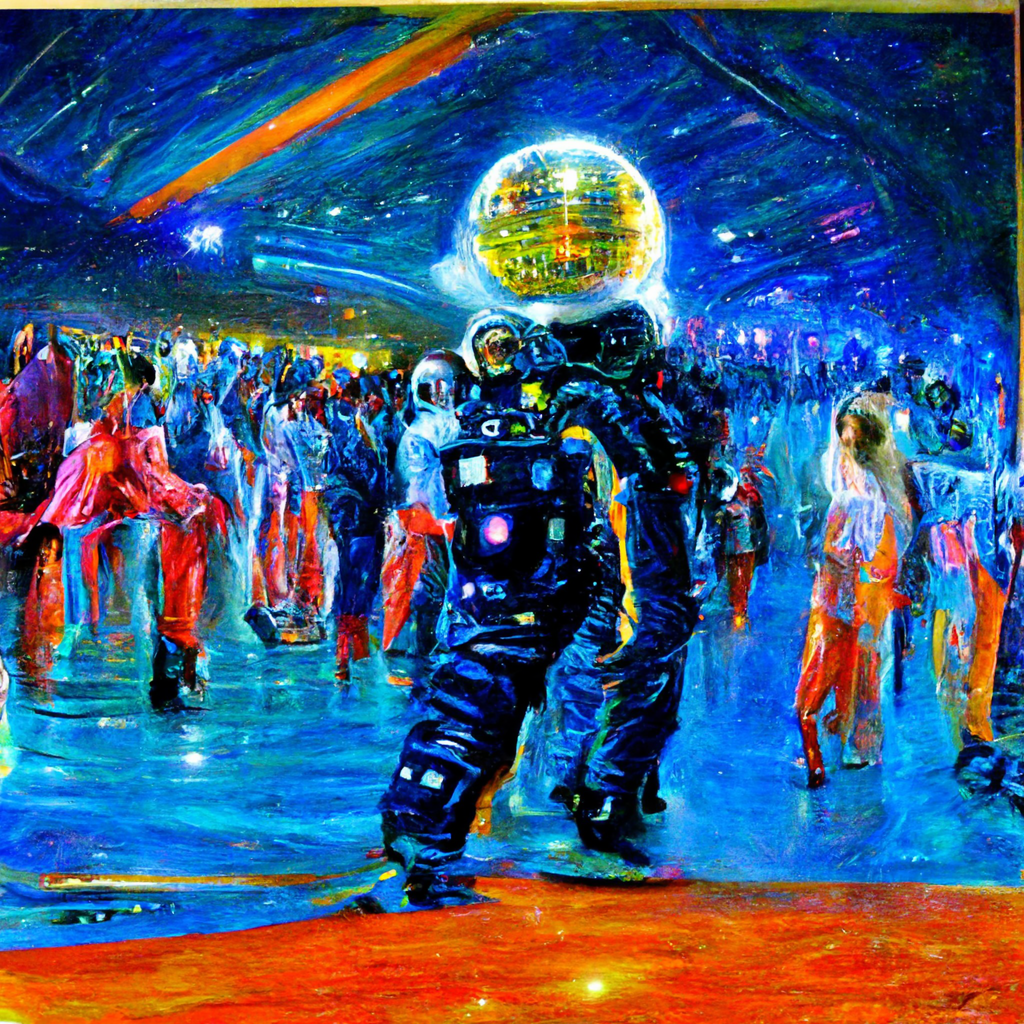
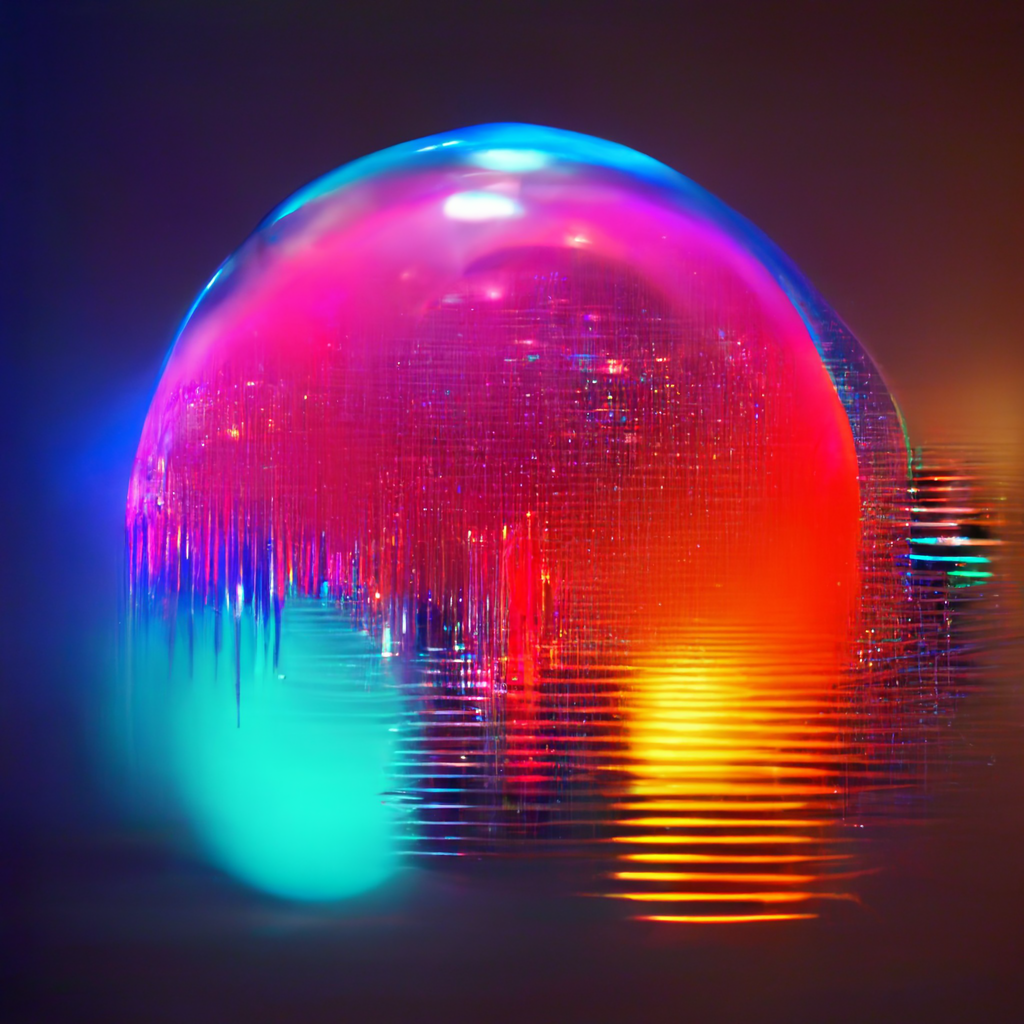
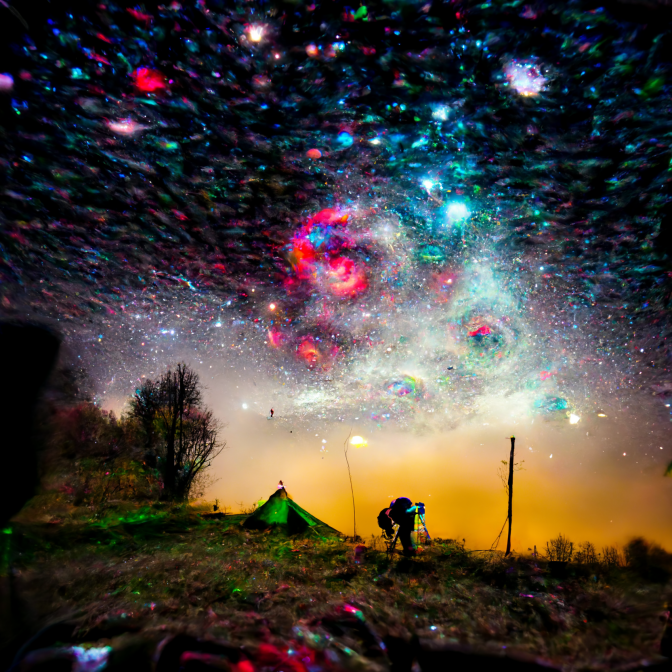
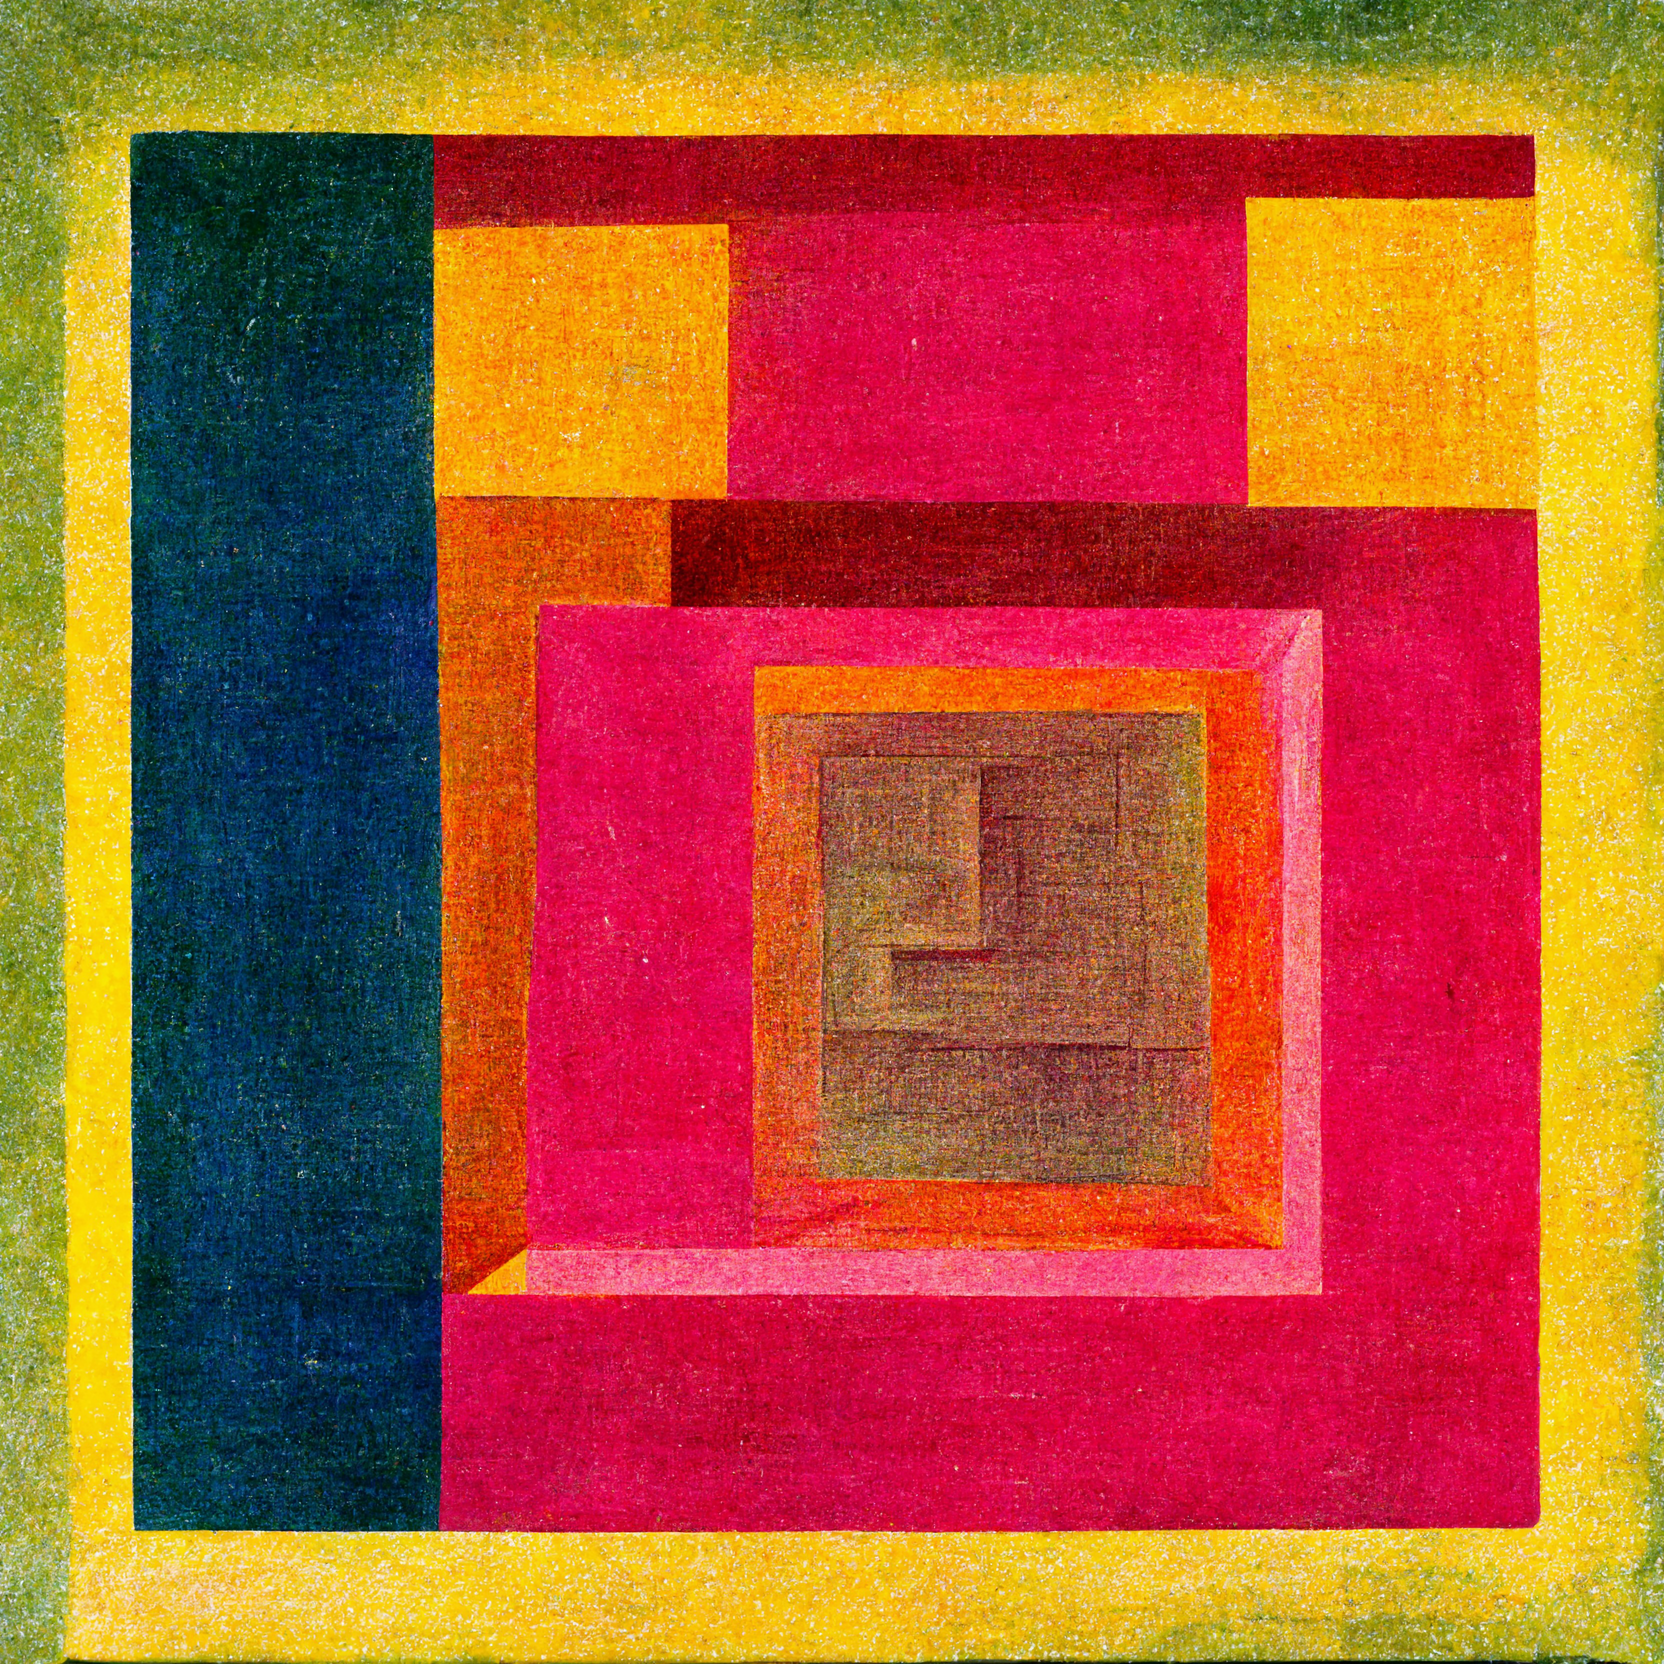
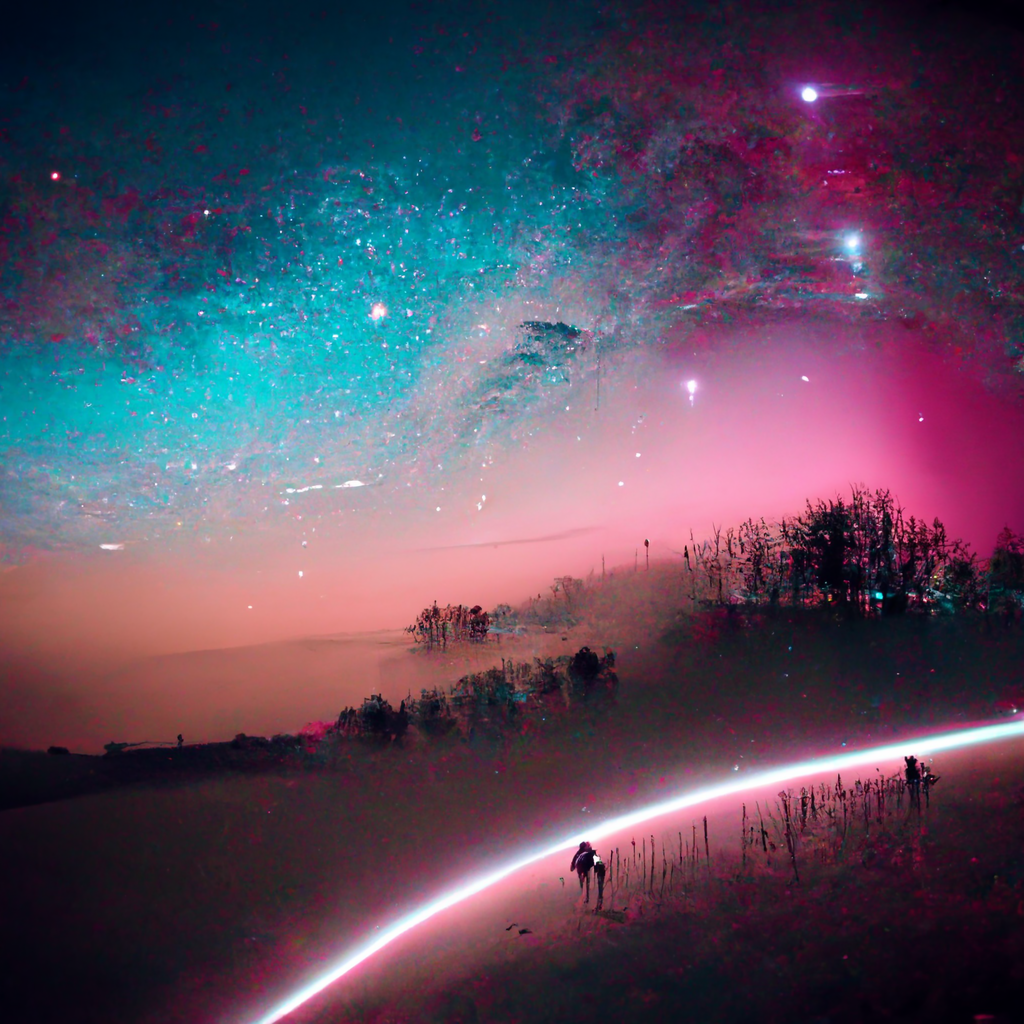
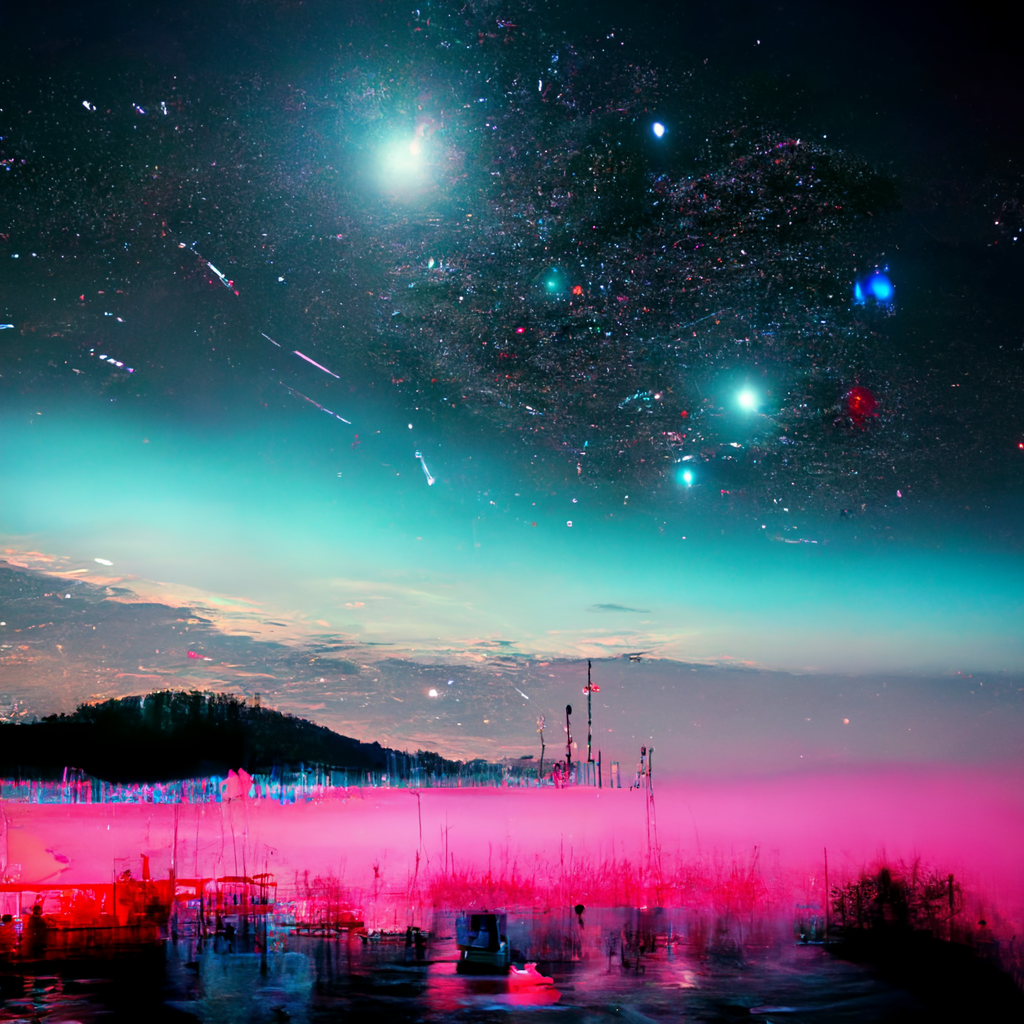
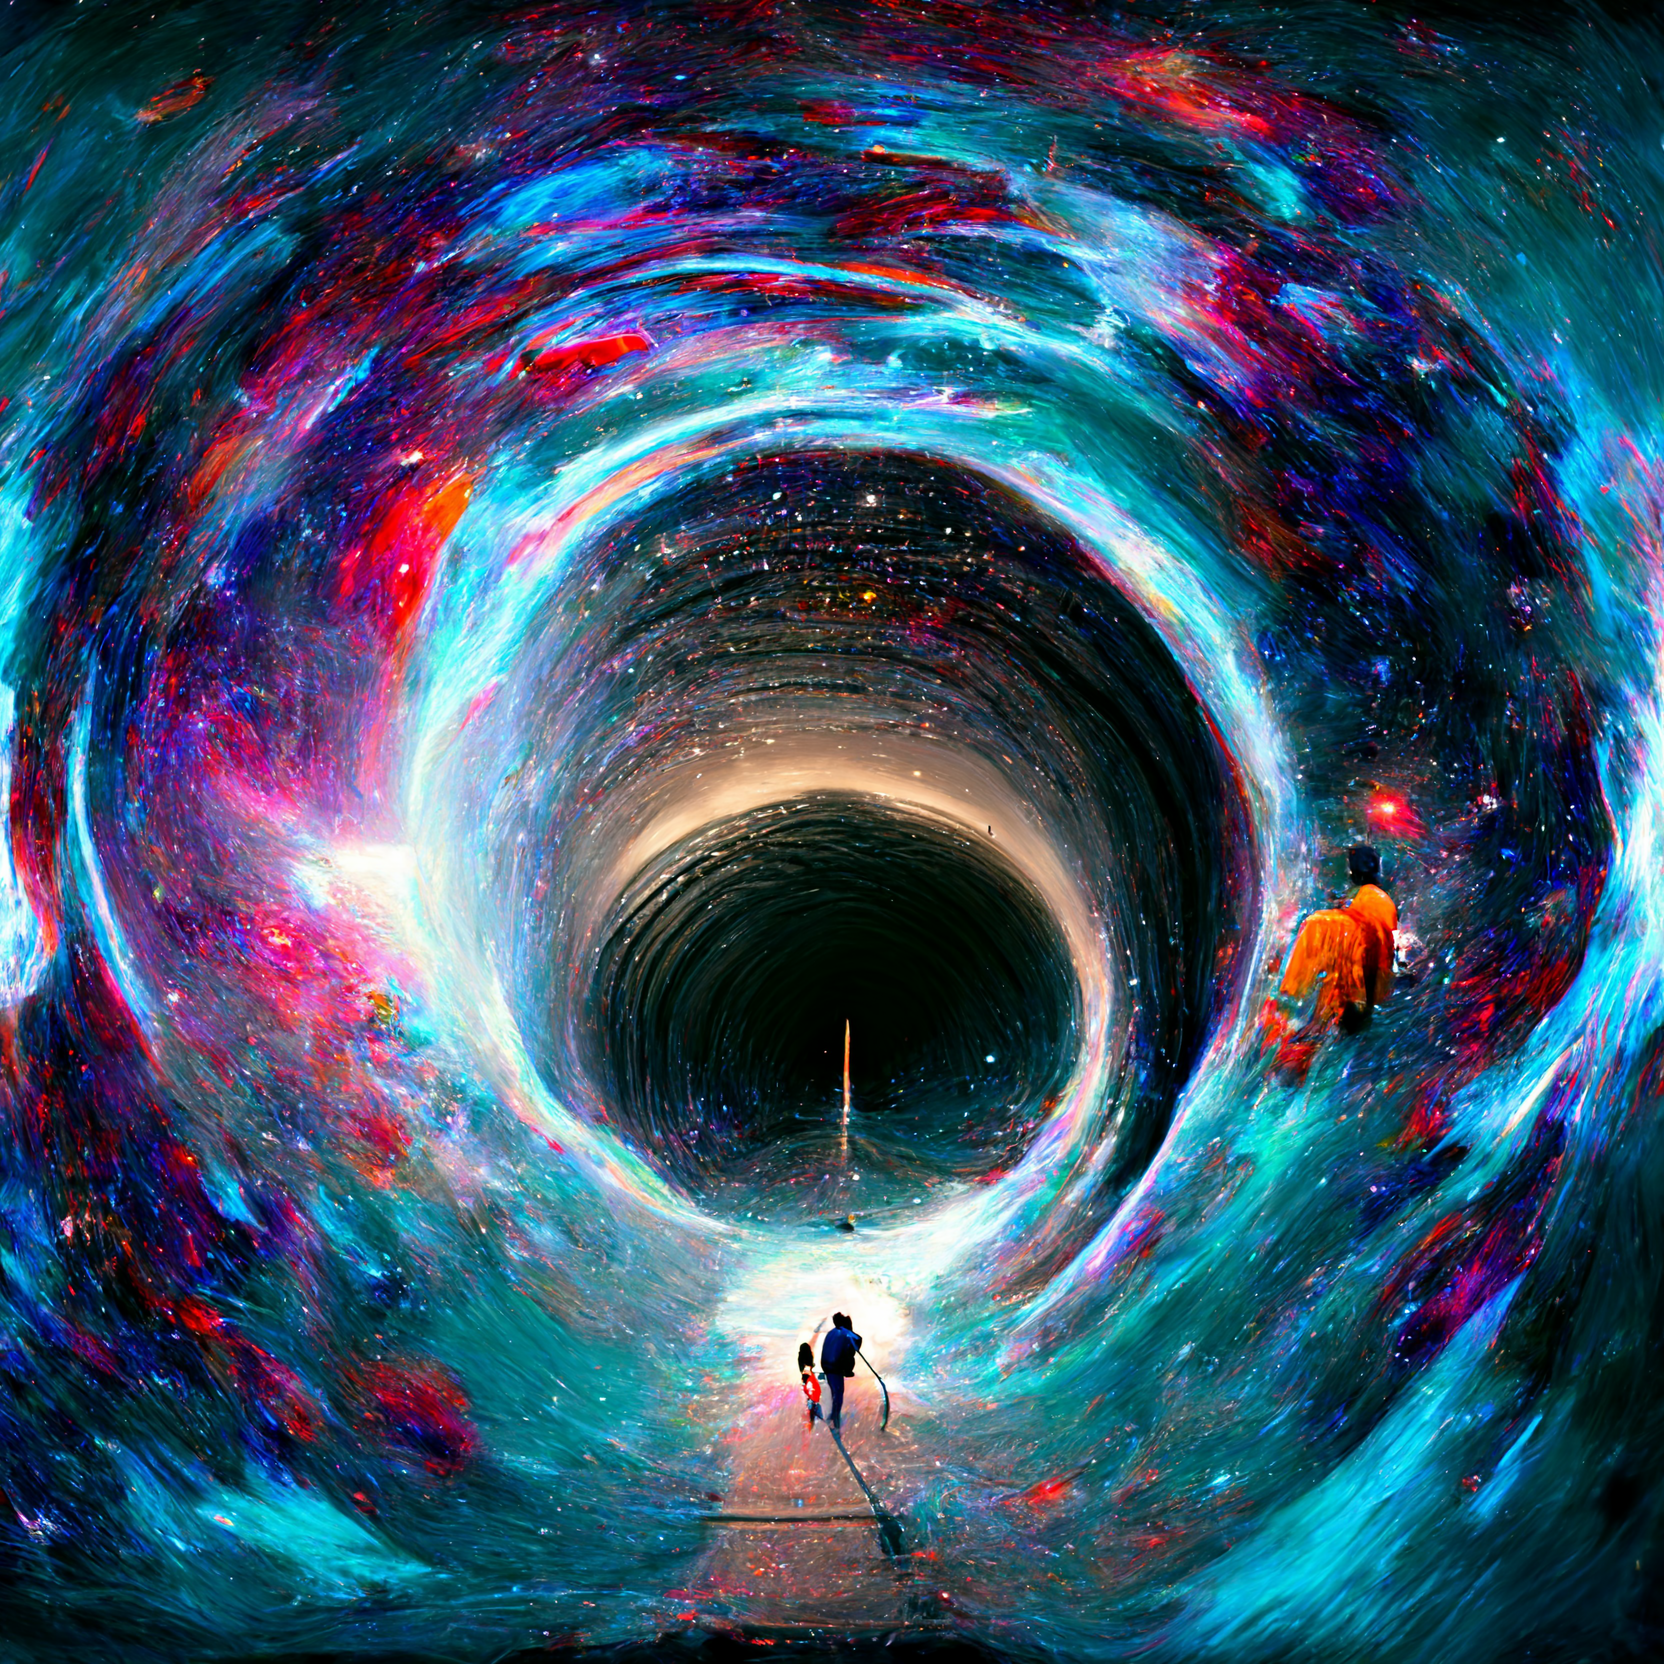
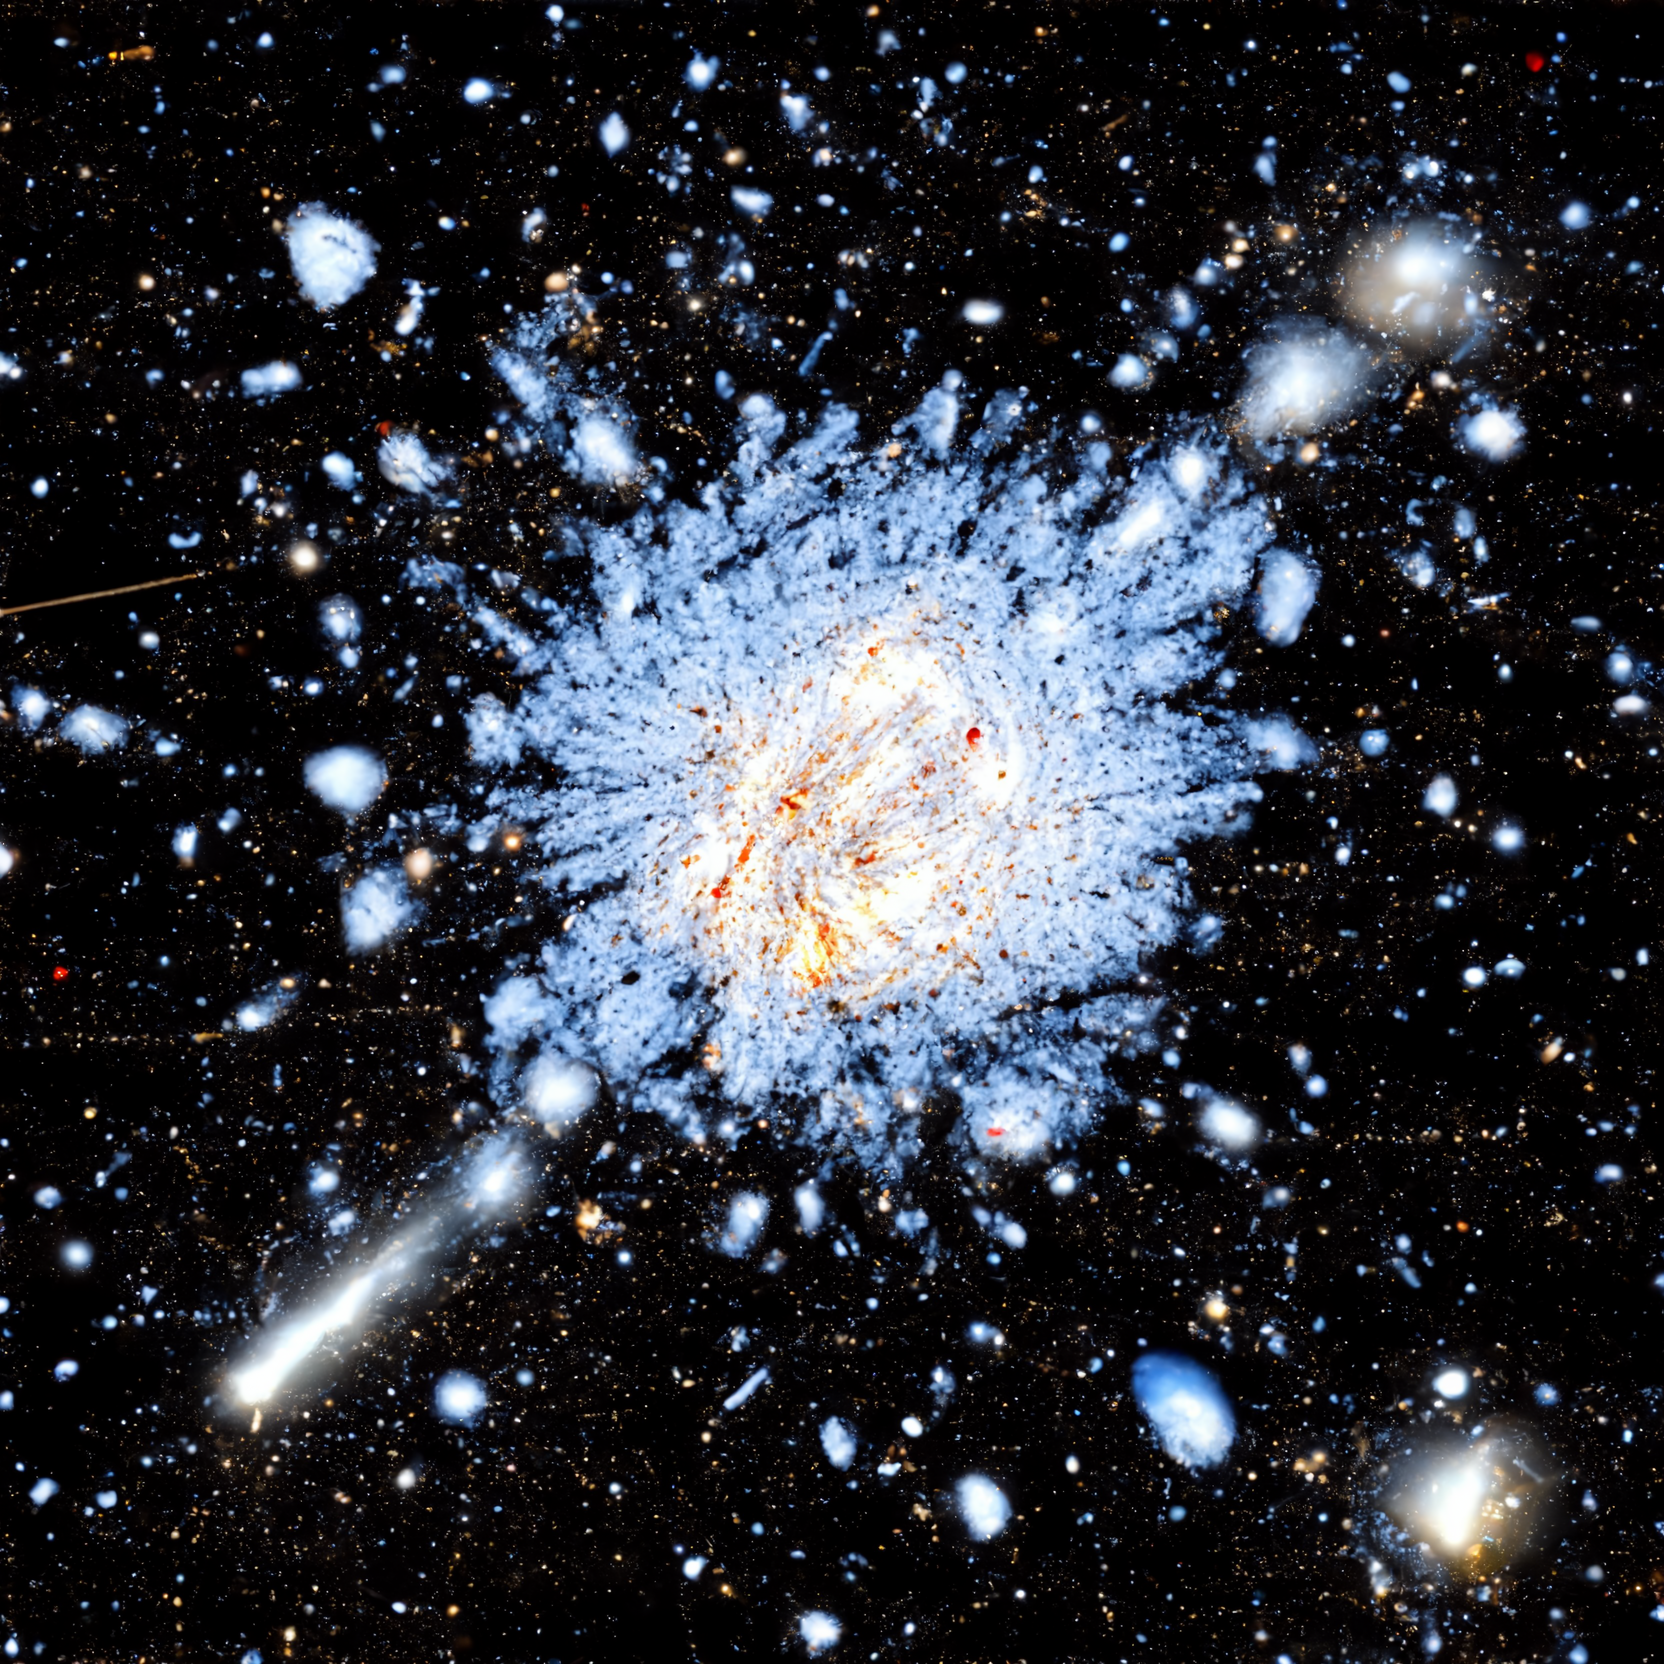
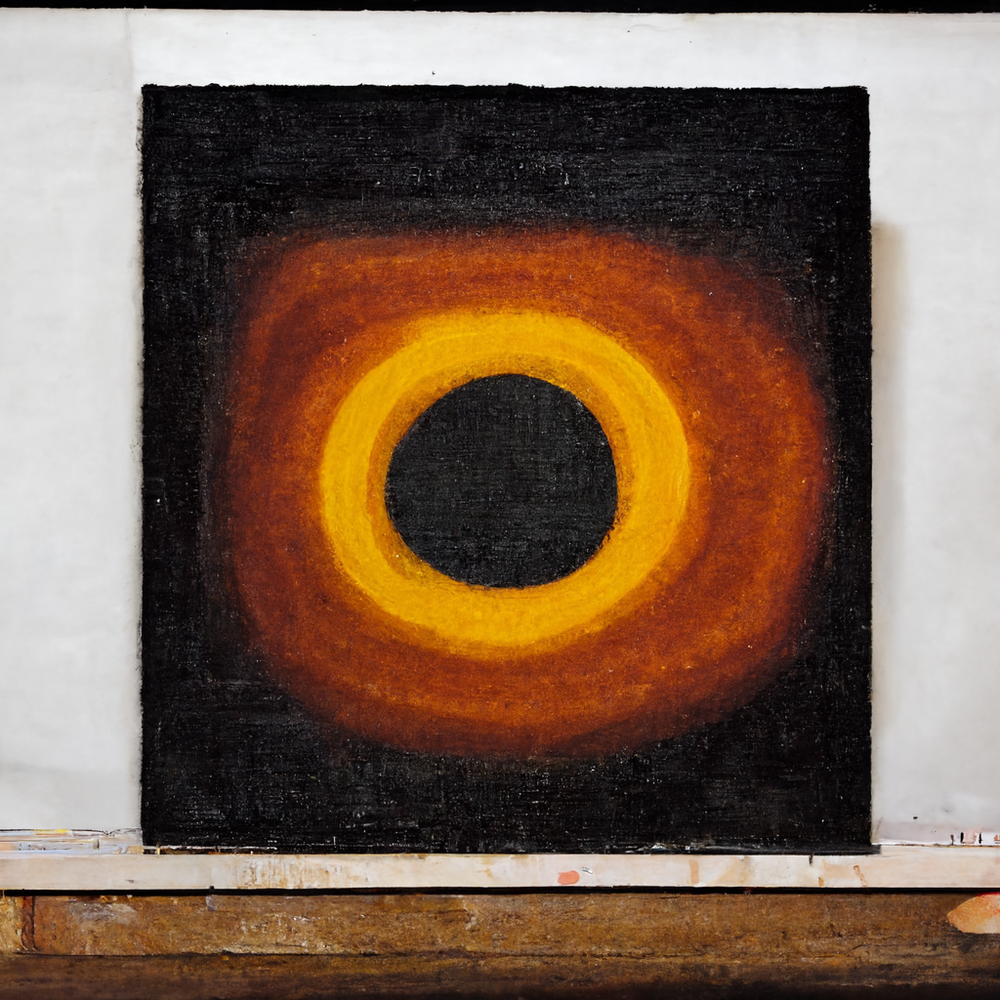
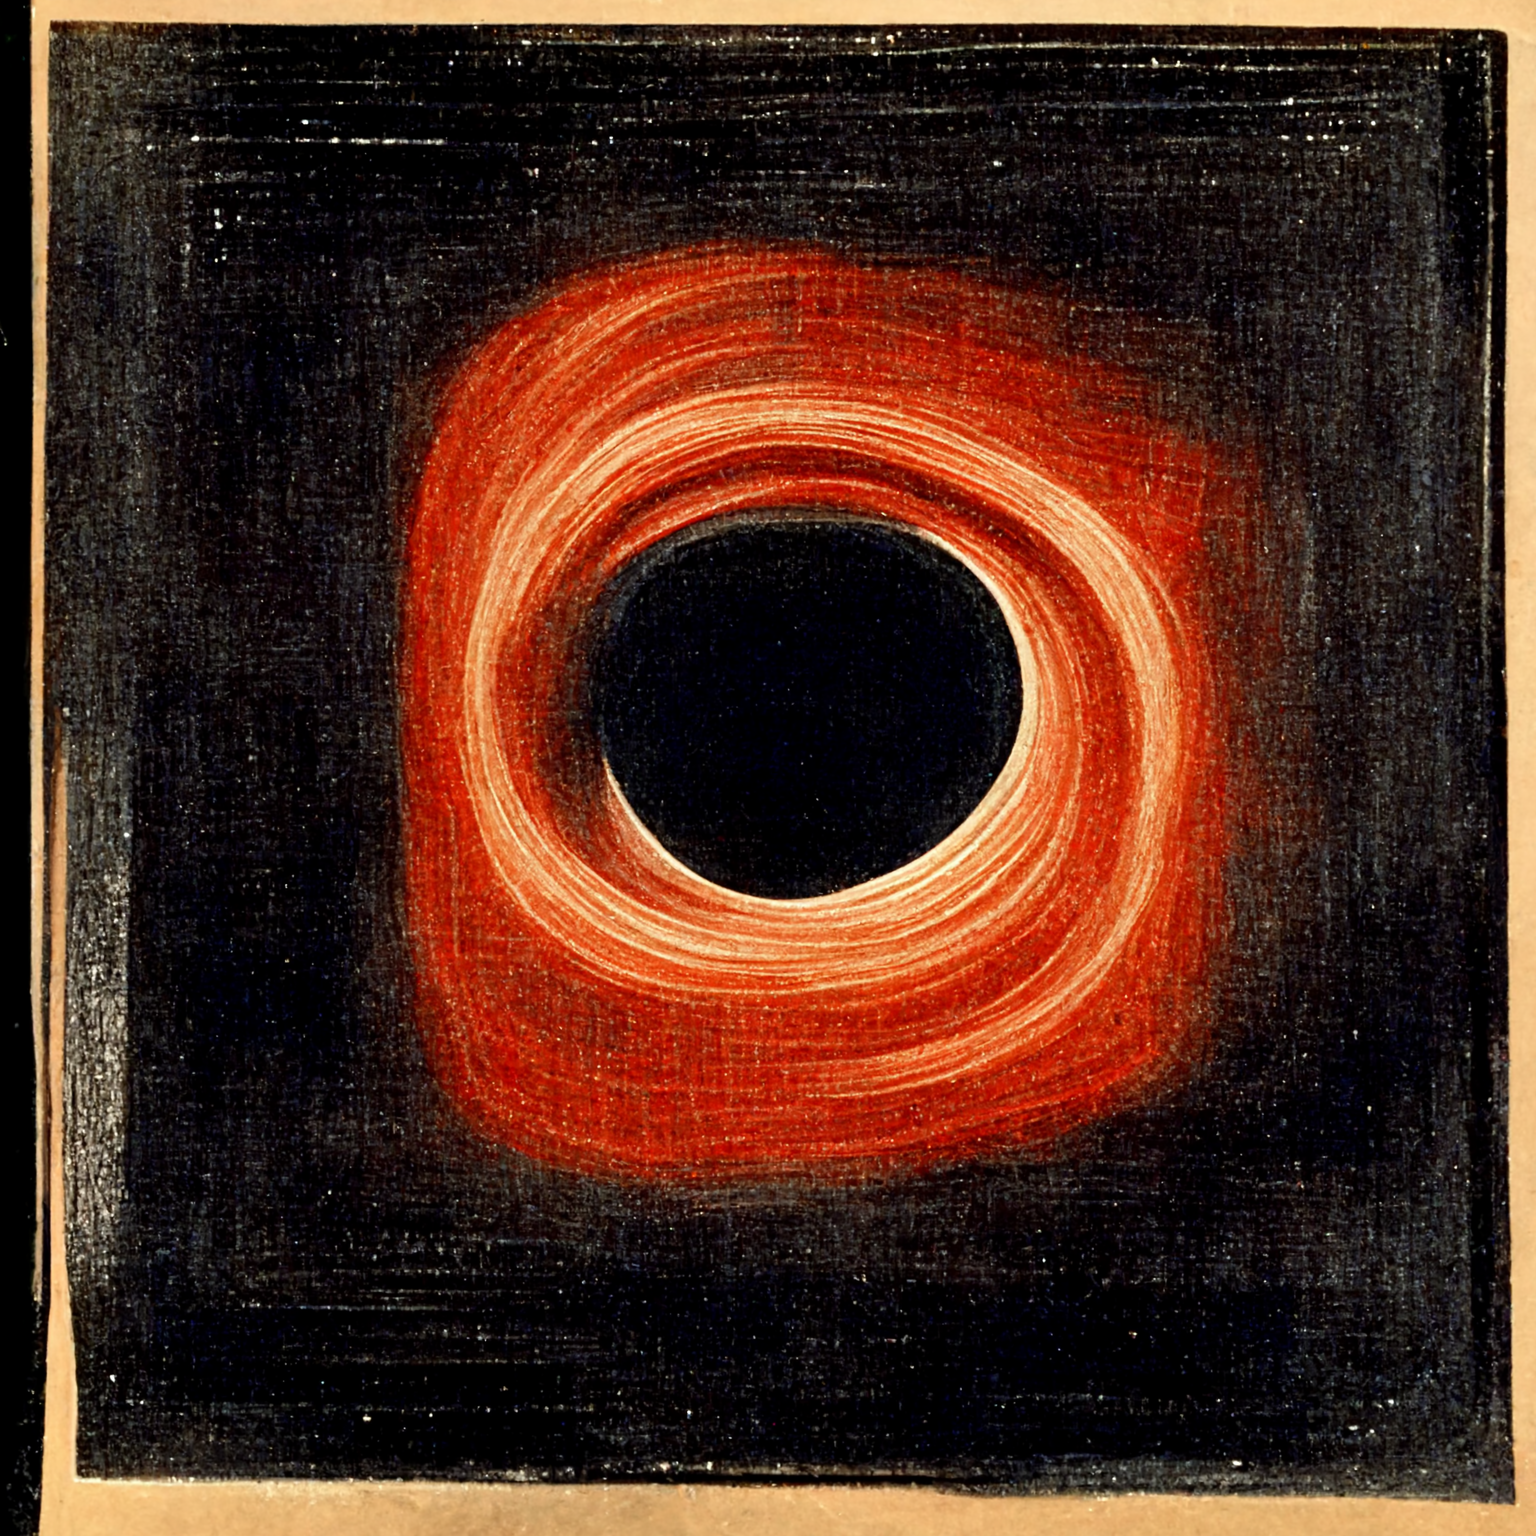
Here is 4 pieces, all from Gigadiffusion, each at 4 scale steps, 512 width, 1024, 2048, and 4096.
They are low quality and a fraction of the resolution of the originals, available on Google Drive, along 8192 width and 1 16384.
Below the images, you’ll find the process for these: simple, repeatable, and found through 100s of tests over months.
Finally, a set of small tips around printing, choice of AI model, image viewers, and what settings maximize creative exploration.

After 100s of trials, I’ve found a recipe for coherent, beautiful, results, and Gigadiffusion defaults to it.
Each scale step should be 2x scale, no higher.
Main settings: 20 steps, DPM++ SDE Karas cfg 5.
50 steps tended to have finer detail, but little practical impact.
4x faster, but little detail, it’ll be very smooth: 20 steps, Euler A
Gigadiffusion settings:
0 mask blur, 128 px padding, and 0.45 denoise (both redraw & seams).
Upscaler: R-ESRGAN General WDN 4xV3
Switch to Lanzcos if VRAM crashes occur at the beginning of the job.Once you have a 2048 px image, switch to 0.4 denoise.
Once you have a 4096 px image, switch to 0.35 denoise.
So far I’ve validated:
83 megapixels: 1 sheet of paper , 8192 x 10240,
335 megapixels: poster / 4 sheets of paper, 16384x20480
1.3 gigapixels: painting size ~2.5’ x 3.5’, 32768x40960
Some more hard-won knowledge:
TL;DR on Printing
This level of detail is visible on pretty much any printer, 1440 dpi is standard. Of course, quality will vary dramatically.
I went all out & got an Epson SC-P900. You probably have a great printer accessible at school or work.
Paper and ICC profiles are extremely important. Pick a paper from your printer manufacturer or a high quality third party, such as perennial favorite Red River Paper. They will provide ICC profiles, a translator from the digital color gamut to the paper color gamut.
Denoising values are a crucial knob for exploring creations.
Too little, you smooth out everything. Too much, each tile ends up with a little painting in it.
0.35 to 0.45 is a great range to play in
Tend lower for more “simple” images, like a vector illustration. Tend higher for images with texture. Decrease as you upscale, 0.45 definitely isn’t reasonable after 4096, and 0.4 isn’t reasonable at 16384.
Use the Deliberate111 model from civit.
Unfortunately, porn hobbyists accidentally have the best models for art, via their practice of merging multiple models togther.
Only ImageMagick and Windows built-view photo viewer handle PNGs > 16384 px.
Split large images to smaller tiles using ImageMagick.
convert image.png -crop 50%x50% output.png
convert is a built-in on windows, there, magick is the command
Not obsessive about microscopic detail? Use Topaz Gigapixel AI earlier.
Gigapixel very good at deblurring, but doesn’t add detail, so it “doesn’t work” at the extremely large sizes I’m gunning for. It would look upscaled at best: no blur, no noise, but no detail either.
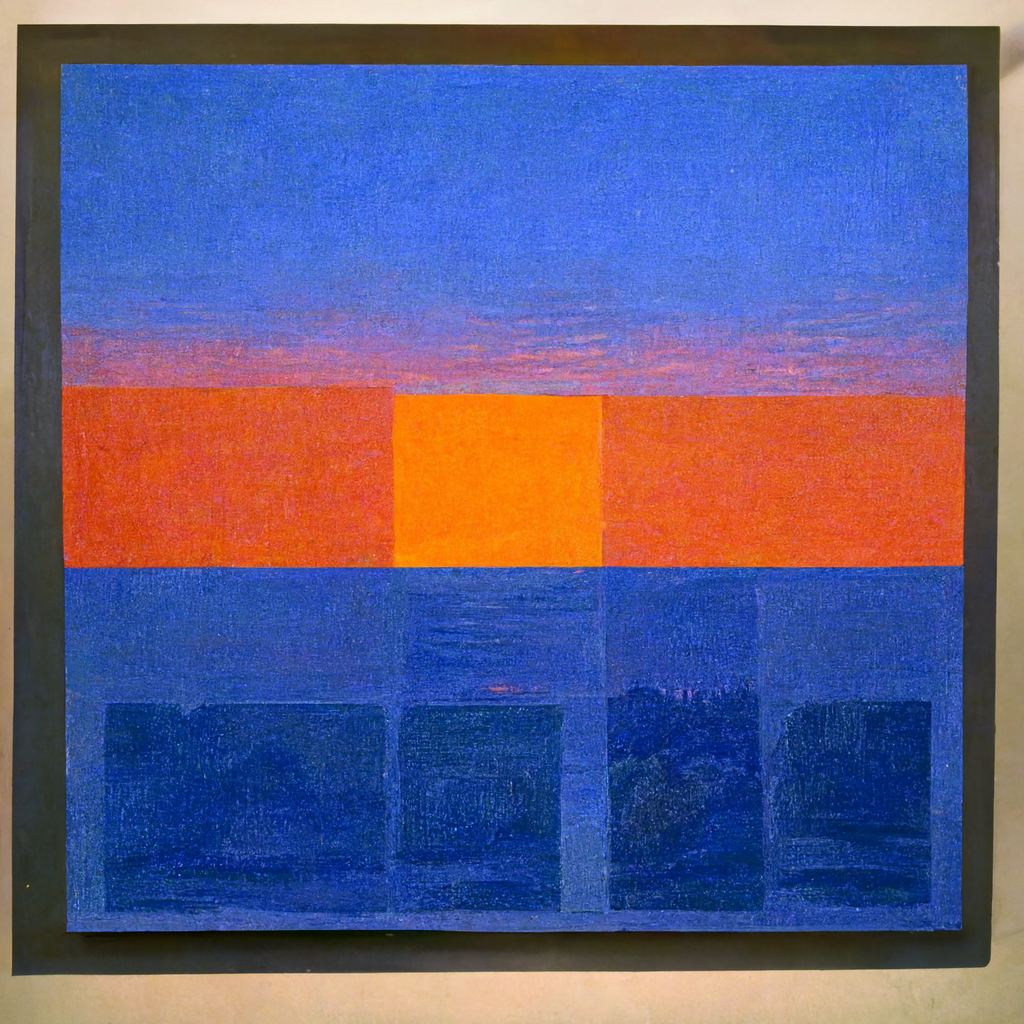
Build from noise.
To get a more varied color palette: create an image with cfg_scale = 1, that gives you colored blobs. Then redraw it with your actual subject.
Use a prompt like “abstract expressionist painting, acrylic painting, energetic.”
Multiple passes at the same size are helpful too, as well as a pass at a larger tile size like 768. [example]
In conclusion, Gigadiffusion is a powerful new tool for AI artists to create large, high-density images that are indistinguishable in resolution from traditional paintings.

Inflection Point for ML and Art
Generating art from text prompts is at an inflection point. A new creative field is developing in front of our eyes.
Generating art from text prompts is at an inflection point. A new creative field is developing in front of our eyes.
A community built on Colab has nailed obviously useful generation of still images, 2D and 3D animations, and processing videos.
Tools like Midjourney are making it easy to use
Big companies are demonstrating out of this world results using larger models.
The FOSS community is creating datasets and training models to match the big companies. [LAION.ai]
It is mainstream. [A$AP Ant & A$AP Rocky music video]

Make-A-Scene: Scene-Based Text-to-Image Generation with Human Priors
[Facebook Meta AI Research, arXiv]

from Jack Morris’ The Weird and Wonderful World of AI Art
The core technical insight is using two ML models.
One paints, the other scores against the prompt.
Jack Morris (@jxmnop) a Cornell PhD student studying natural language processing, wrote an excellent article explaining the techical background fully, The Weird and Wonderful World of AI Art.
Creating
Artists have embraced these tools.
They aren’t just entering a text prompt: they’re playing with all the parameters, trying multiple variants at the same time.
Creative work is done by exploring, and creative work is special when its distinctive.
Significantly, this lowers the burden on the technical side: it is neither necessary nor desirable to get picture perfect results on the first try.
These are the two most popular tools currently, in April 2022. Discoveries are being made at a rapid clip.
The best way I’ve found to keep up on the field as a whole is Reddit, /r/mediasynthesis and /r/discodiffusion.
Zippy’s Disco Diffusion Cheatsheet is an excellent manual, not only for Disco Diffusion itself, but the community and tooling.
Disco Diffusion
The latest and greatest Colab notebook is Disco Diffusion.
Colab is free to try. You can subscribe to get more features, most importantly, more powerful GPUs.
It can be found on Github.
/r/discodiffusion and a Discord welcome you.
Zippy’s Disco Diffusion Cheatsheet is an excellent manual.
Midjourney
Midjourney is a tool in private beta. [Twitter, link to apply in bio]
Over the week it took me to write this, Midjourney became very well-known, and it’s unclear if there are any beta spots left.
Slideshow Gallery
enjoy the slideshow, click thumbnail to jump
want to view in detail? download? scroll to bottom, Full-sized Gallery


Video
Disco Diffusion can create still images, or 2D animations, or 3D animations, or take a video as input and repaint each frame.
Here, we take a black and white video of Monet painting in his garden, and repaint each frame in the style of Monet.
Creating this leveraged 3 different models: a video colorizer, a painting model, and an upscaler.
Below, you can see the output of each step. Left to right:
- B&W video of Monet painting in his garden
- Colorized
- Paint Giverny garden like Monet
- Paint Giverny garden like Monet, in the winter, with an ice blue & white color scheme
Full-sized Gallery
click to view full screen, right click to download
* this isn’t all of the pictures in the slide shadow gallery, skipped some only because it’d be a couple more hours of work to hunt down the full-sized version of each upload
** @jpohhhh on Twitter; for E-mail, same user name at gmail.com