Gigadiffusion Advances: A Poster in 15 minutes


A month ago, I shared Gigadiffusion, a Stable Diffusion Web UI plugin for creating reality-scale images.
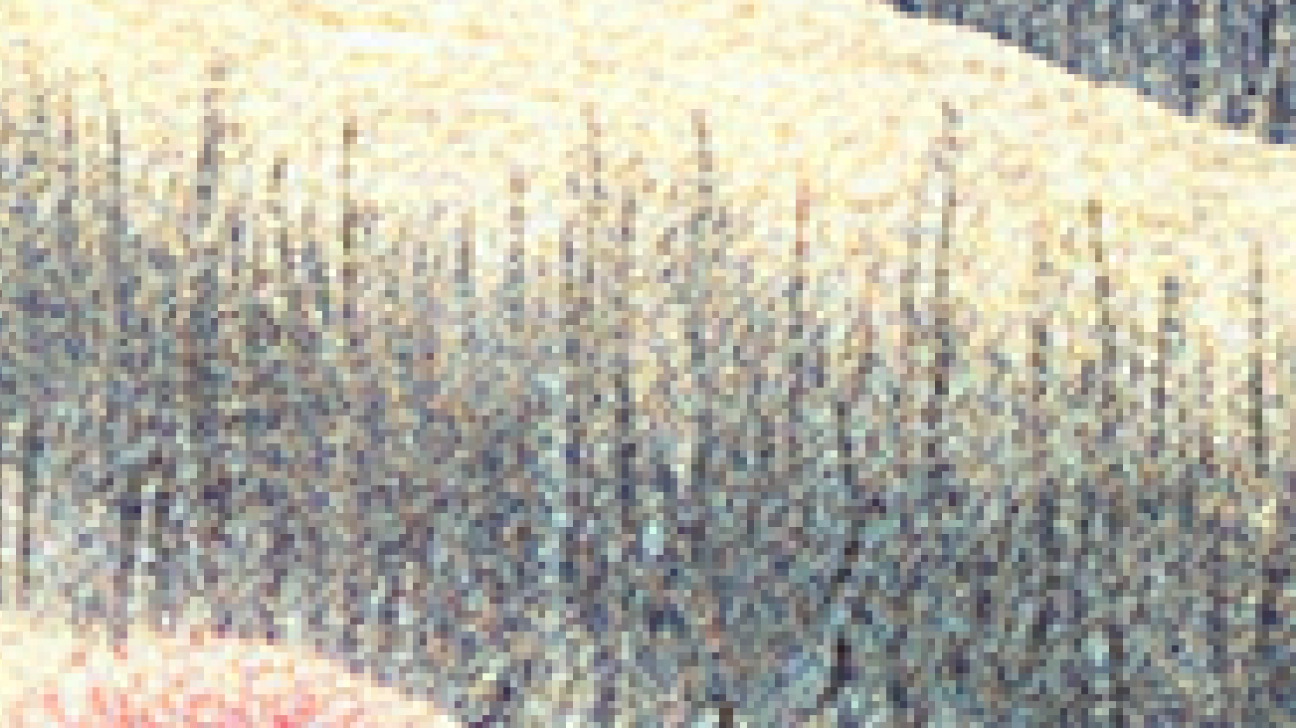
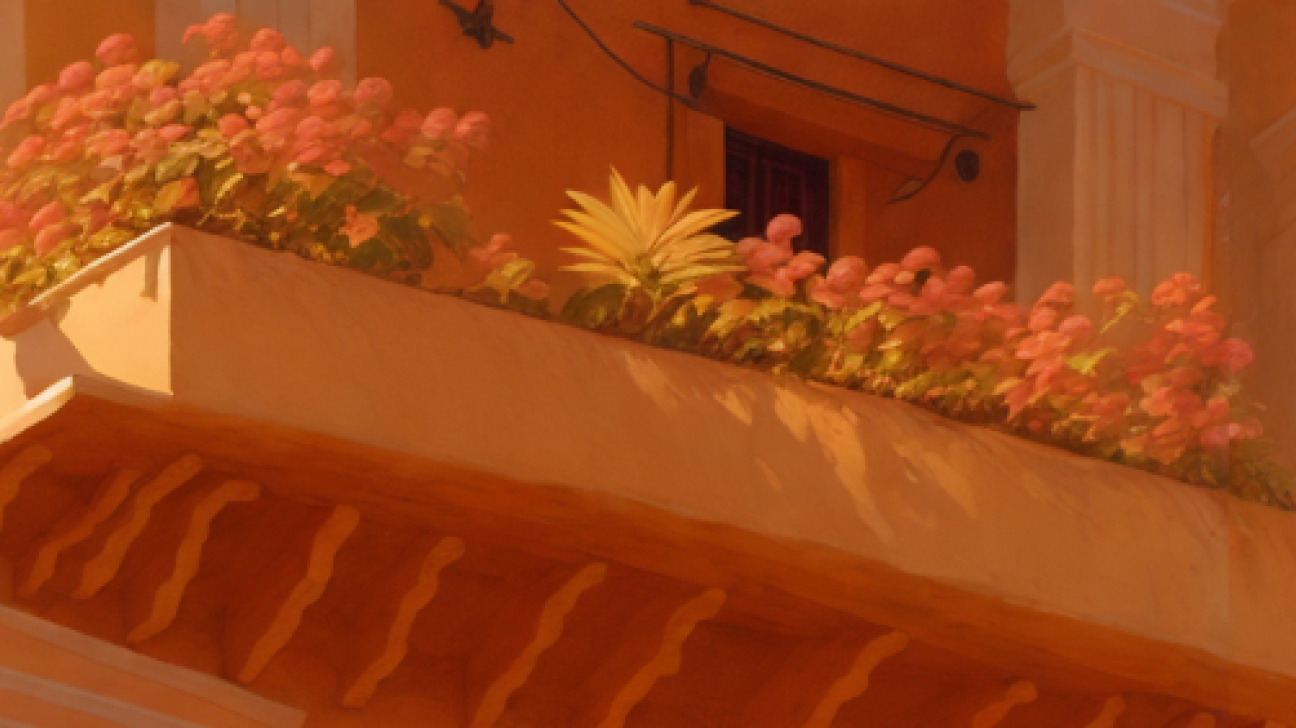
It worked consistently well at the size of a sheet of paper, 8.5” x 11”. Advances now enable consistent realism at the 4x the size, a poster, 17”x22”. The examples a thumbnail-sized portion of a poster.
This takes 15 minutes, down from 2 hours a month ago. Ultimate SD Upscale takes 10 hours.
(tested on RTX 3090, Xformers enabled)
How was that achieved? Updates to Gigadiffusion’s Web UI plugin, a new Gigadiffusion LoRA, and using the new Illuminati Diffusion model.
Gigadiffusion SD Web UI: optimized masking significantly improves quality at borders, and enables more parallelization.
Gigadiffusion LoRA: Gigadiffusion now has a LoRA! It was trained on gigapixel scans of famous artwork and optimizes diffusion’s focus on stunning, true to life, detail and texture.
Illuminati Diffusion: based on SD 2.1 768, it is a massive step forward. However, it has challenges upscaling. When combined with the LoRA and an extreme negative prompt, the results are outstanding.
Combining these increased quality, permitting removing steps of the workflow. Those steps add up to an 8x theoratical speedup on paper, matching the data.
Let’s look at the new workflow.
After that, we’ll wrap up with a brief intro to LoRAs and details on how Gigadiffusion’s was trained.
Workflow
To create a realistic 17”x22” print using Gigadiffusion:
Create base image using Illuminati Diffusion and appropriate settings.
I prefer Steps: 20, Sampler: DPM++ SDE Karras, CFG scale: 5-7.
Positive prompt: any, consider a prefix like step 5.
Negative prompt: (double vision, twins, portrait, people, human, female, person, face, head, mouth, ears, nose, skeleton:1.6) (blurry, smooth:1.0)
Even with the extremely heavy negative prompt, ~50% of images will have twins and people.
Don’t use the Gigadiffusion LoRA. Fine detail in the base image is 8x as large in the final image.
Don’t use nfixer, nartfixer, or nrealfixer. They draw large pure black chunks and add elements.
Send to img2img and set it up. Denoise: 0.4, Steps: 20. Sampler: DPM++ SDE Karras, CFG scale: 5-7
Choose Gigadiffusion from Scripts and set it up. Seams Fix: None, Redraw: Chess, Tile Size: 768, Blur: 0, Upscale: 2. Upscaler: R-ESRGAN General WDN 4xV3 (or Lanzcos, depending on GPU RAM)
Set up Gigadiffusion LoRA with a weight of 0.35. [SD Web UI manual]
Add a prefix to your prompt like this one: “gigapixel closeup of painting, extremely hyperdetailed, texture, canvas, high resolution 5400 dpi scan”.
gigapixel closeup: all LoRA training images used this as a caption prefix.
high resolution 5400 dpi scan: adds detail when in the prompt for any Stable Diffusion model
Repeat 3 times, resulting in a 8192 x 11264 image.
Evaluate quality & consider:
Gigadiffusion Seams Fix: Gigadiffusion supports runs that only seams fix. Disable redraw, set a scale factor of 1.
Gigadiffusion Redraw: A redraw pass with a scale factor of 1 will add detail.
2x’ing to 16K hurts quality. You may find differently, that’s unintuitive and inexplicable.
Sharpen and Grain: Use any image editor, Photopea is free. I use Topaz Sharpen AI or Pixelmator.
Topaz Sharpen AI pairs very well with the LoRA, it recognizes fine-grained details and adds even more.
Topaz Gigapixel AI isn’t helpful. This saves time and makes things much easier for getting to print. Sharpened 16K is large enough to introduce instability everywhere from image editors to printers. working with images this large is very rare.
Add Texture Layer: free, easy, and just as impactful as Topaz.
Find a paper texture, ex. Adobe or via search. Open the Gigadiffusion in an image editor, add the texture image as a layer above it, with a Blend Mode of Multiply, and play with opacity levels.
I tend to 50-60% opacity, then adjust brightness/contrast/exposure/etc. of both layers.
What is obvious on screen can be imperceptible in print, I do a small print before doing a 17”x22”.
If the texture layer lowers the perception of high resolution, upscale the texture.
LoRAs & Training Notes
LoRA stands for Low Rank Adaptation, a technique developed by Microsoft researchers to enable fast fine-tuning of LLMs. [HuggingFace blog]. Kohya-SS built a LoRA trainer for Stable Diffusion, and SD Web UI integrated LoRAs. The output is a small file that you use in addition to a model. [SD Web UI manual]
The Gigadiffusion LoRA was trained on gigapixel scans of famous artwork from Google’s Arts & Culture team.
Given a link, Ophir Lojkine’s dezoomify-rs downloads all of the the image tiles forming the gigapixel scan.
Use --tile-cache to have it cache the tiles, use --compression 0 to avoid unnecessary compression.
I tried training multiple times, the keys to success ended up being:
Train a 512 x 512 model using 768 x 768 images. Upscale tiles, or manually merge them and downscale.
Use multiple pieces of art; pick a wide variety of colors and textures from the tiles.
Prefer a low # of images iterated multiple times. I used 50 images, 30 steps / image / epoch, 3 epochs. Even 50 is high, guides generally suggest 20-30.
Don’t use regularization images: they’re needed for a specific concept, ex. a person, that distorts a general concept, people. It harmed initial attempts and was unnecessary, a detailed painting is a concept that applies to all paintings.
There may be low-hanging fruit left on the LoRA tree: the printed results of my first working LoRA were significant enough to pause and share, I haven’t iterated.