Gigadiffusion: Digital Art at Reality Scale
Gigadiffusion, a Stable Diffusion extension, provides size, quality, and speed advancements that enable digital imagery as high resolution as reality.


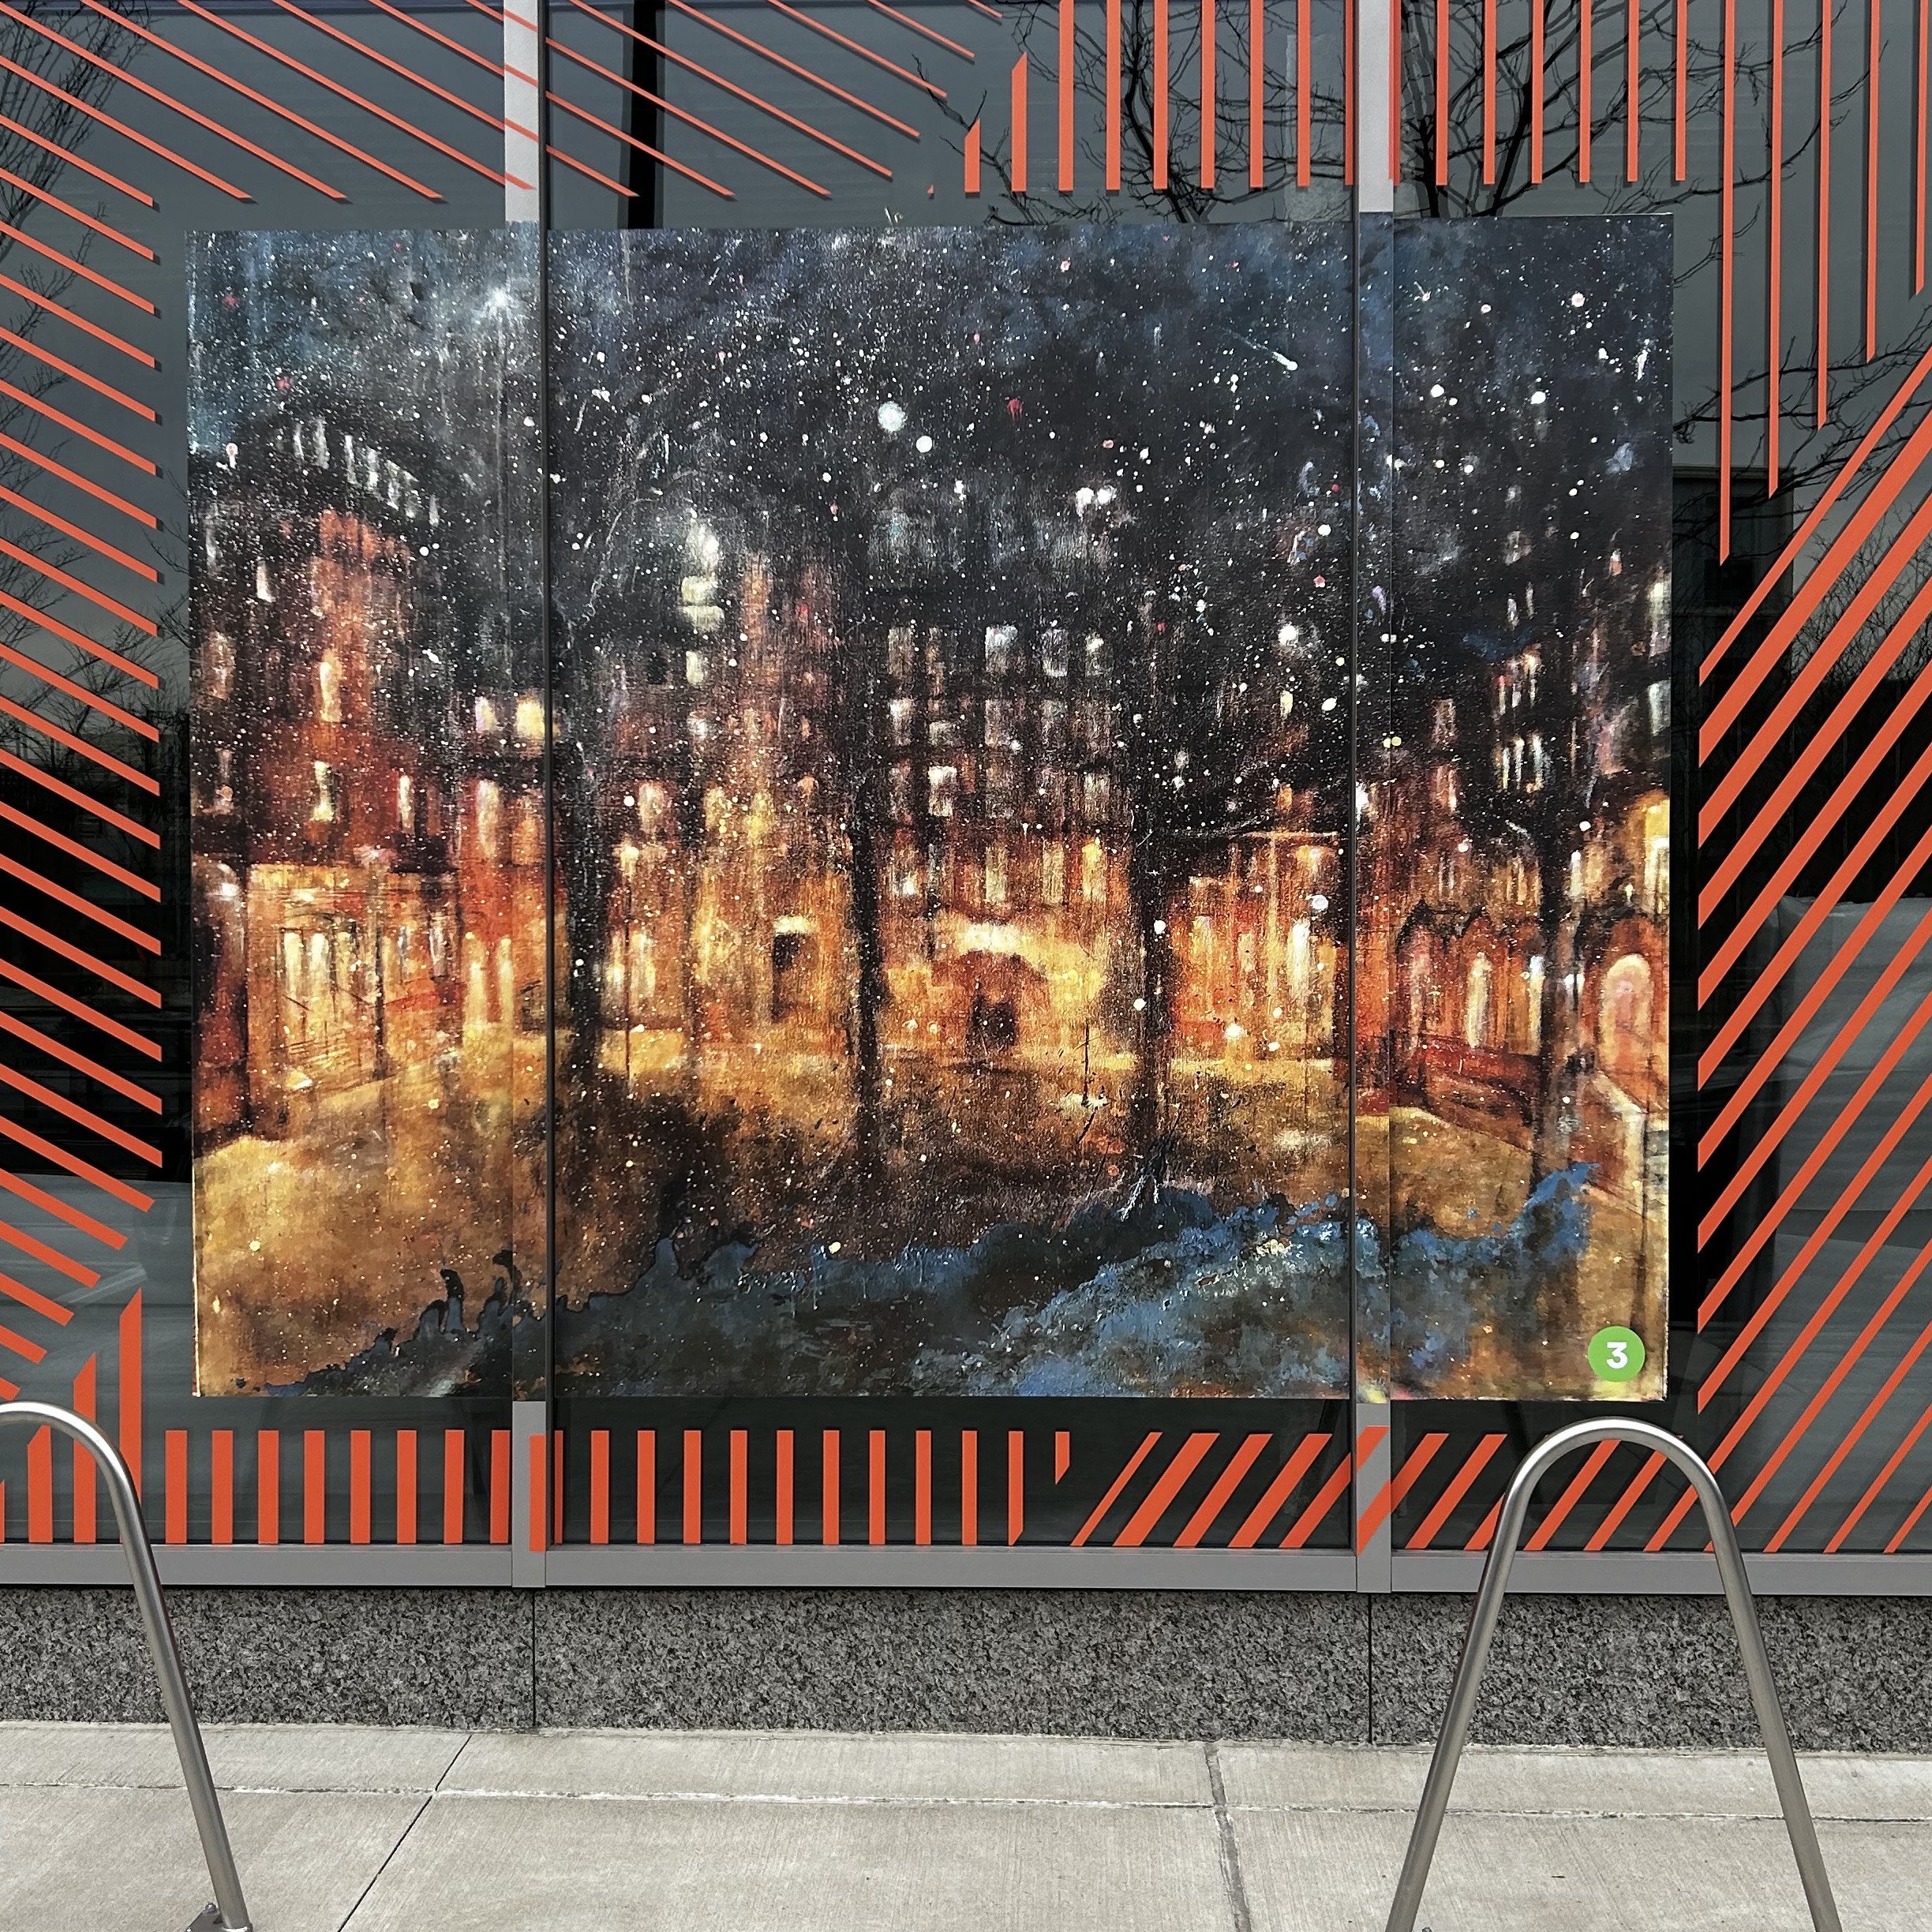
The Albright Knox Gallery in Buffalo, NY, has massive Ryan McGinness and Jackson Pollock works. As tall as the ceiling, and twice as wide. Their expanse pulls you in like a magnet, and once you’re close enough, its infinite, enveloping you in a new world.


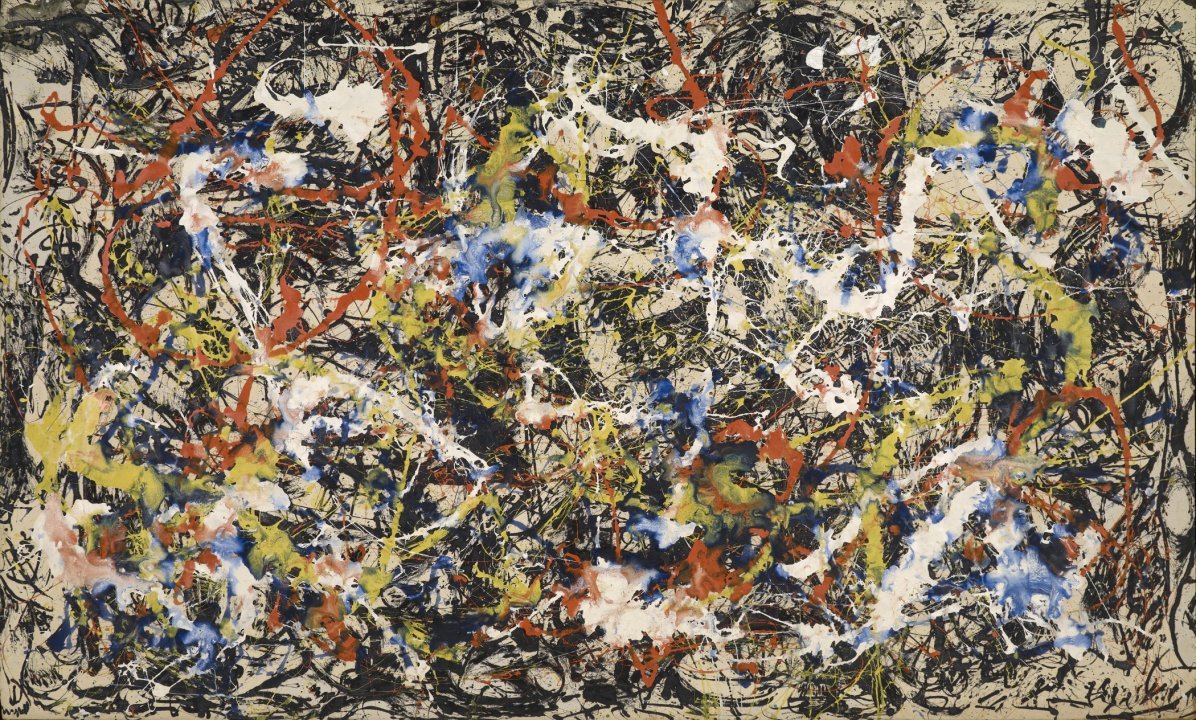

Art confined to a screen has little to do with the physical experience of art. These images are nothing like the paintings they represent, at 9’ by 9’ and 13’ x 8’. Paintings are alive — civilizations unto themselves. Every inch has dozens of brushstrokes, and every brushstroke, a story.
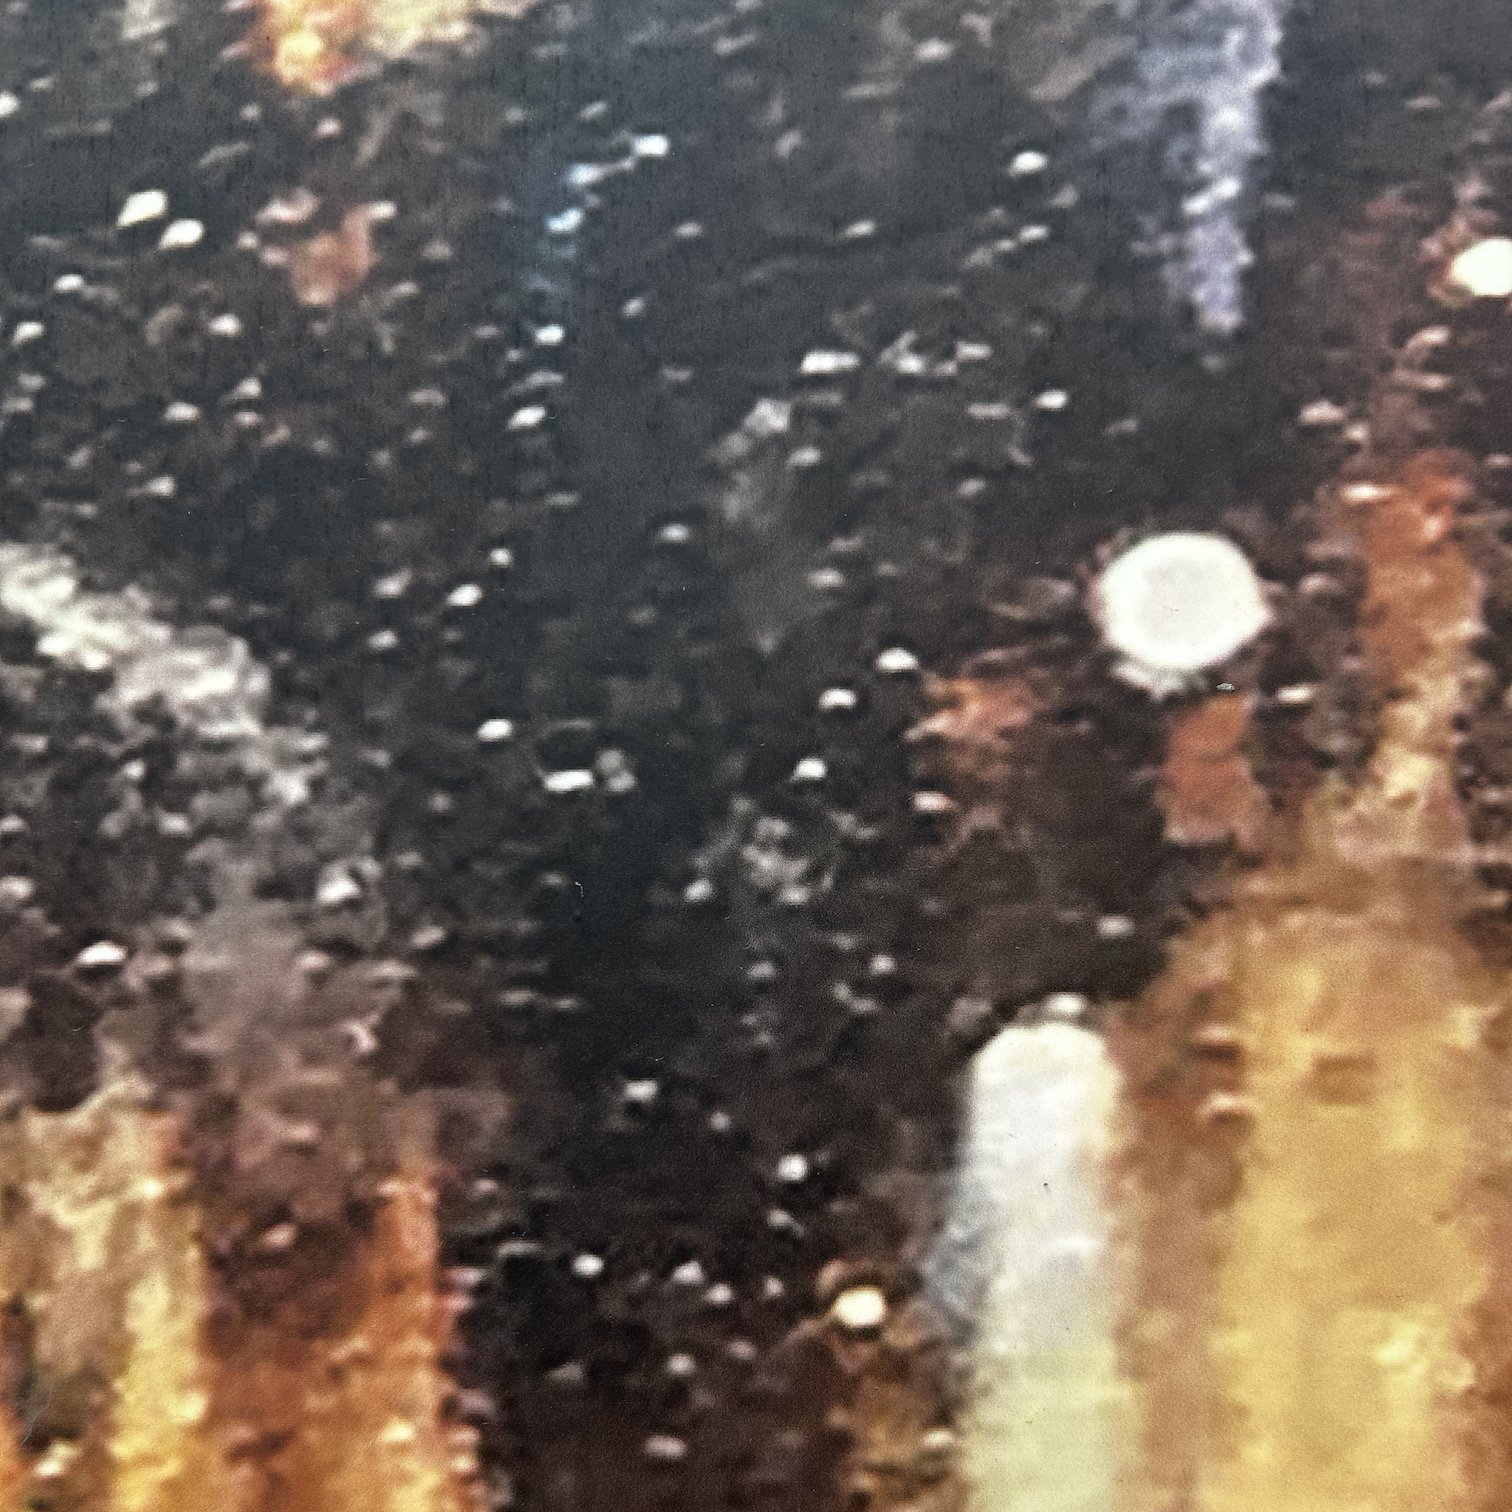
Everyday art in 2023 is usually a print from a digital image. When you get up close, you see blur and square pixels. When making digital art, it's important to consider its size in pixels. A rule of thumb in UI design is ~320 pixels per inch, viewed from 2’ away, looks "real."
How big does a digital image need to be in order to be indistinguishable from real at every distance?
Generally? ~1000 pixels per inch.
A sheet of paper? 8192x10240, 83 megapixels.
How do you calculate that?
We need at least 60 pixels per degree of viewing angle. [source]
We can use this PPD calculator, typically used for screens, to calculate the number of pixels required
13" "screen size" (hypotenuse of 8.5" x 11" sheet)
1" distance
Start with an initial size of 640 by 512 pixels. (8.5”x11” at standard AI art 512 px).
Multiply size dimensions by 2 until the answer is above 60, at 8192 x 10240.
A sheet of paper, 8.5 x 11”, needs 8192 x 10240? That’s a little less than 1000 pixels.
AI art’s scale is 512px. We’d need 1024 images from the original image! That is possible. A well-known technique slices the image into tiles, scales them up, then redraws, doing ~50% of the normal diffusion on the scaled up version.
Ultimate Stable Diffusion Upscale (USDU), an automatic111 Stable Diffusion UI extension, perfects that. Its advancements enable quality and coherence. However, it takes an hour for a RTX 3090 to generate a sheet of paper, and sizes above 17”x22” are impossible even with 40 GB of video RAM on an A100, a $15,000 GPU. The goal is an expanse, an 8 foot tall print, 16x that size.
Gigadiffusion makes this possible, by optimizing aggressively in a fork of USDU.
A paper sized print takes 15 minute. An 8 foot tall print is now viable.
It is an automatic111 extension, GPL, & available here: https://github.com/jpohhhh/gigadiffusion.
What drove improvements?
Remove dependencies on image size
Paste tiles into one result image, instead of copying the result image for each tile.
The tile starting image is cropped to the area visible to AI, instead of the entire image
Add support for processing multiple tiles at once
Tested on RTX 3090, supports 16, A100, 48.
By default, automatic111 has a max batch size of 8. Use Inspect Element to change the slider max.
Chess redraw only and seams, linear redraw would lead to poor results.

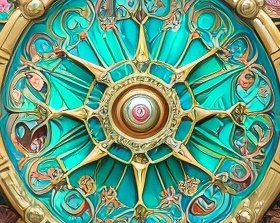
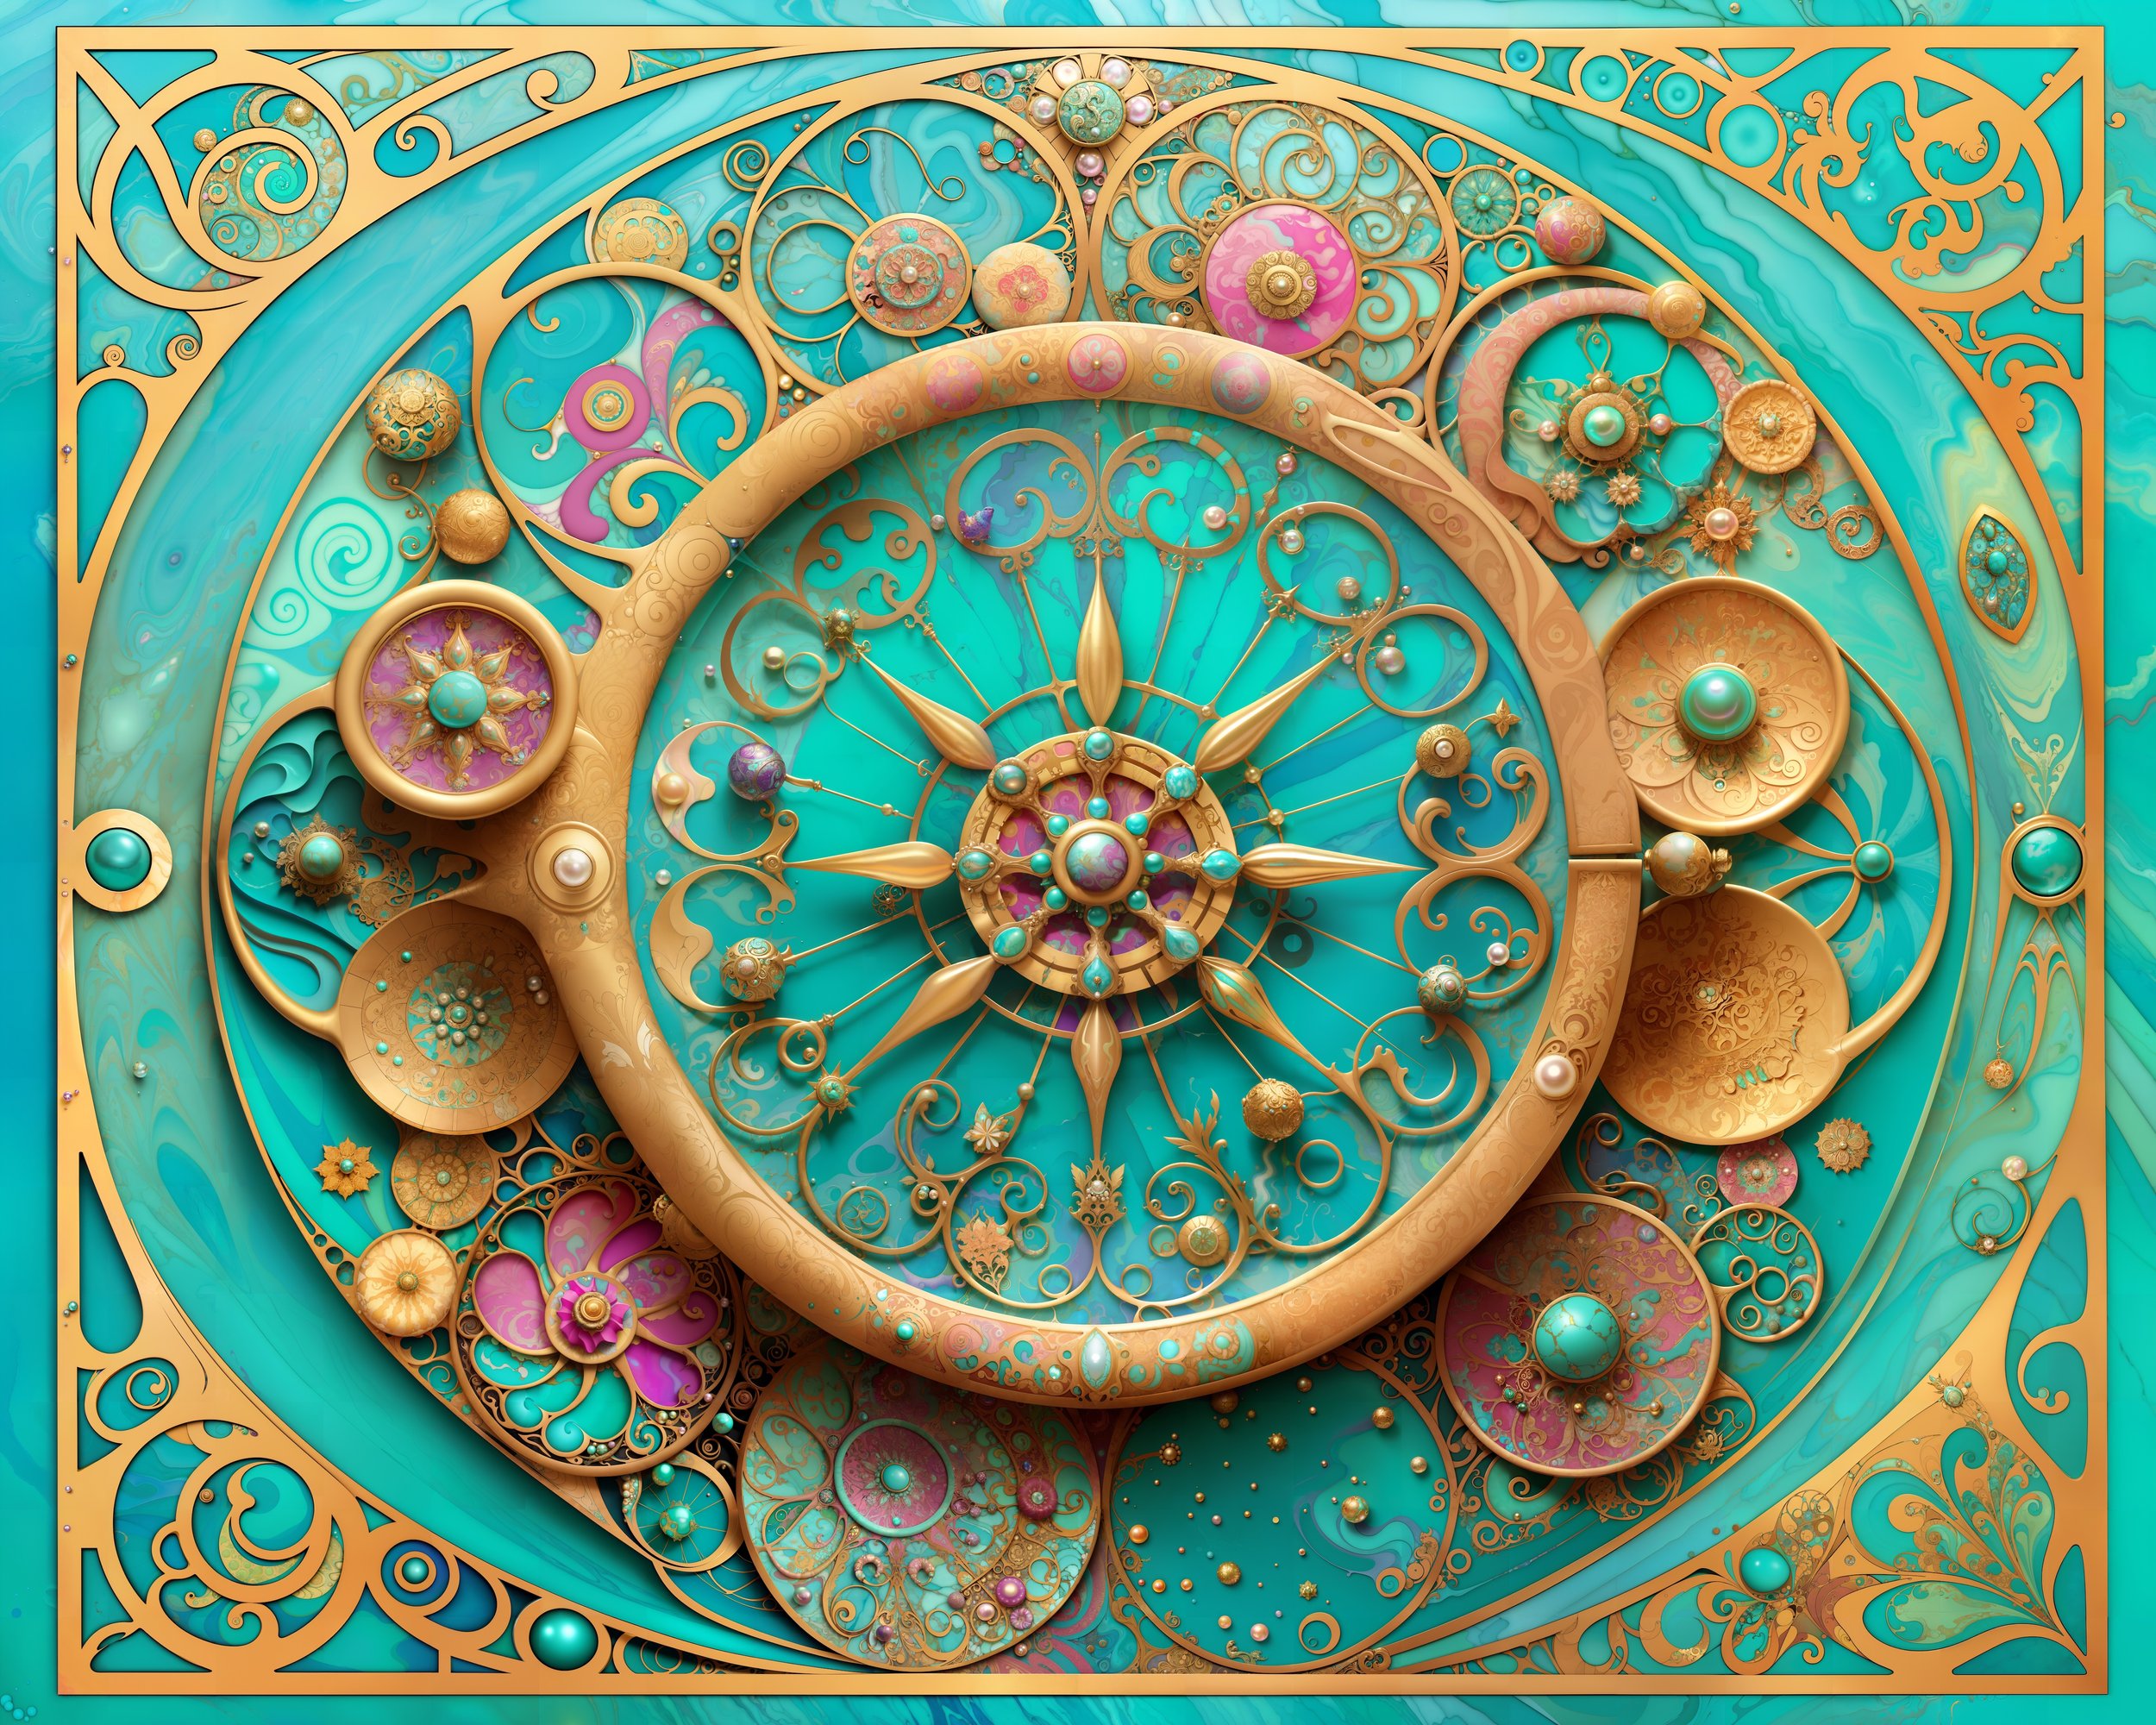
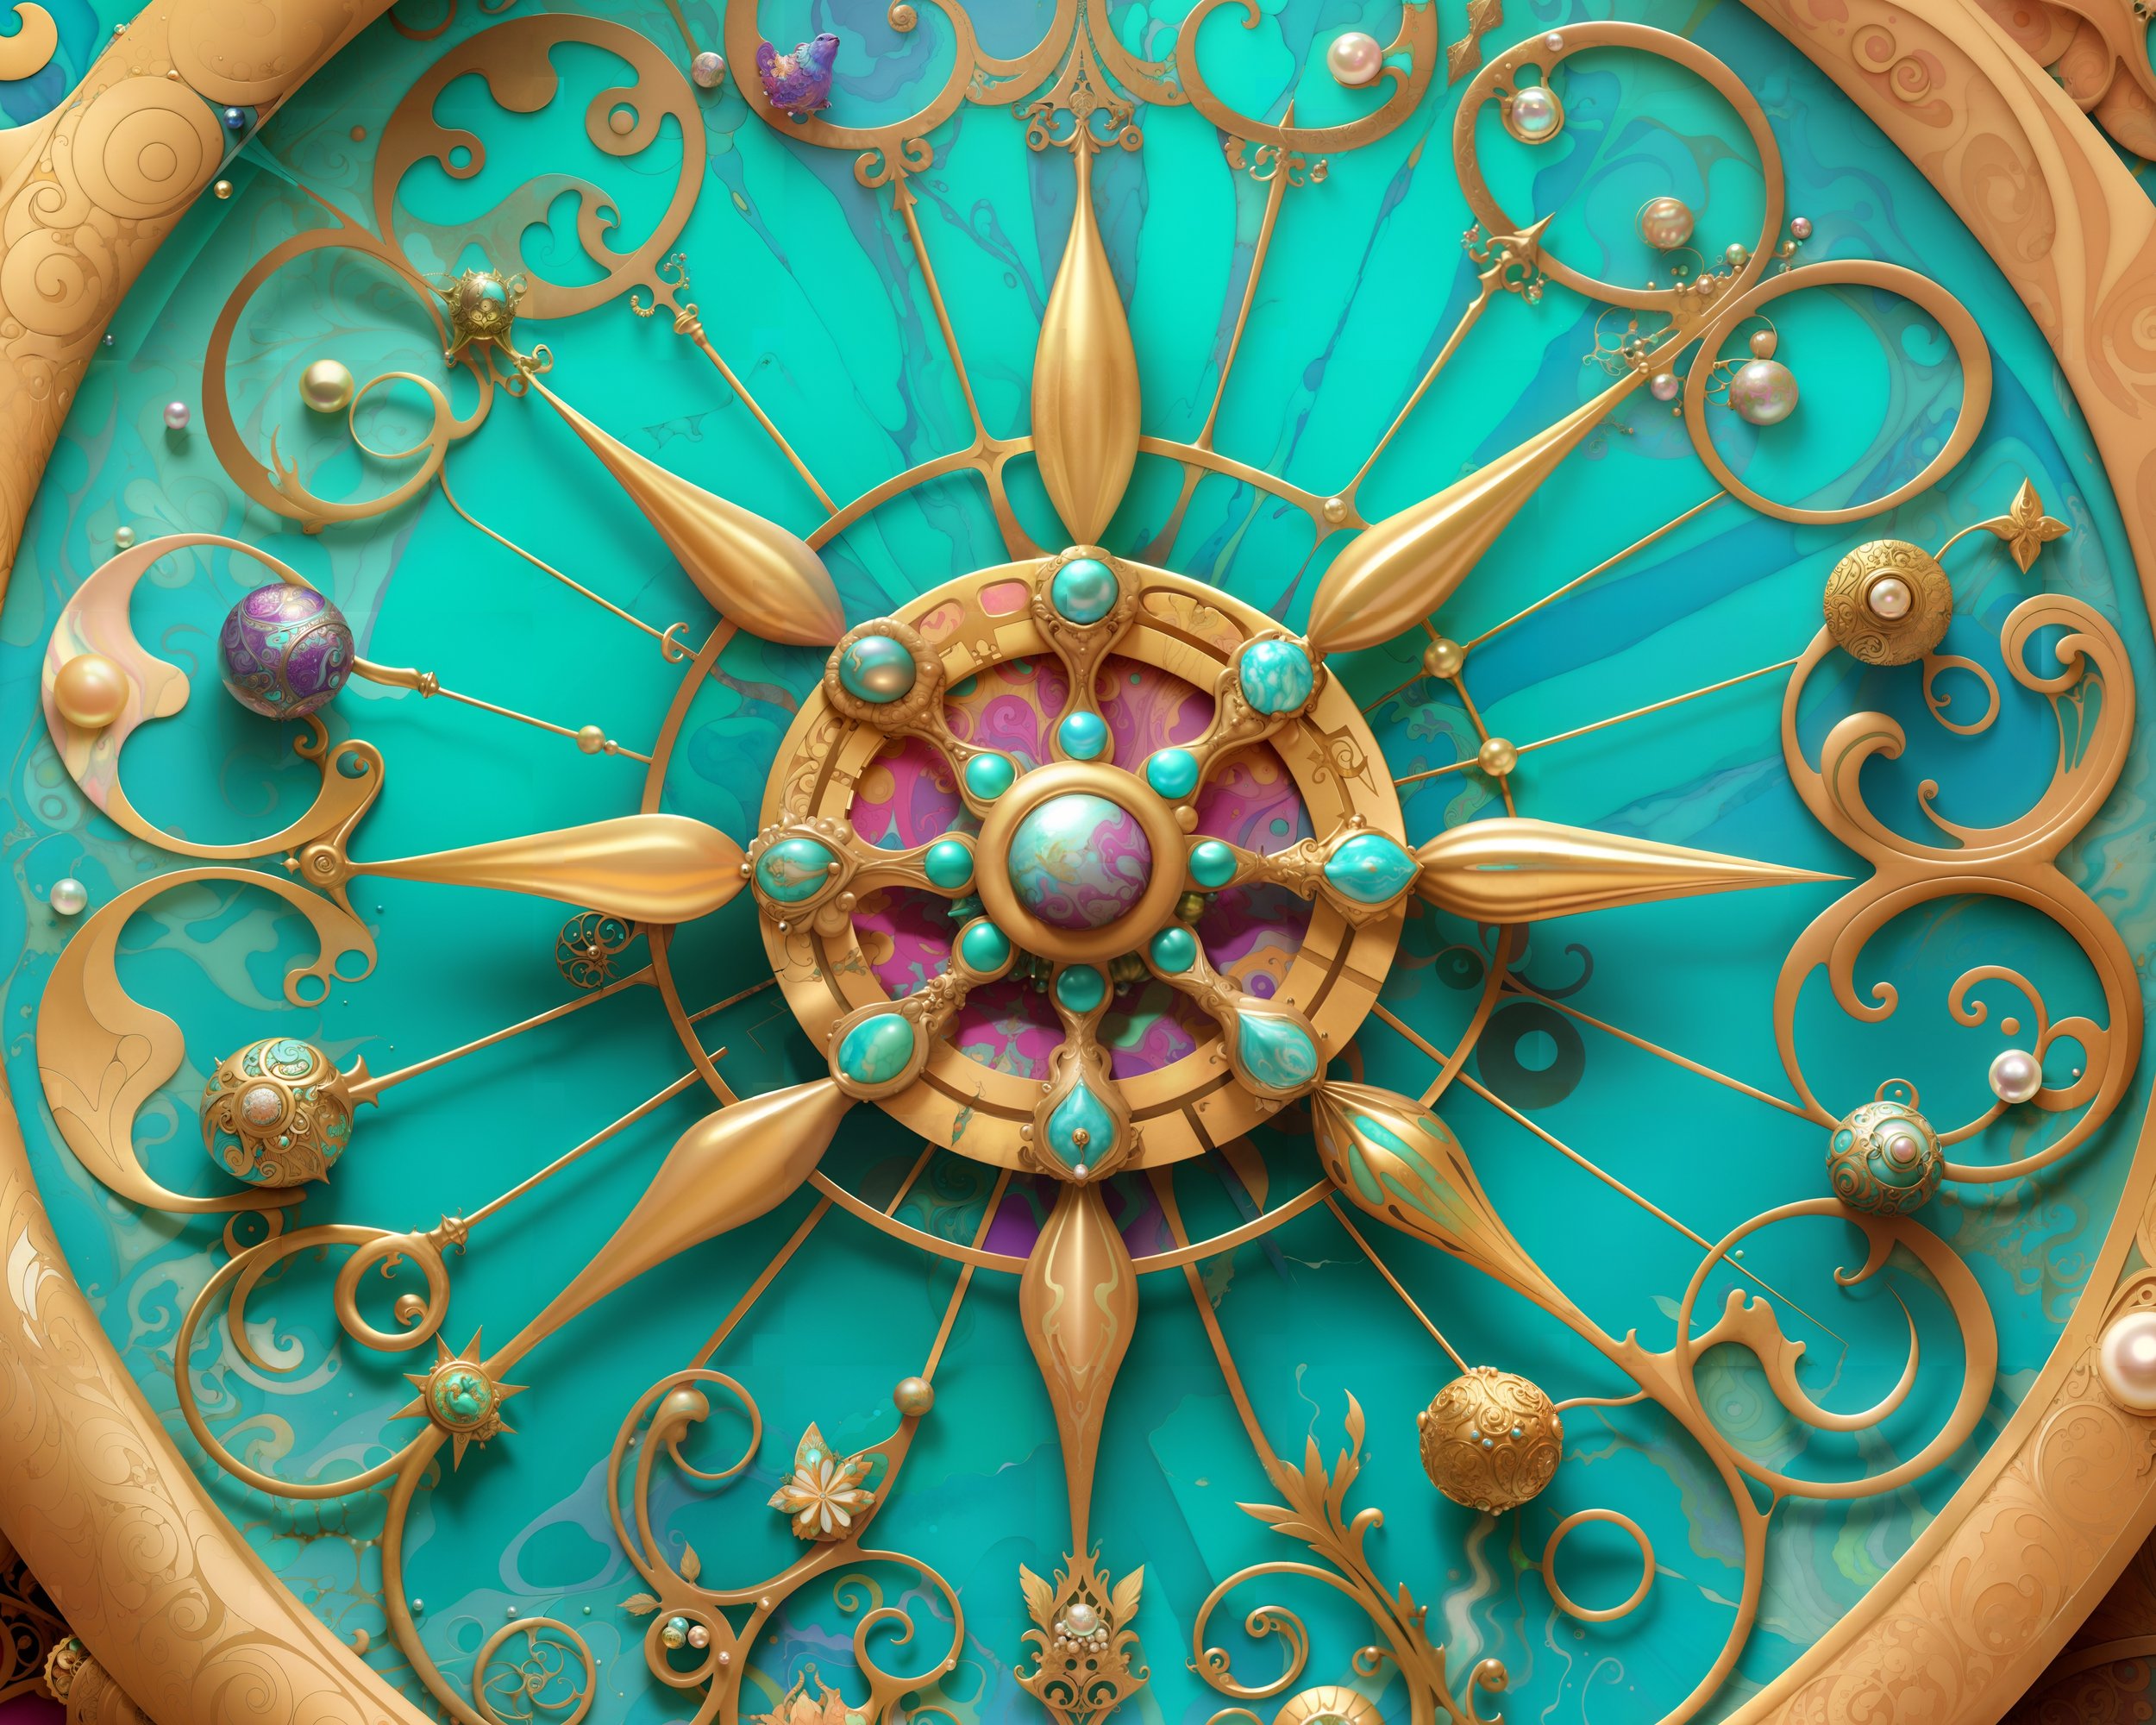
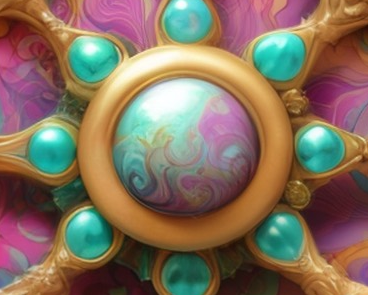
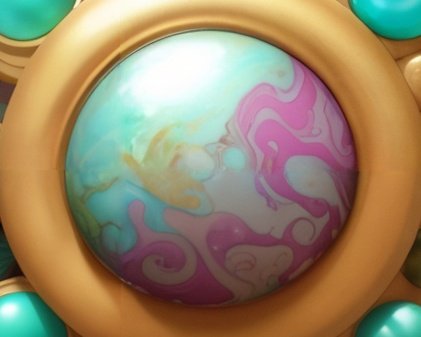
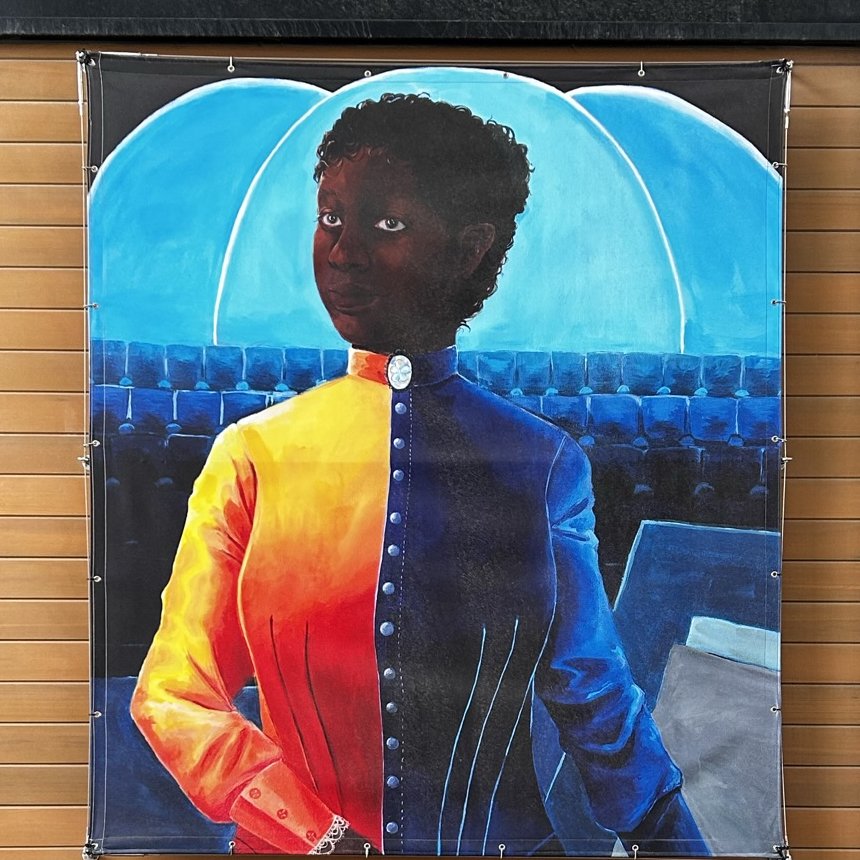
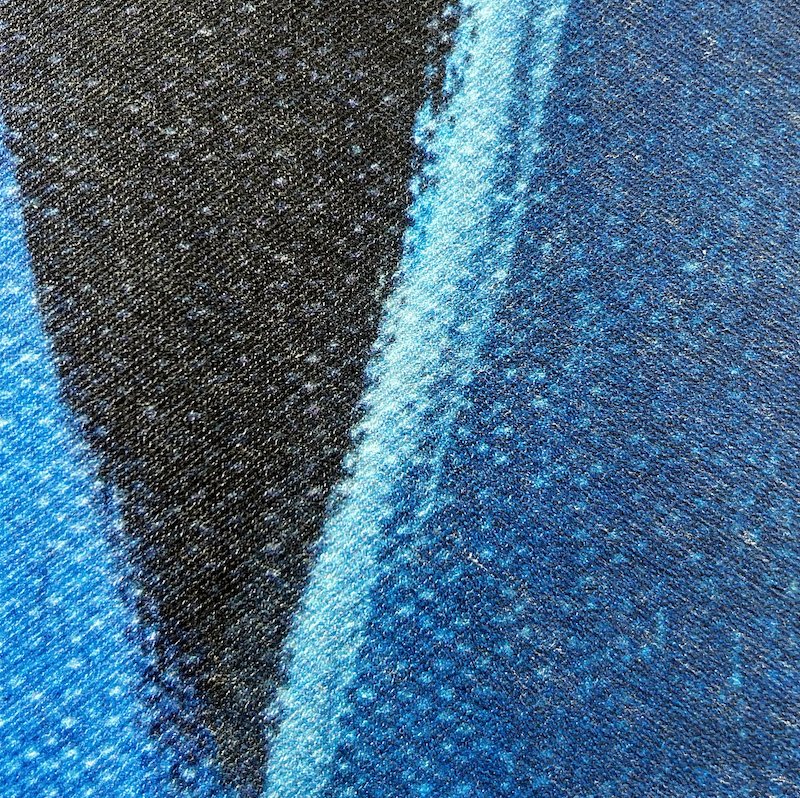
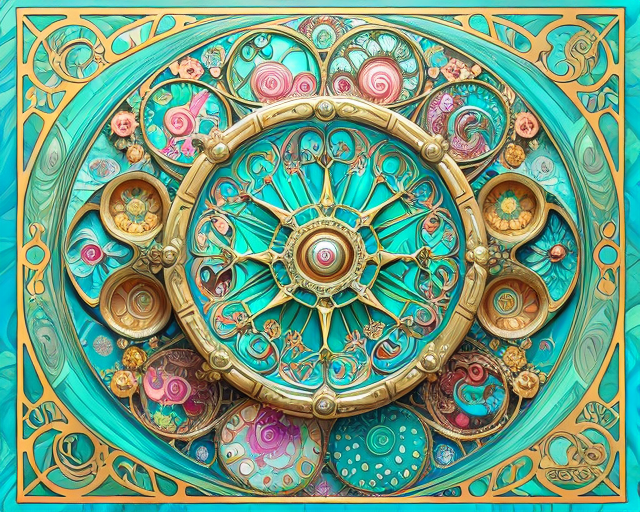
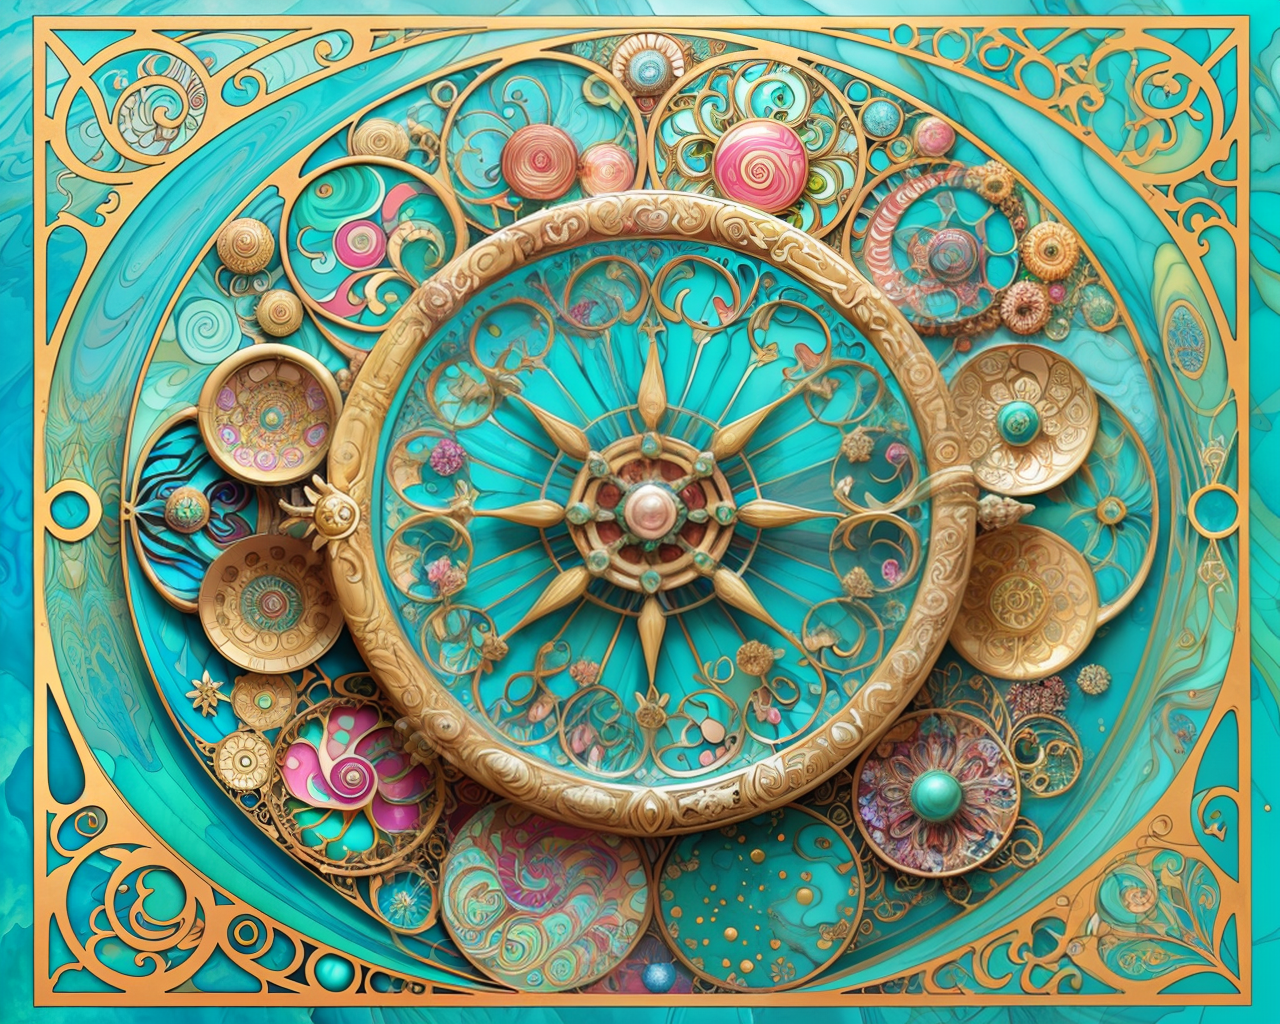
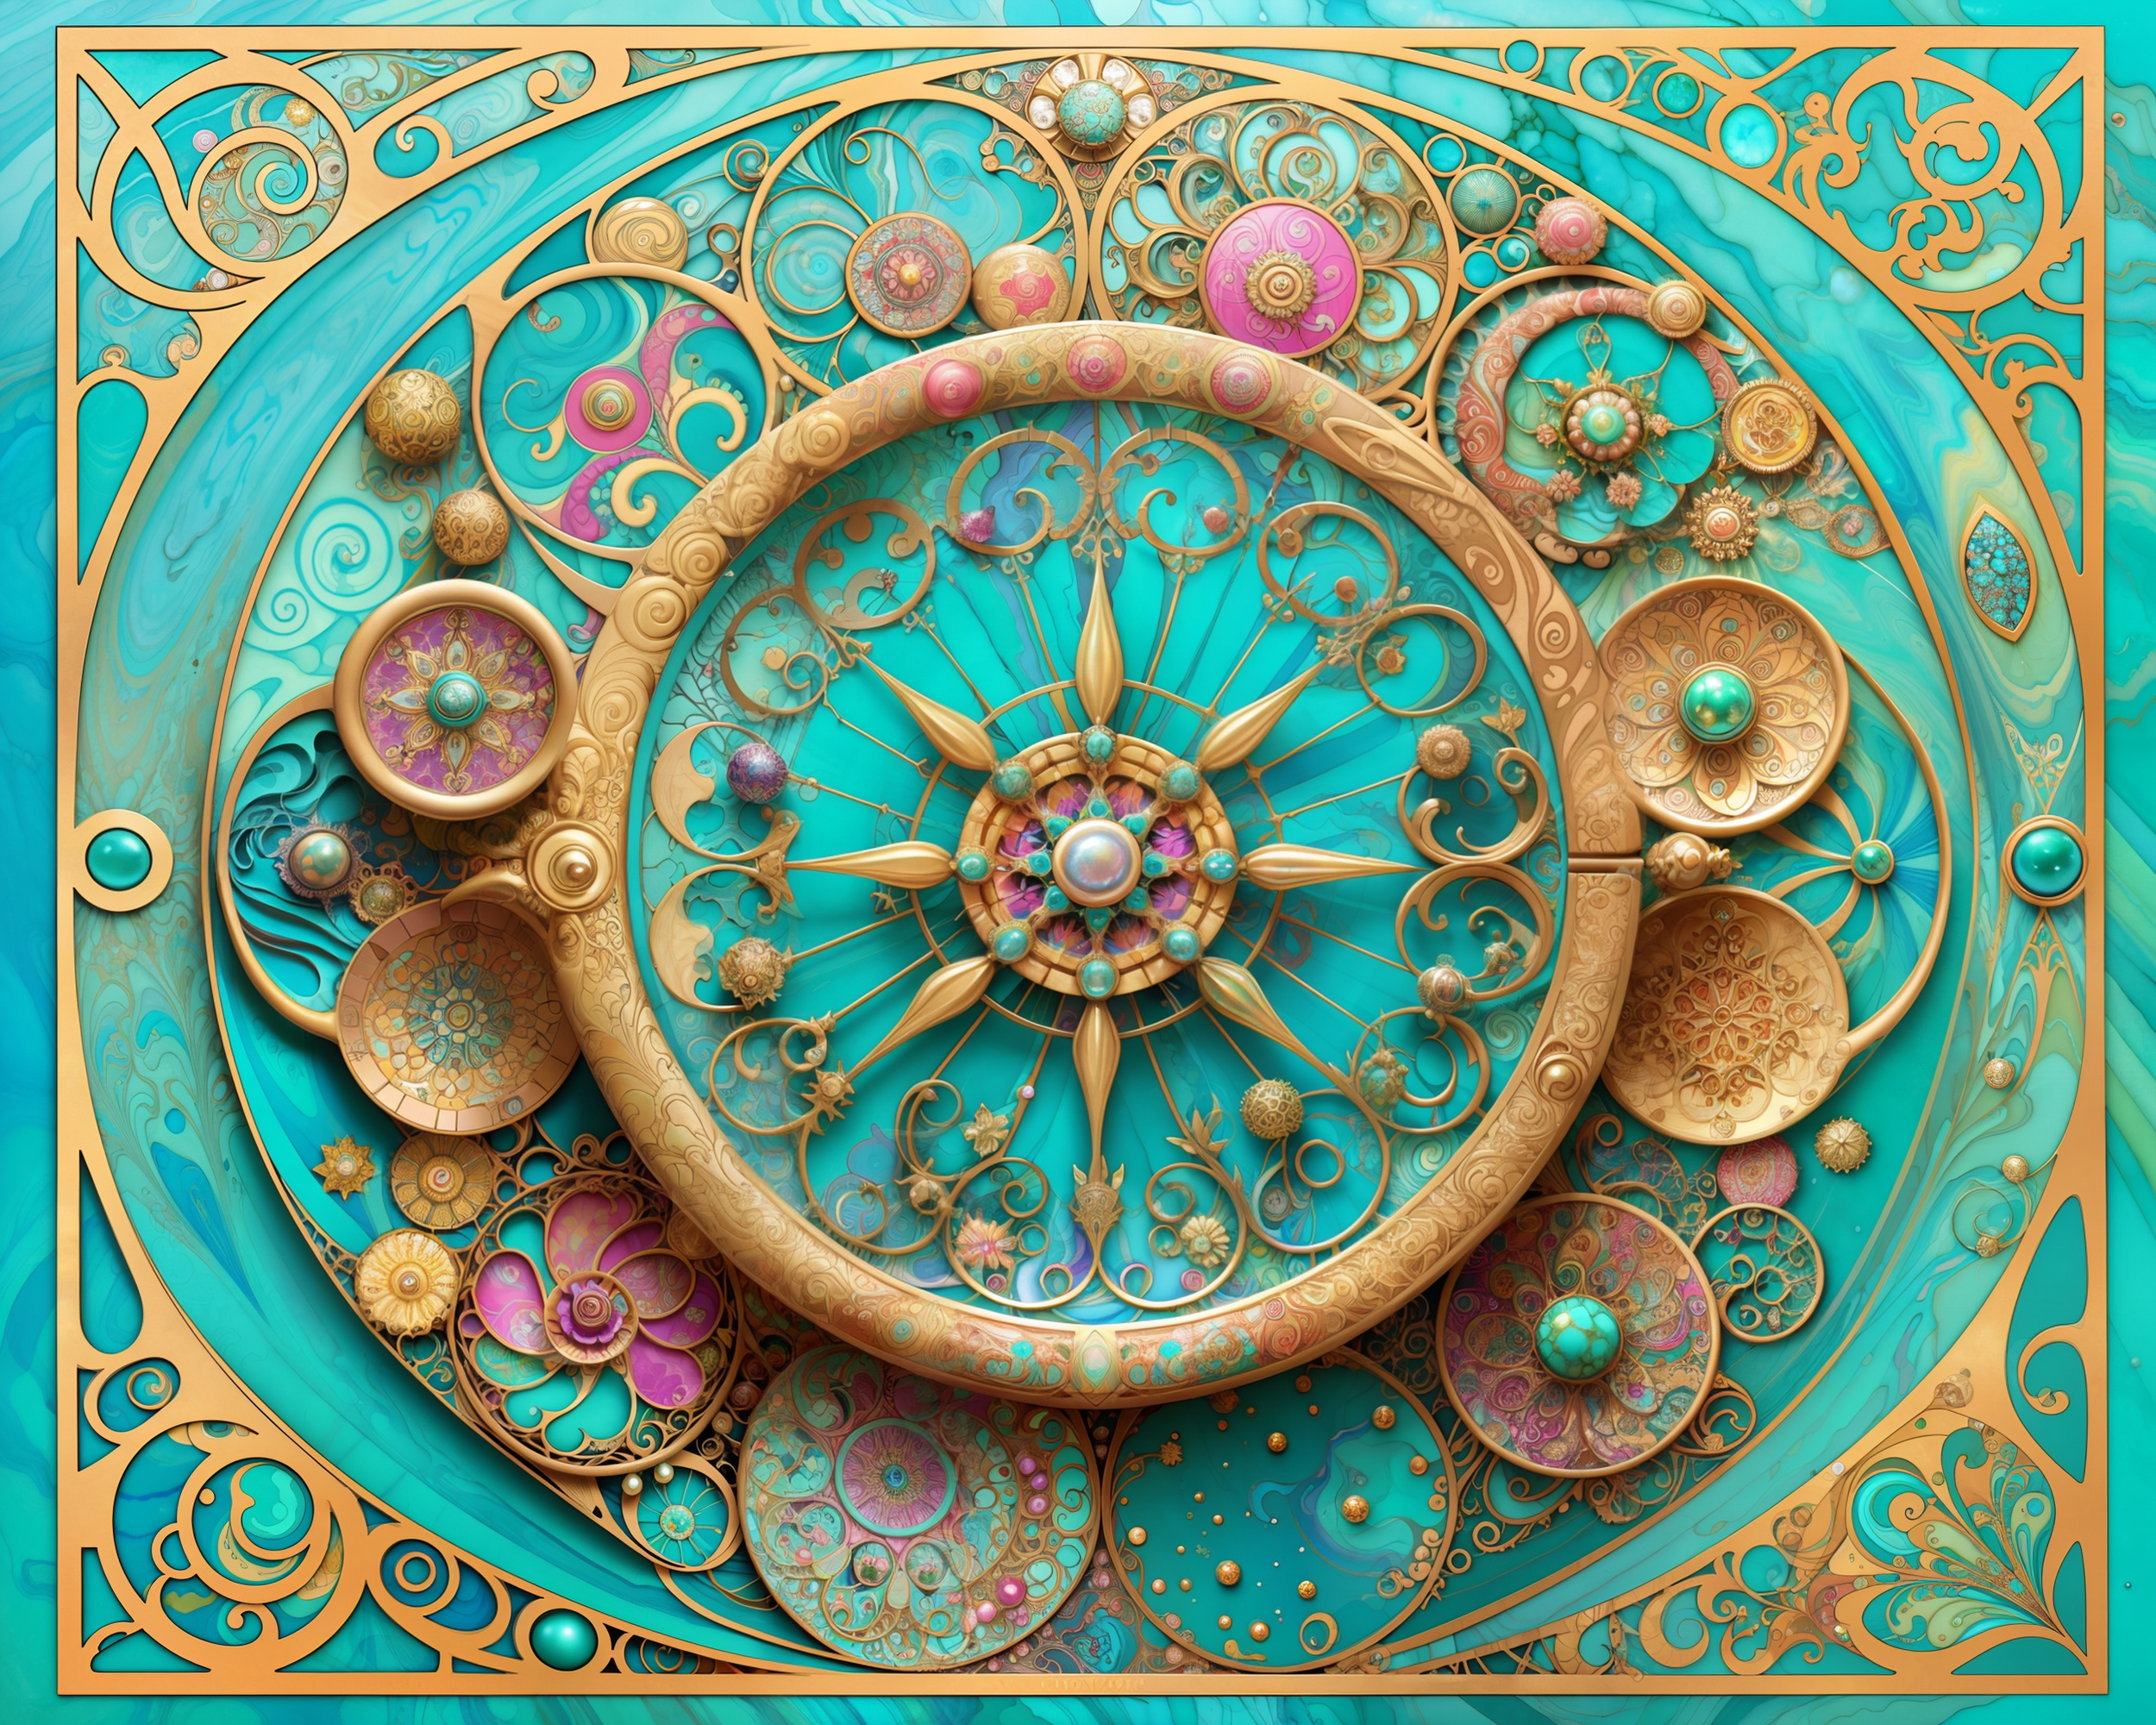
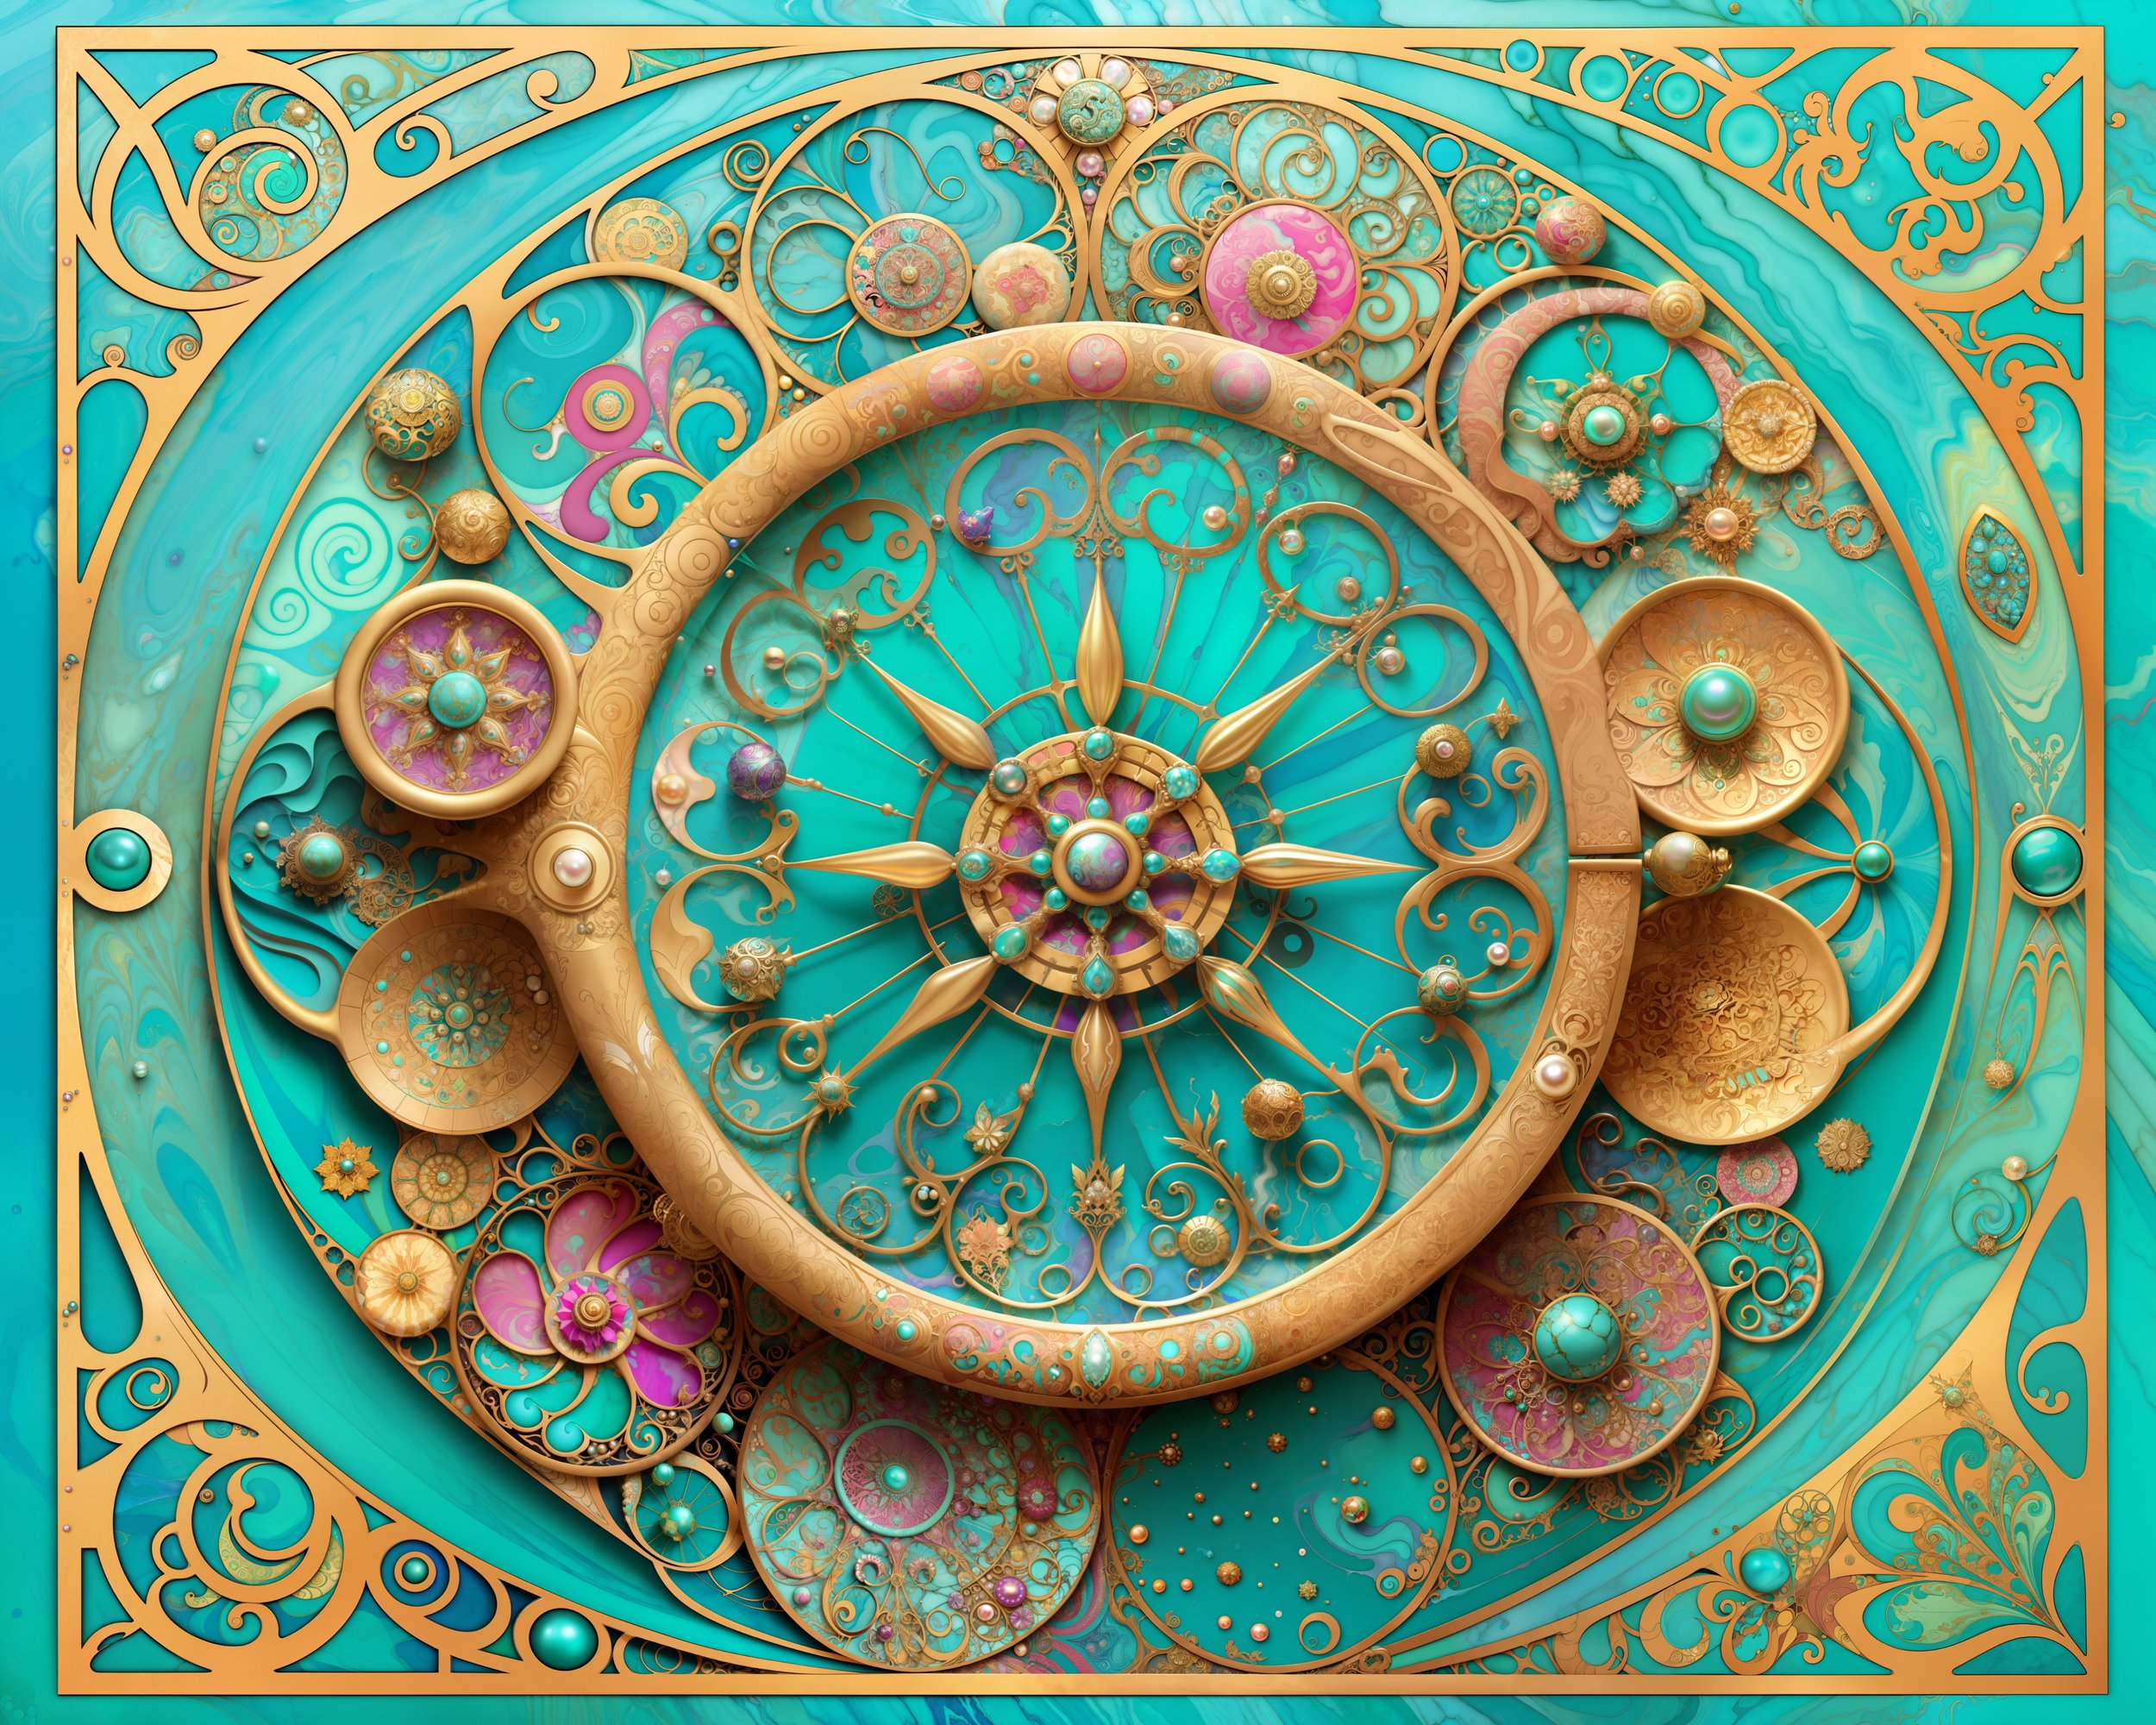
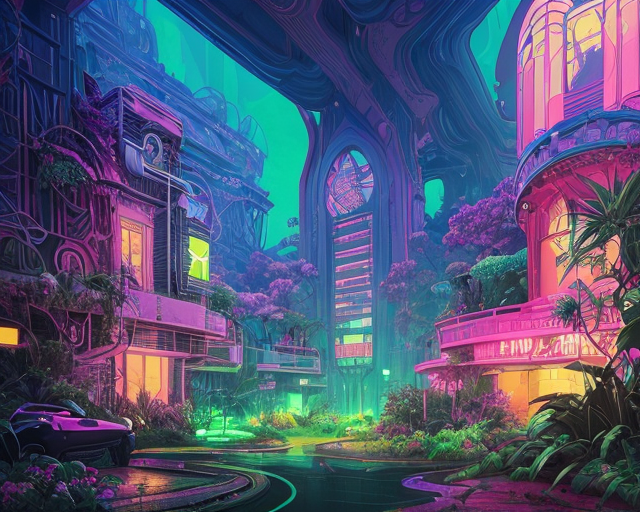
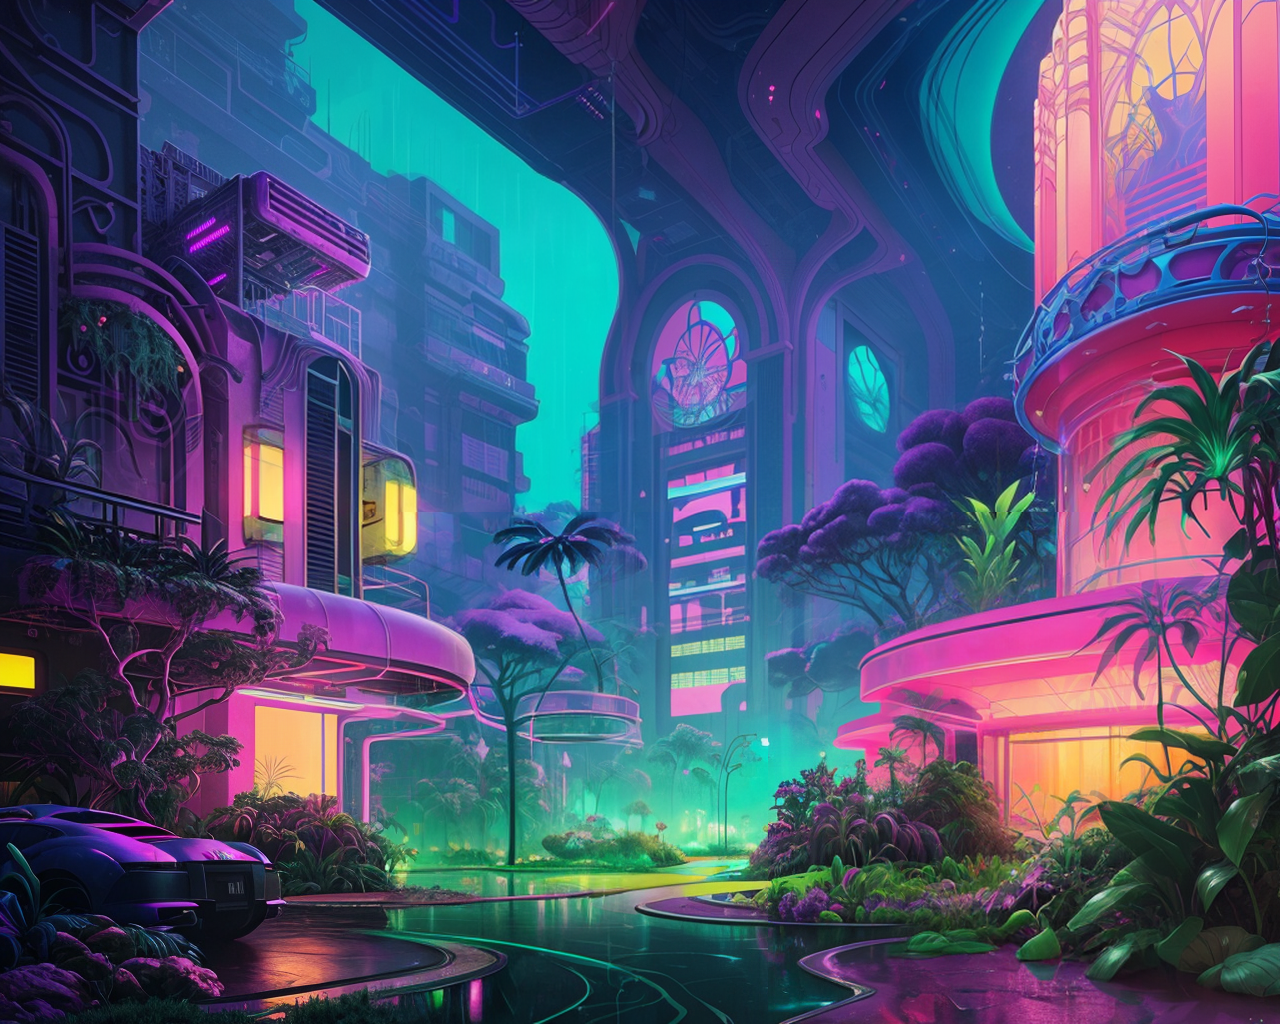
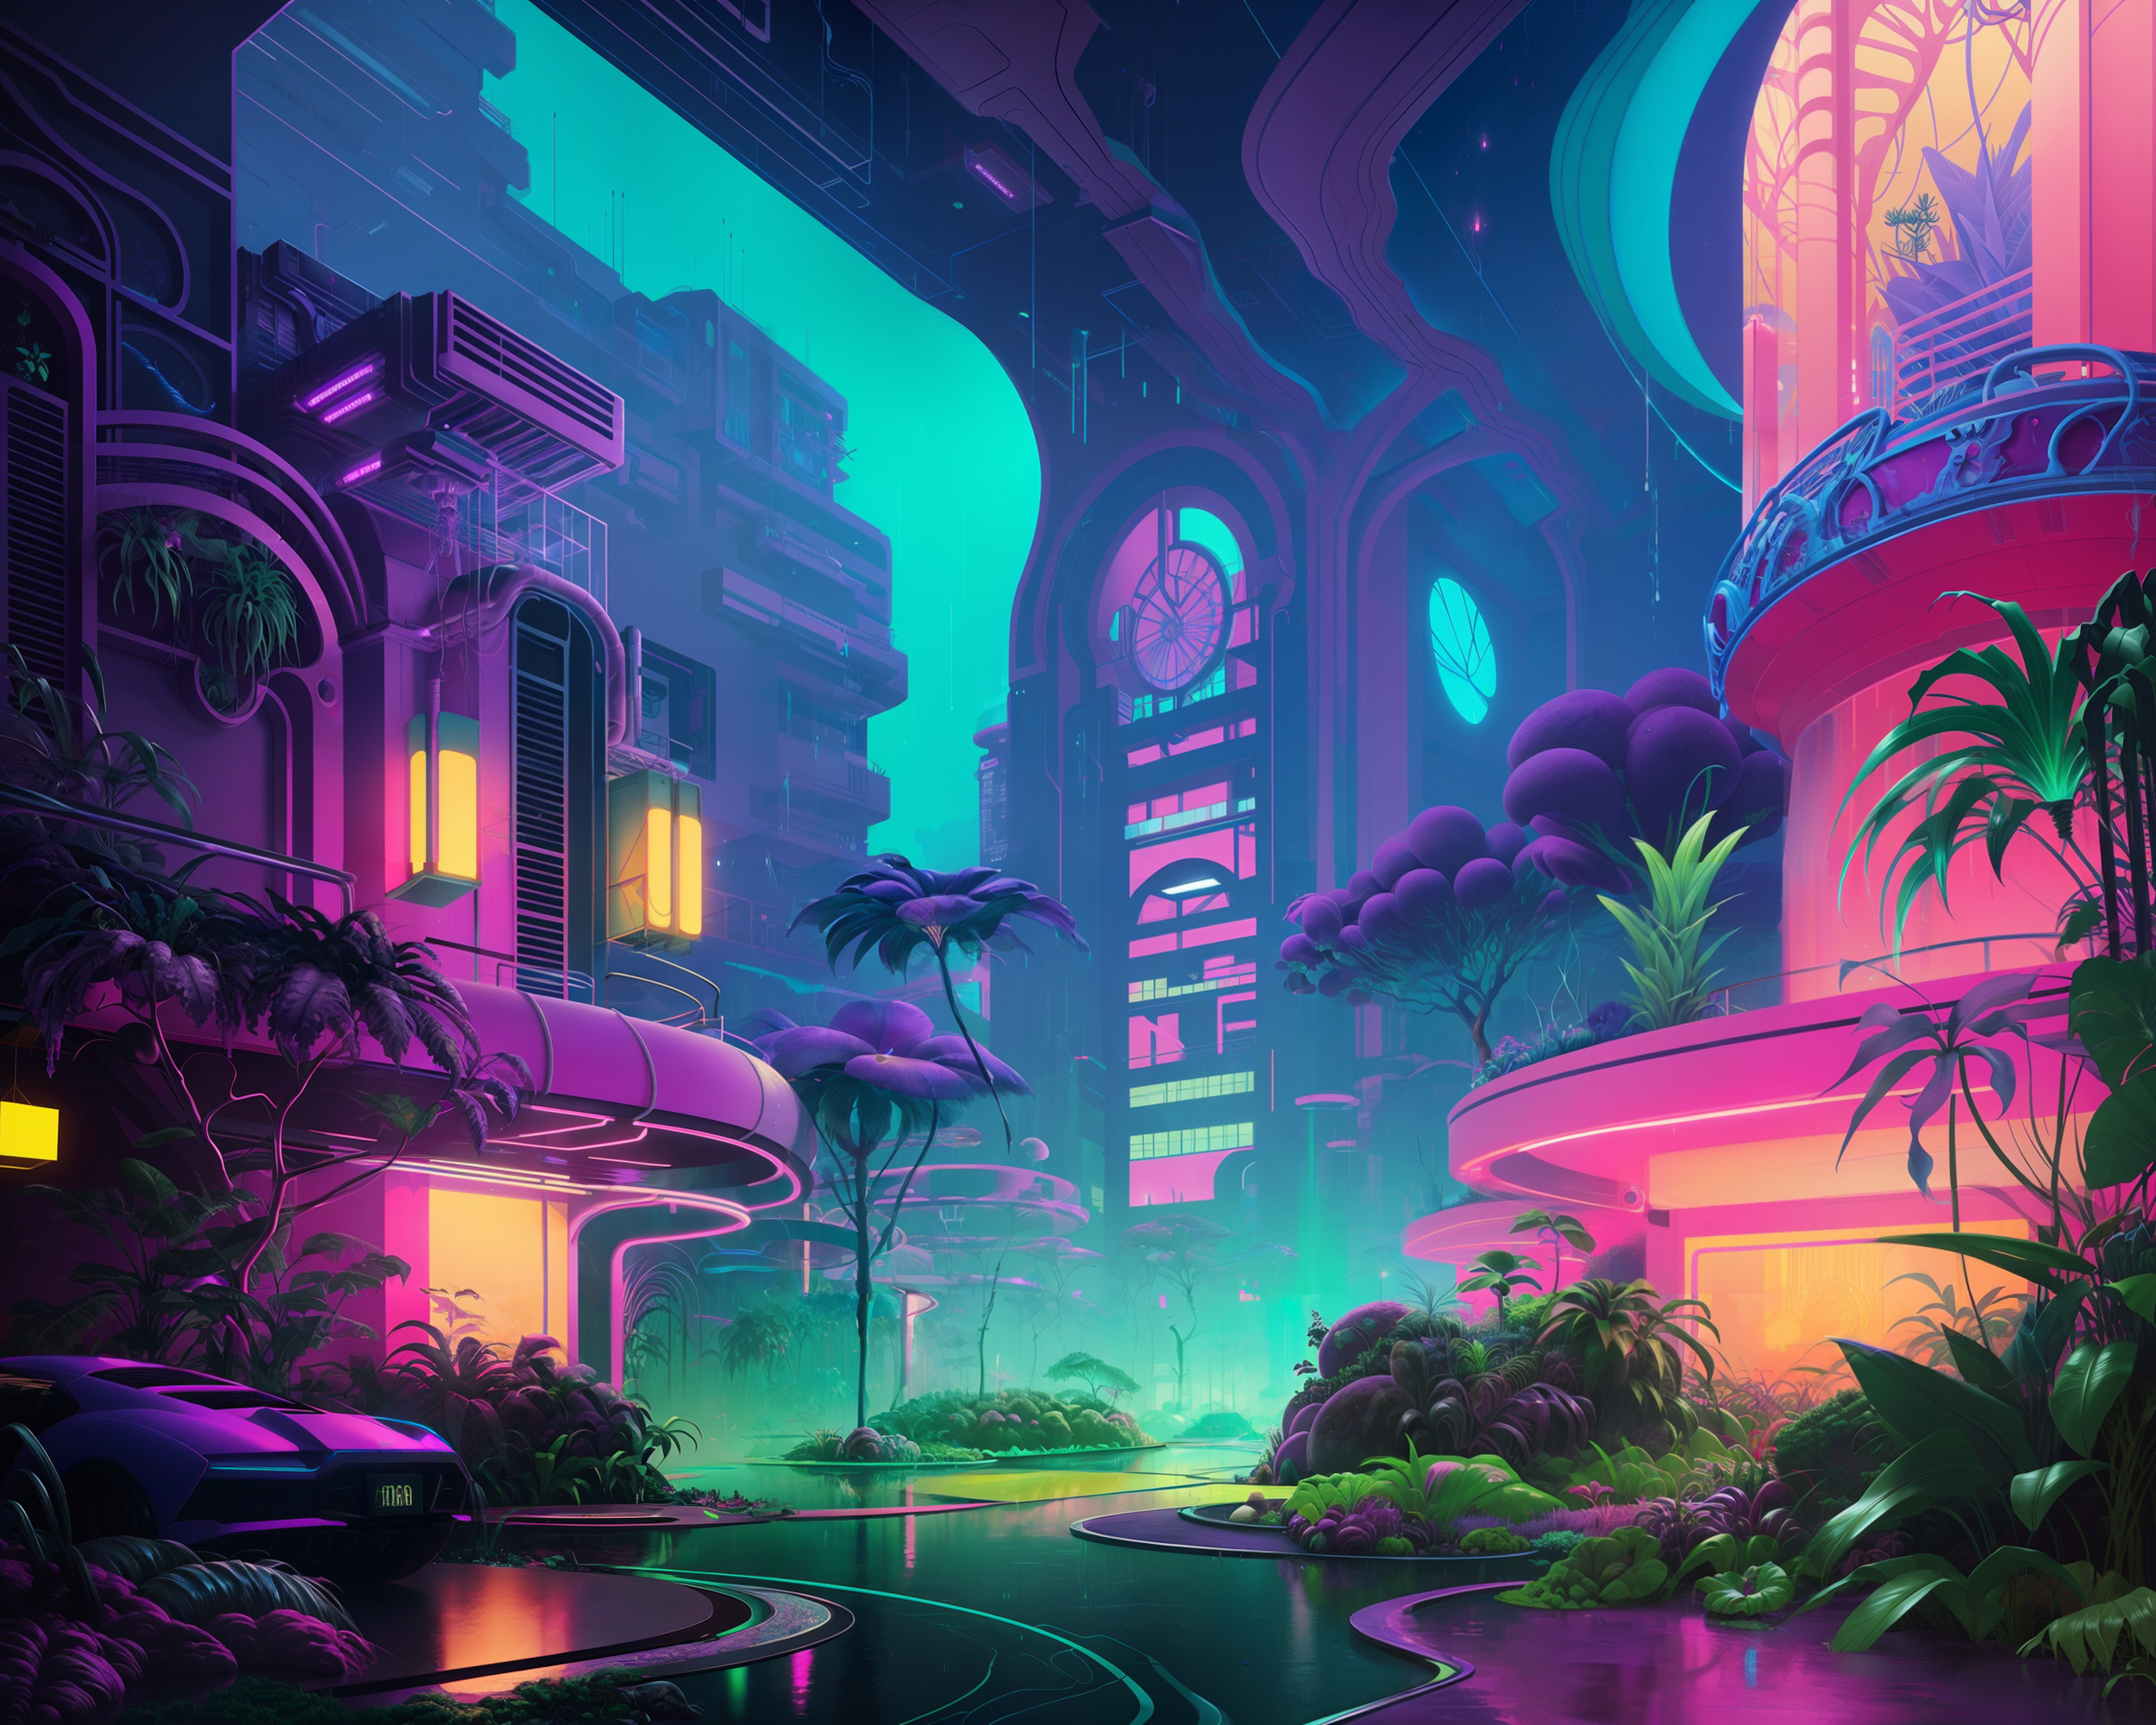
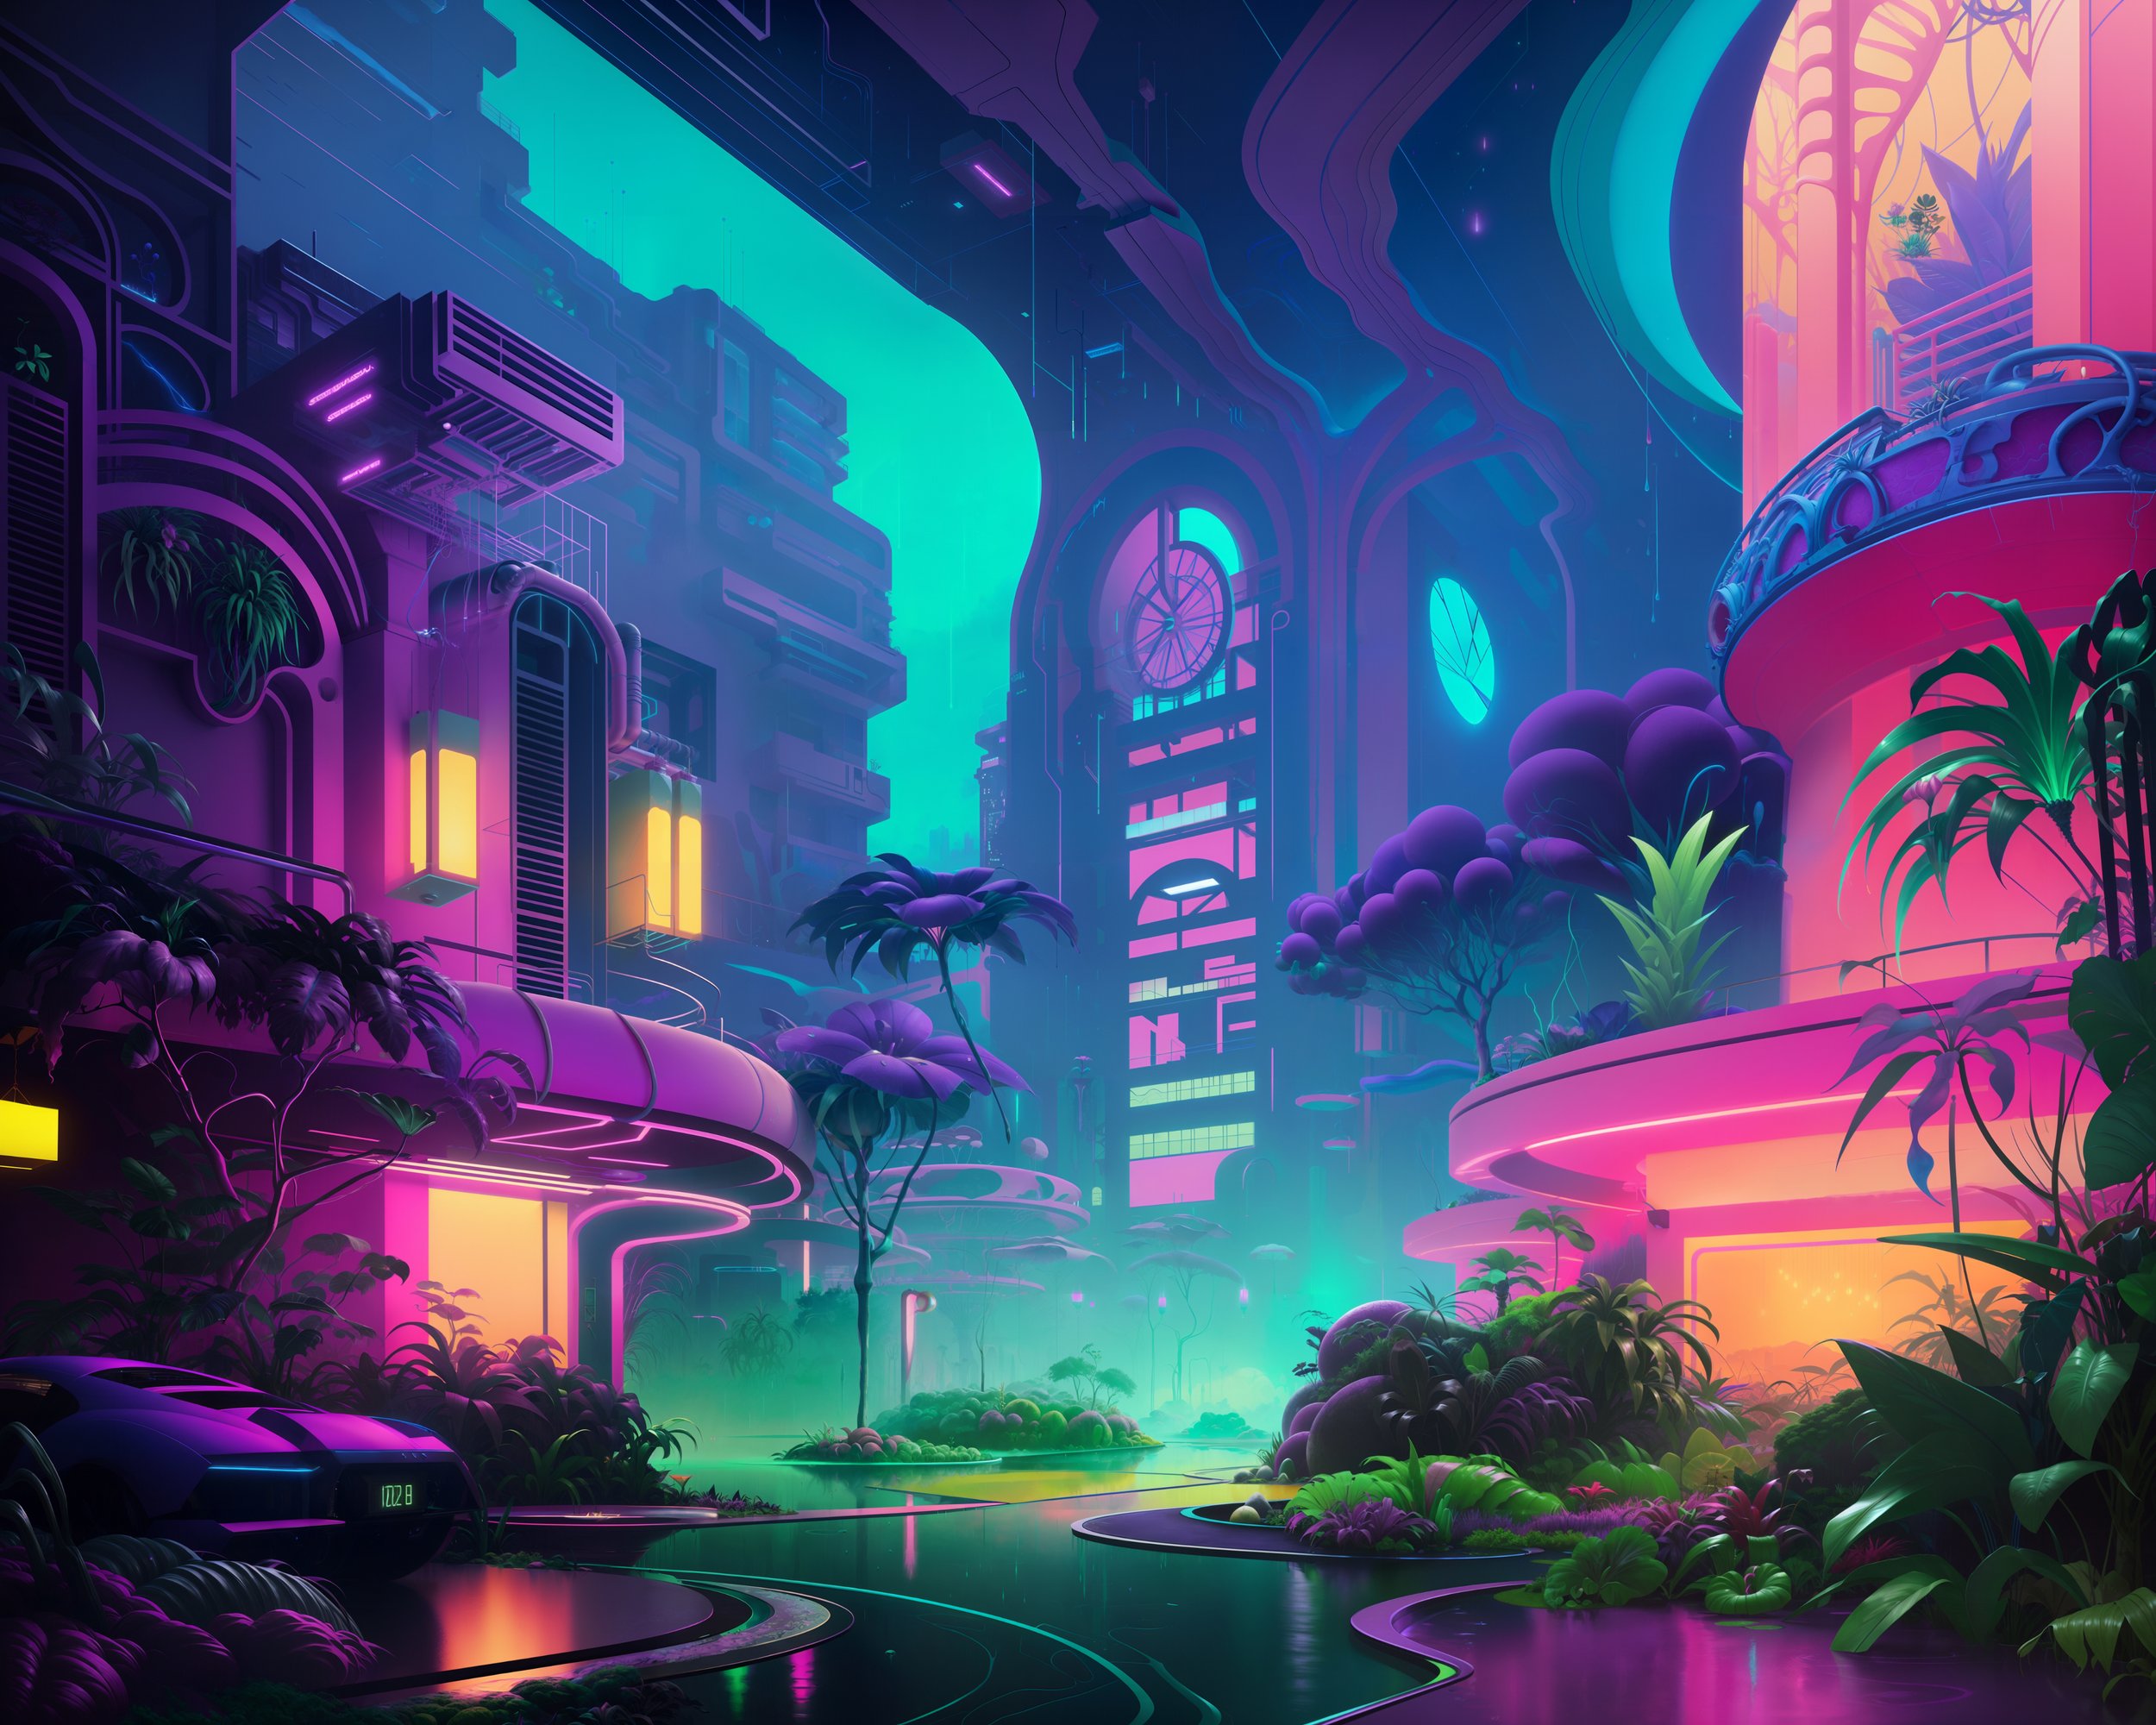
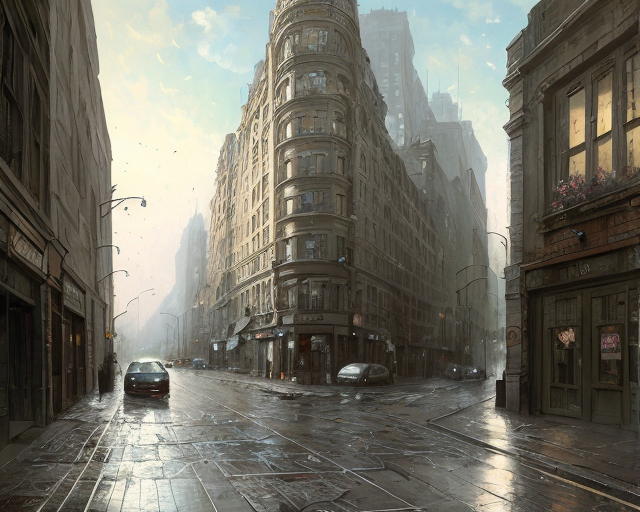
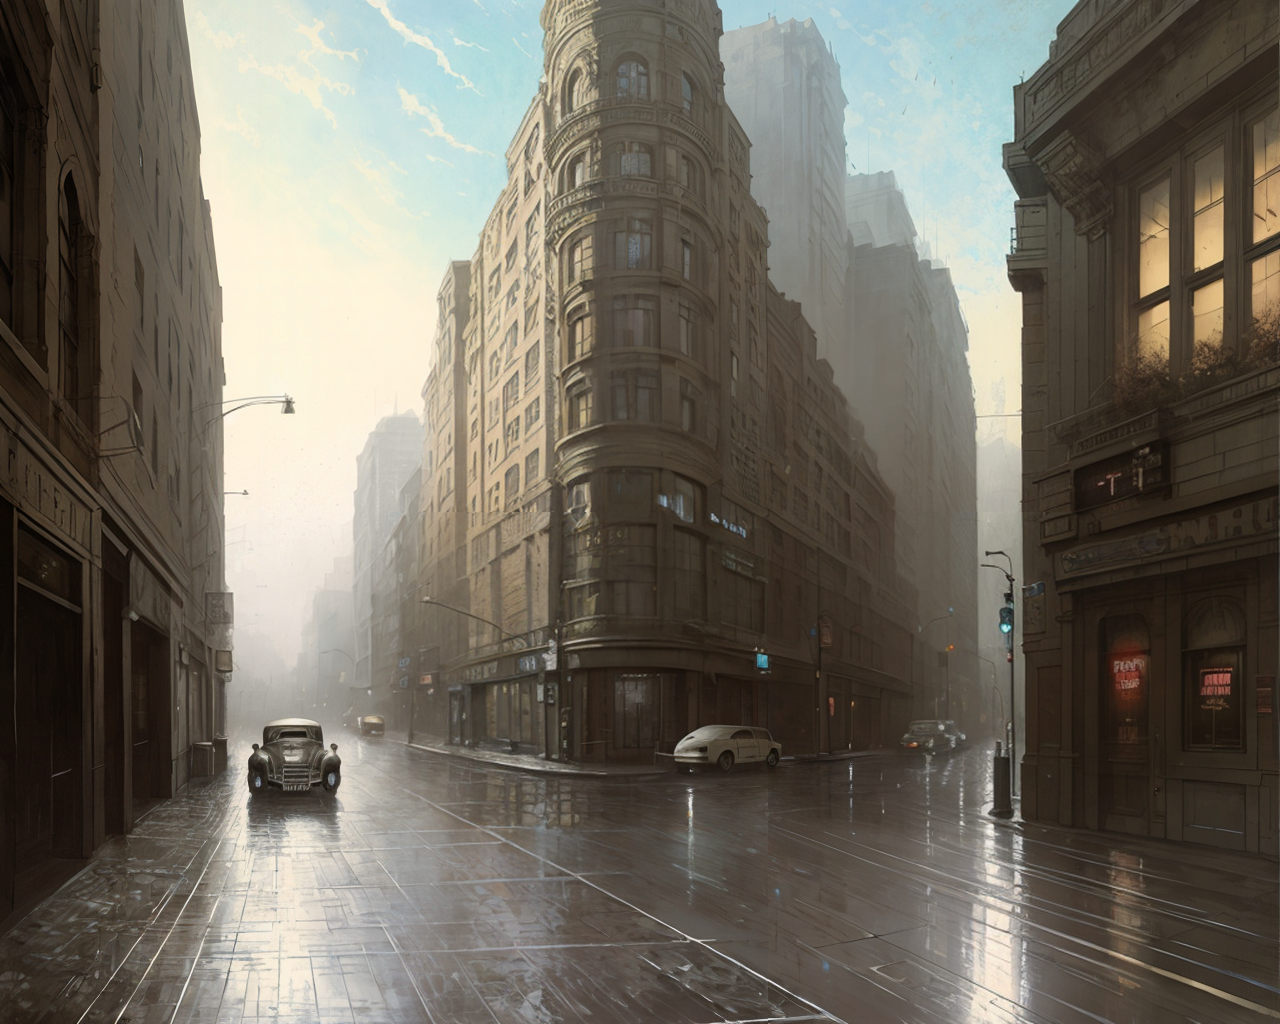
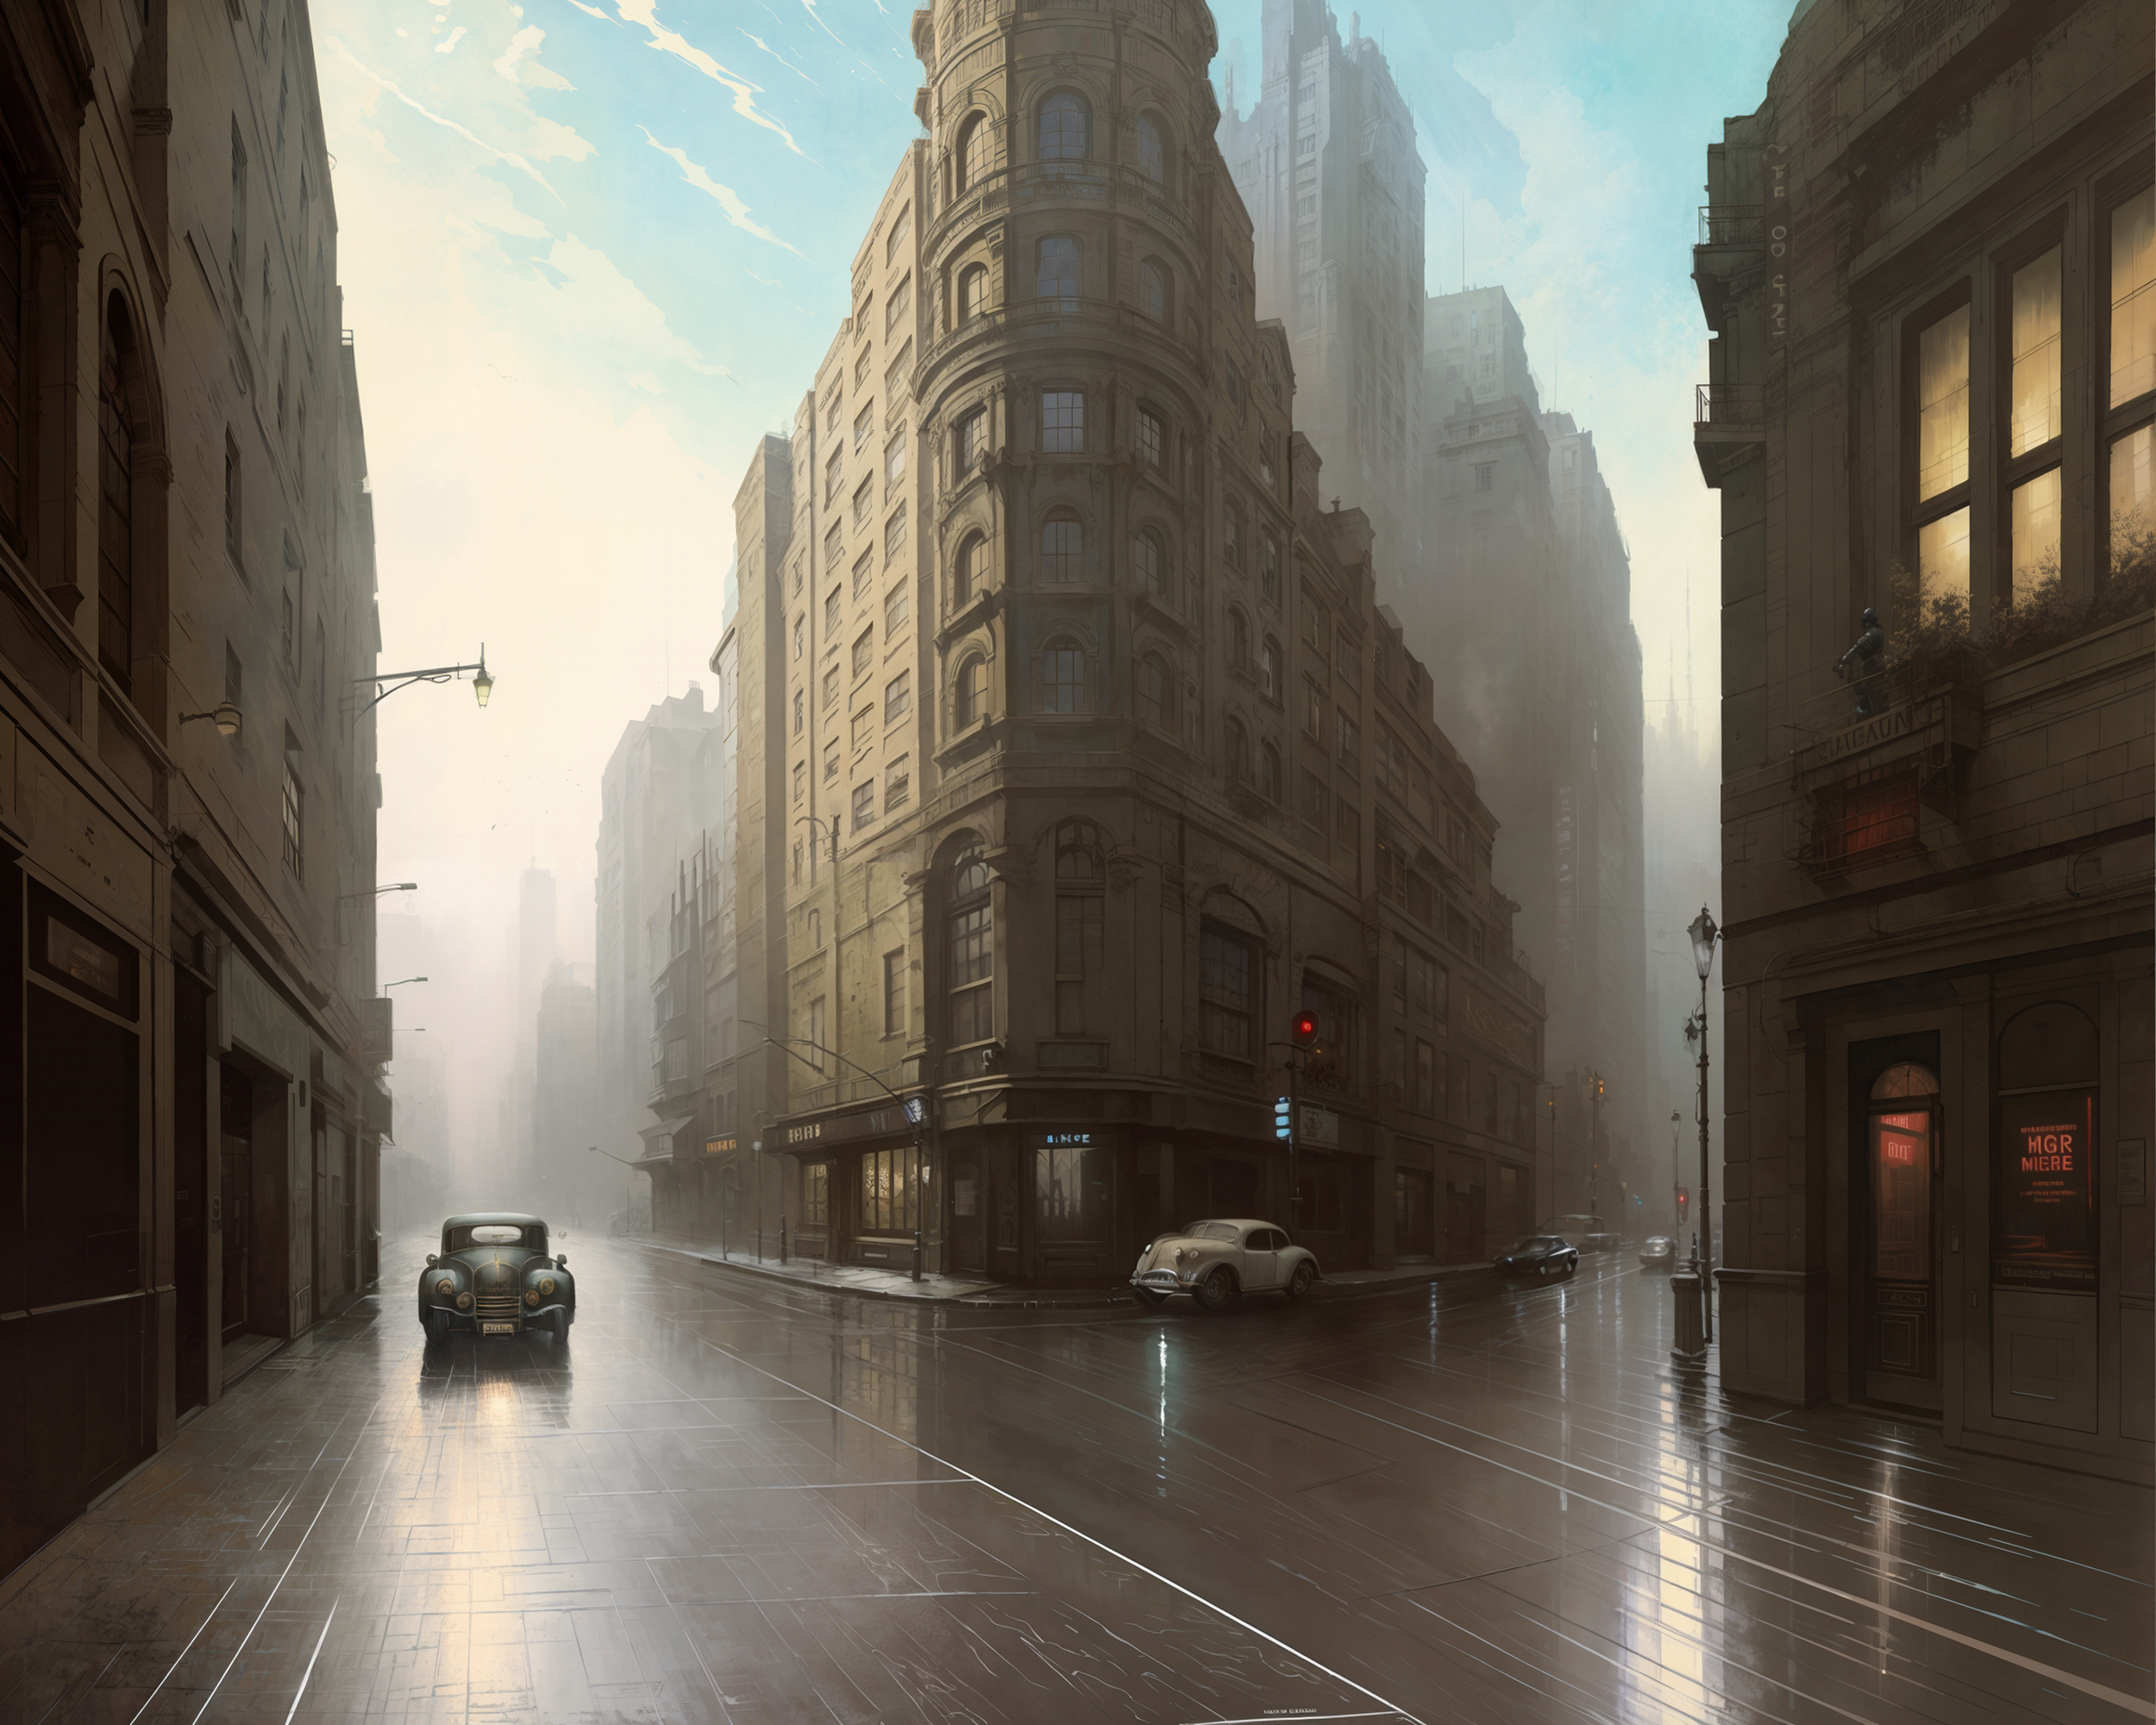
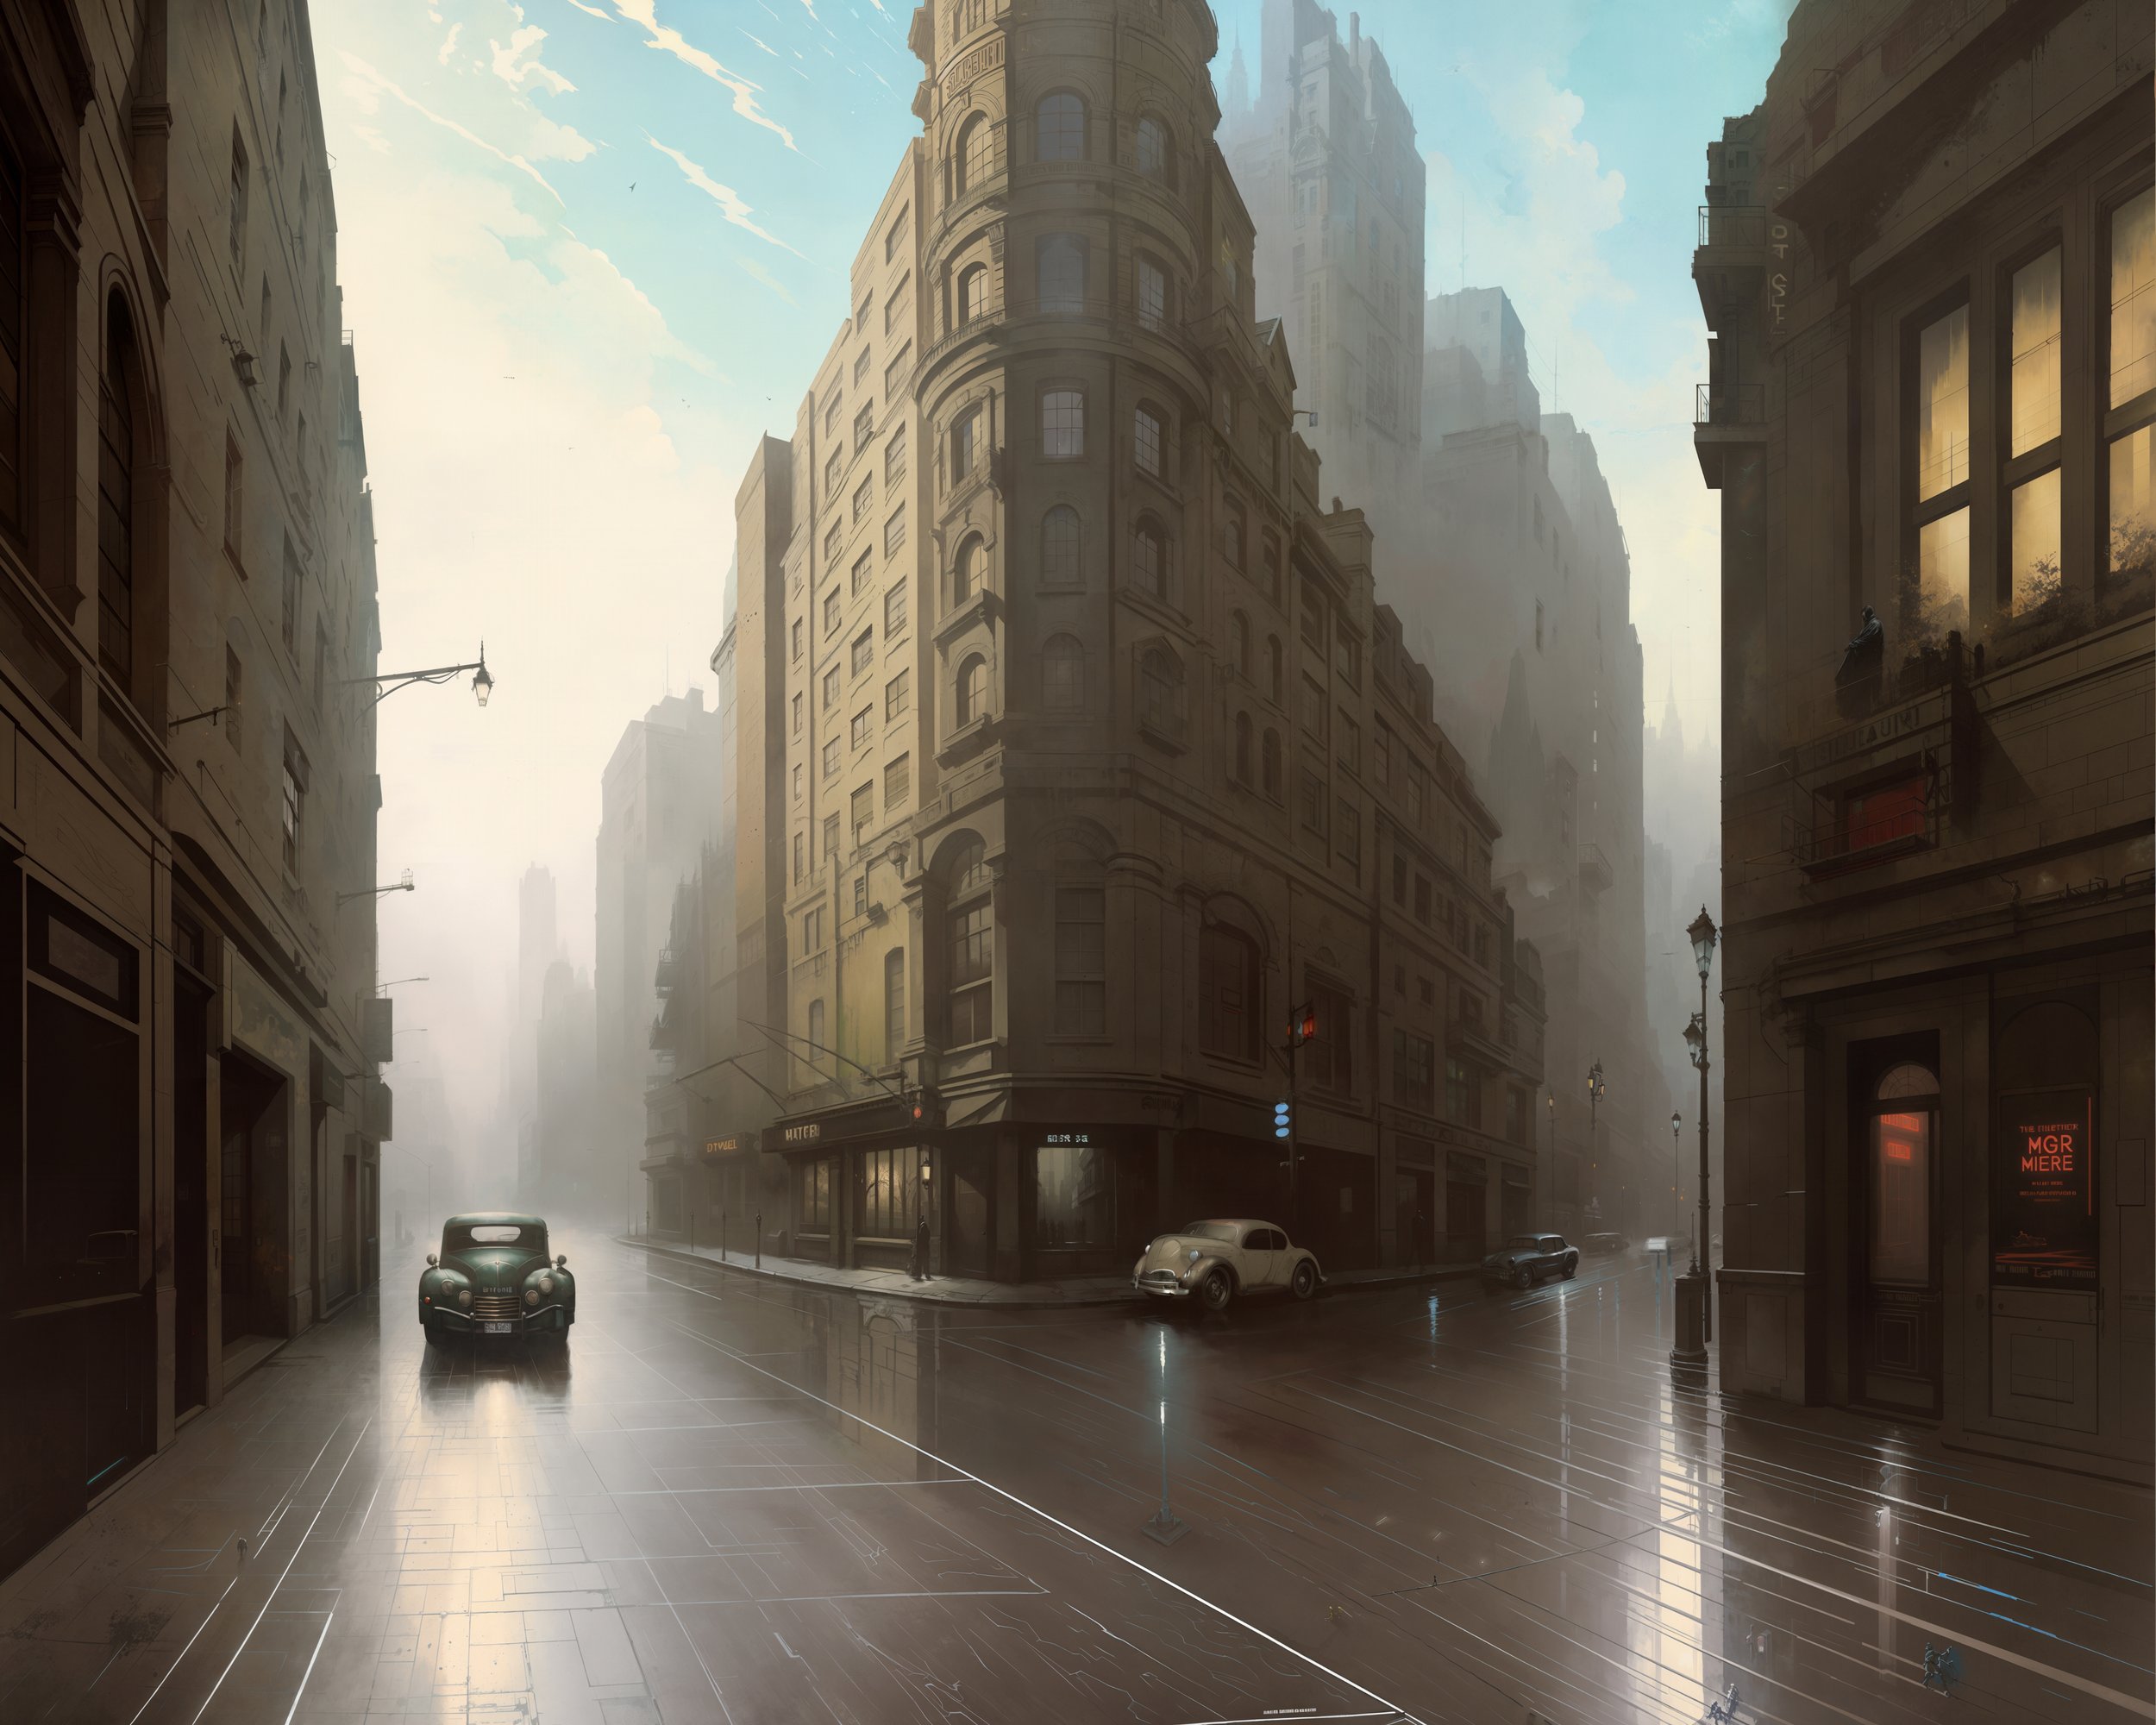
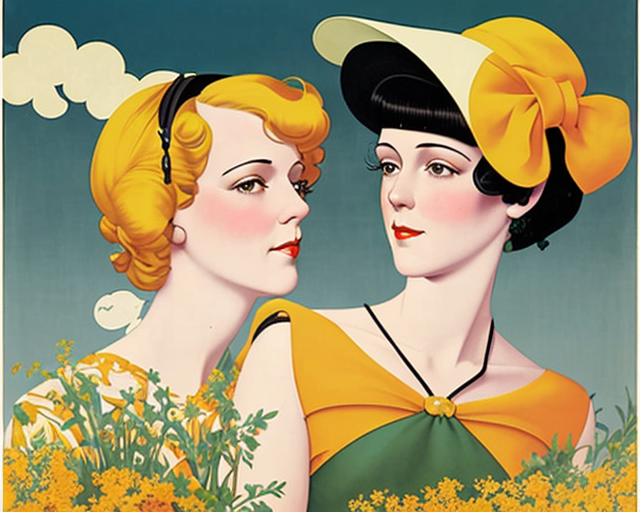
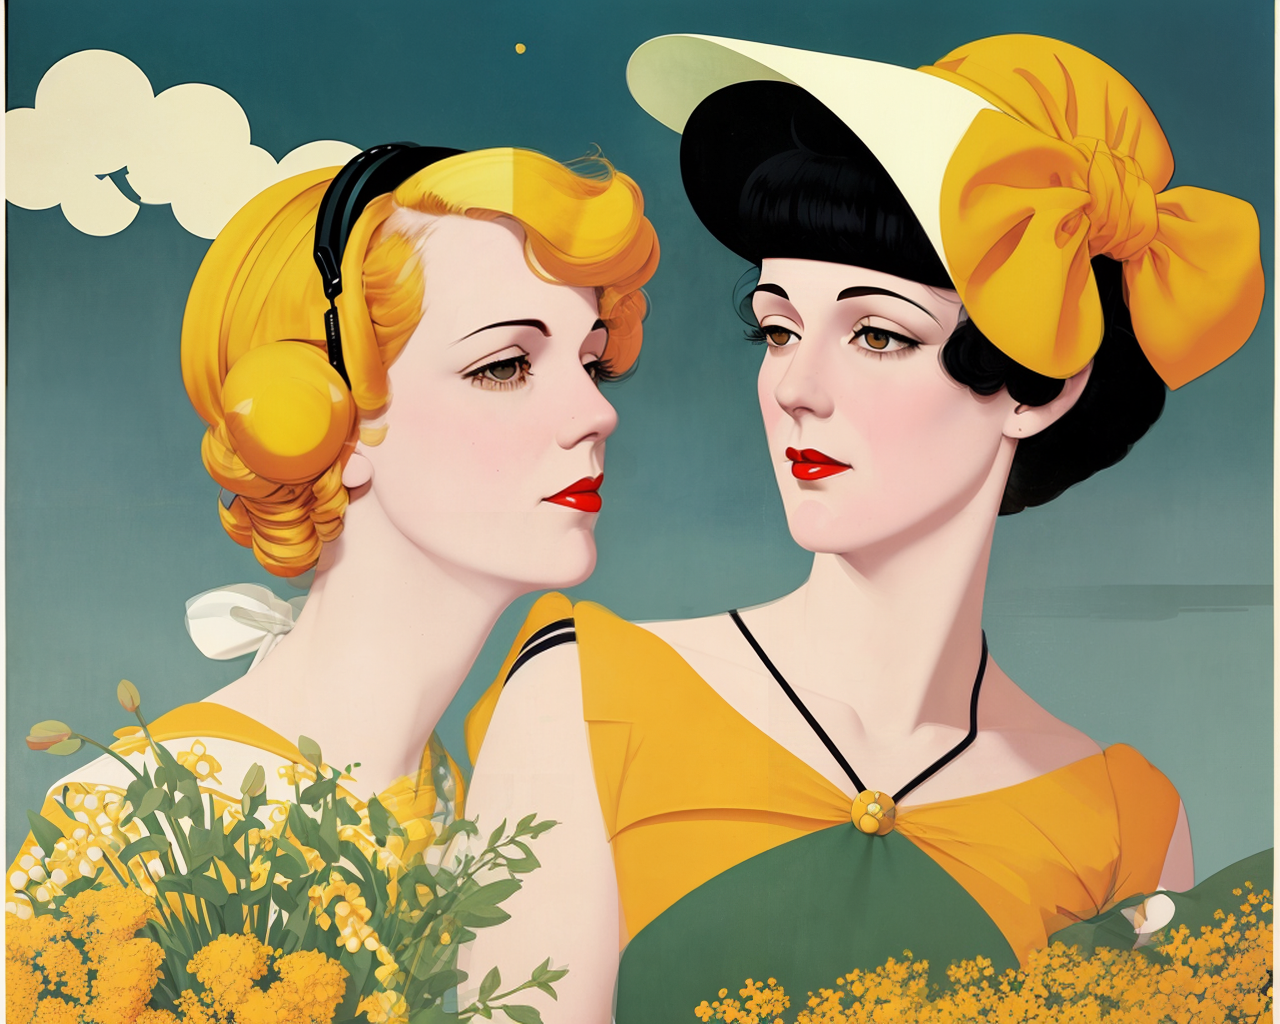
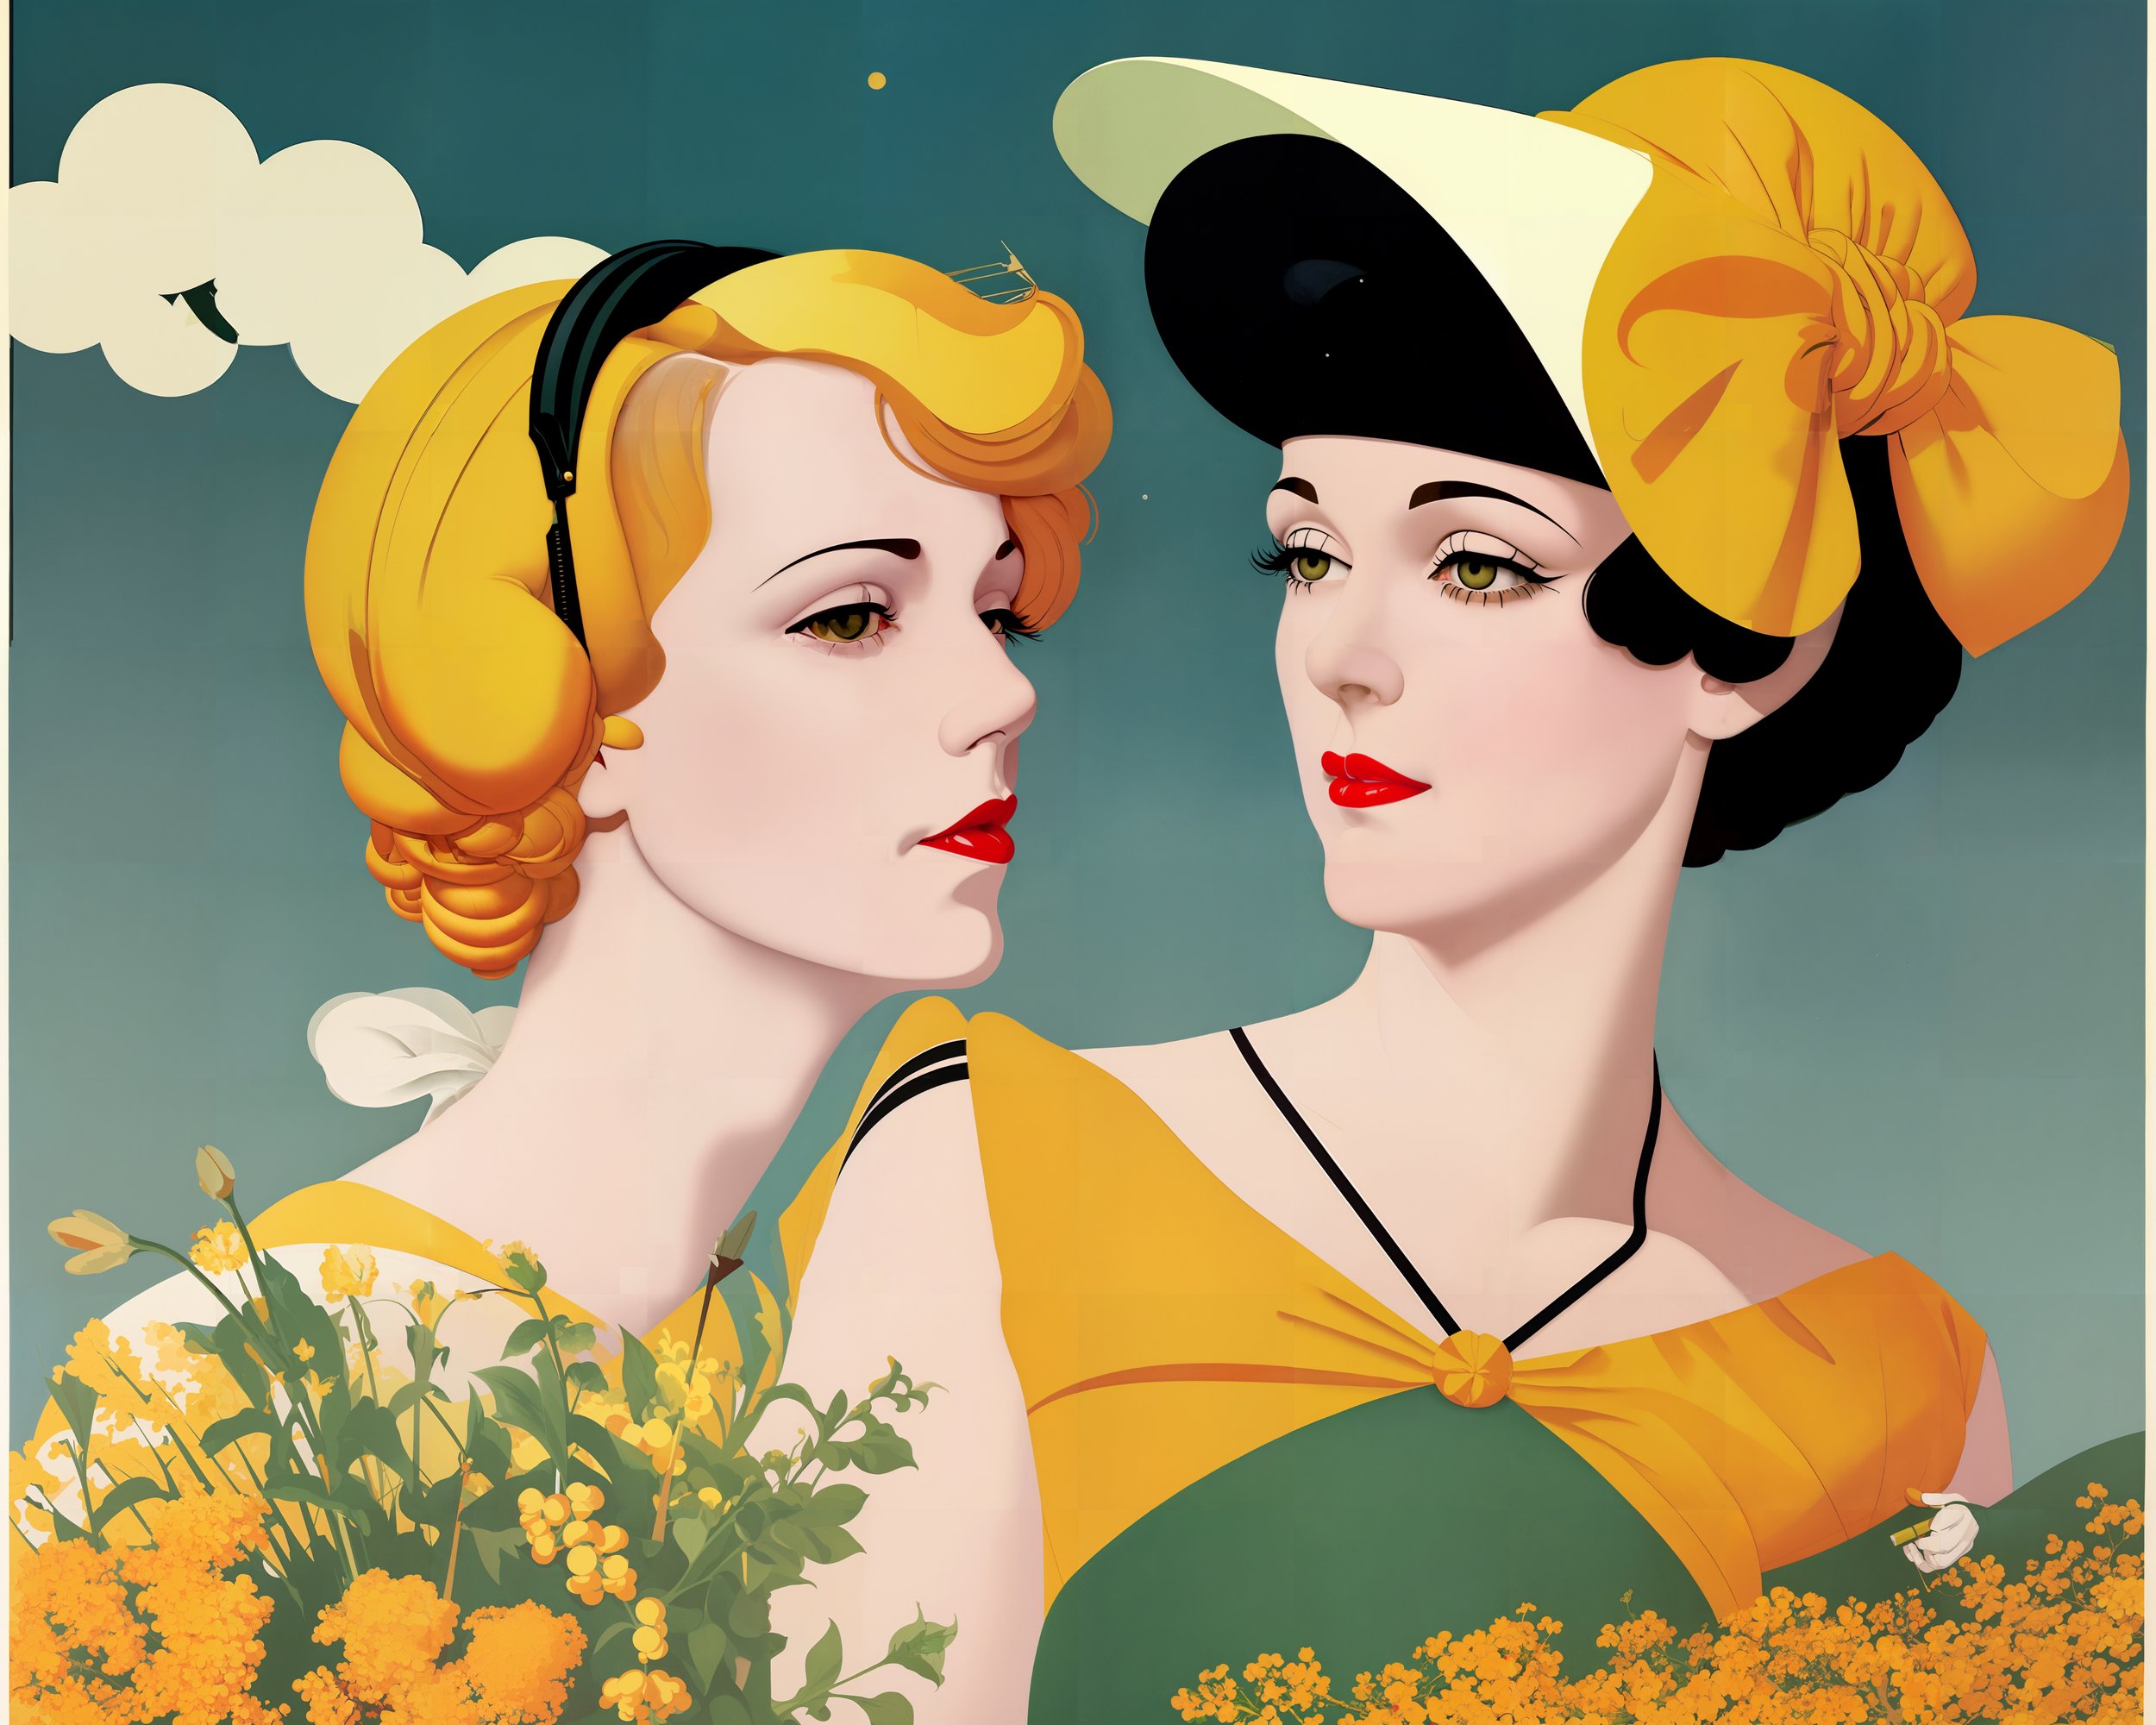
Here is 4 pieces, all from Gigadiffusion, each at 4 scale steps, 512 width, 1024, 2048, and 4096.
They are low quality and a fraction of the resolution of the originals, available on Google Drive, along 8192 width and 1 16384.
Below the images, you’ll find the process for these: simple, repeatable, and found through 100s of tests over months.
Finally, a set of small tips around printing, choice of AI model, image viewers, and what settings maximize creative exploration.

After 100s of trials, I’ve found a recipe for coherent, beautiful, results, and Gigadiffusion defaults to it.
Each scale step should be 2x scale, no higher.
Main settings: 20 steps, DPM++ SDE Karas cfg 5.
50 steps tended to have finer detail, but little practical impact.
4x faster, but little detail, it’ll be very smooth: 20 steps, Euler A
Gigadiffusion settings:
0 mask blur, 128 px padding, and 0.45 denoise (both redraw & seams).
Upscaler: R-ESRGAN General WDN 4xV3
Switch to Lanzcos if VRAM crashes occur at the beginning of the job.Once you have a 2048 px image, switch to 0.4 denoise.
Once you have a 4096 px image, switch to 0.35 denoise.
So far I’ve validated:
83 megapixels: 1 sheet of paper , 8192 x 10240,
335 megapixels: poster / 4 sheets of paper, 16384x20480
1.3 gigapixels: painting size ~2.5’ x 3.5’, 32768x40960
Some more hard-won knowledge:
TL;DR on Printing
This level of detail is visible on pretty much any printer, 1440 dpi is standard. Of course, quality will vary dramatically.
I went all out & got an Epson SC-P900. You probably have a great printer accessible at school or work.
Paper and ICC profiles are extremely important. Pick a paper from your printer manufacturer or a high quality third party, such as perennial favorite Red River Paper. They will provide ICC profiles, a translator from the digital color gamut to the paper color gamut.
Denoising values are a crucial knob for exploring creations.
Too little, you smooth out everything. Too much, each tile ends up with a little painting in it.
0.35 to 0.45 is a great range to play in
Tend lower for more “simple” images, like a vector illustration. Tend higher for images with texture. Decrease as you upscale, 0.45 definitely isn’t reasonable after 4096, and 0.4 isn’t reasonable at 16384.
Use the Deliberate111 model from civit.
Unfortunately, porn hobbyists accidentally have the best models for art, via their practice of merging multiple models togther.
Only ImageMagick and Windows built-view photo viewer handle PNGs > 16384 px.
Split large images to smaller tiles using ImageMagick.
convert image.png -crop 50%x50% output.png
convert is a built-in on windows, there, magick is the command
Not obsessive about microscopic detail? Use Topaz Gigapixel AI earlier.
Gigapixel very good at deblurring, but doesn’t add detail, so it “doesn’t work” at the extremely large sizes I’m gunning for. It would look upscaled at best: no blur, no noise, but no detail either.
Build from noise.
To get a more varied color palette: create an image with cfg_scale = 1, that gives you colored blobs. Then redraw it with your actual subject.
Use a prompt like “abstract expressionist painting, acrylic painting, energetic.”
Multiple passes at the same size are helpful too, as well as a pass at a larger tile size like 768. [example]
In conclusion, Gigadiffusion is a powerful new tool for AI artists to create large, high-density images that are indistinguishable in resolution from traditional paintings.